Get started
Use the Zoom Video SDK UI Toolkit, a prebuilt user interface, to include the Video SDK in your application or integrate Video SDK directly to customize the experience yourself.
See Video SDK Plans & Pricing for Developer for pricing.
Prebuilt user interface
The Zoom Video SDK UI Toolkit is a prebuilt user interface that you can use to quickly add Video SDK to your app.
See the documentation for details on how to start and join sessions and use the prebuilt Video SDK features. The UI Toolkit is all you need to run the Video SDK in your app.
Custom user interface
For a more sophisticated integration, you can integrate the SDK and features directly into your app. See Integrate for details. Run the sample app to see an example.
Run the sample app
To see an example of the custom user interface, install and run our sample app.
The sample app is a video session application that allows a session host to create and start a session by topic. Once a session is created, the host can share the session name with other users. These users can join the session by entering that session name.
Find the sample app in the iOS SDK folder of the Video SDK download in your Zoom App Marketplace account.
Prerequisites
To build and run the sample app you must have the following prerequisites.
- Xcode.
- A physical 64-bit iOS device (iPhone or iPad) with iOS version 15.0 or above. For iOS 26 and Xcode 26 or later, you may need to remove the "-ld_classic" in other link flags from your project.
- As of version 1.4.0, Video SDK for iOS does not support 32-bit devices.
- Versions 1.11.0 and later follow Apple's requirement to provide a privacy manifest and signatures.
- As of version 2.5.0 or later, Video SDK for iOS does not support x86 architecture simulator.
- A Zoom account with Video SDK credentials.
- A validated provisioning profile certificate.
- Downloaded the Video SDK for iOS package.
Configure and build project
Before you can run the sample app, you must update some placeholders in files. Follow these steps to configure and build the sample app:
-
Open the SDK package in Xcode, then the
Sample-Libsfolder, then theZoomVideoSamplefolder, and double-click theZoomVideoSample.xcodeprojto launch it. -
Open
AppDelegate.hand change the constantkAppTokento your generated SDK JWT (see Authorize for details). -
Set the
kSDKDomaintozoom.us. See the following example for steps 2 and 3.#define kAppToken @"Your JWT token here" #define kSDKDomain @"https://zoom.us" @interface AppDelegate : UIResponder <UIApplicationDelegate> @property (strong, nonatomic) UIWindow *window; @property (assign, nonatomic) BOOL canRotation; - (UIViewController *)topViewController; @end -
If you're using screen sharing, open
SampleHandler.mm. Add theparams.appGroupIdvalue (used for screen-sharing) under theinitmethod. If you're not using screen sharing, place any value here. -
This also applies to the value for
kScreenShareBundleIdin theZoomVideoSample-Prefix.pchfile. -
Go to the project configuration page. In the Signing & Capabilities pane in the project editor, select Automatically managed signing. Xcode creates the development signing assets for you.
-
Set up a unique bundle identifier and use your own team to sign your developer certificate.
-
After signing the app, select your test environment from the dropdown on the right of the Run button:

-
Select the device, then build and run the app.
Sample app walkthrough
Once built, the sample app runs on your connected device.
The Video SDK provides raw data for advanced video and audio customization which can be processed by three different render options. This app demonstrates the usage of these three renderers:
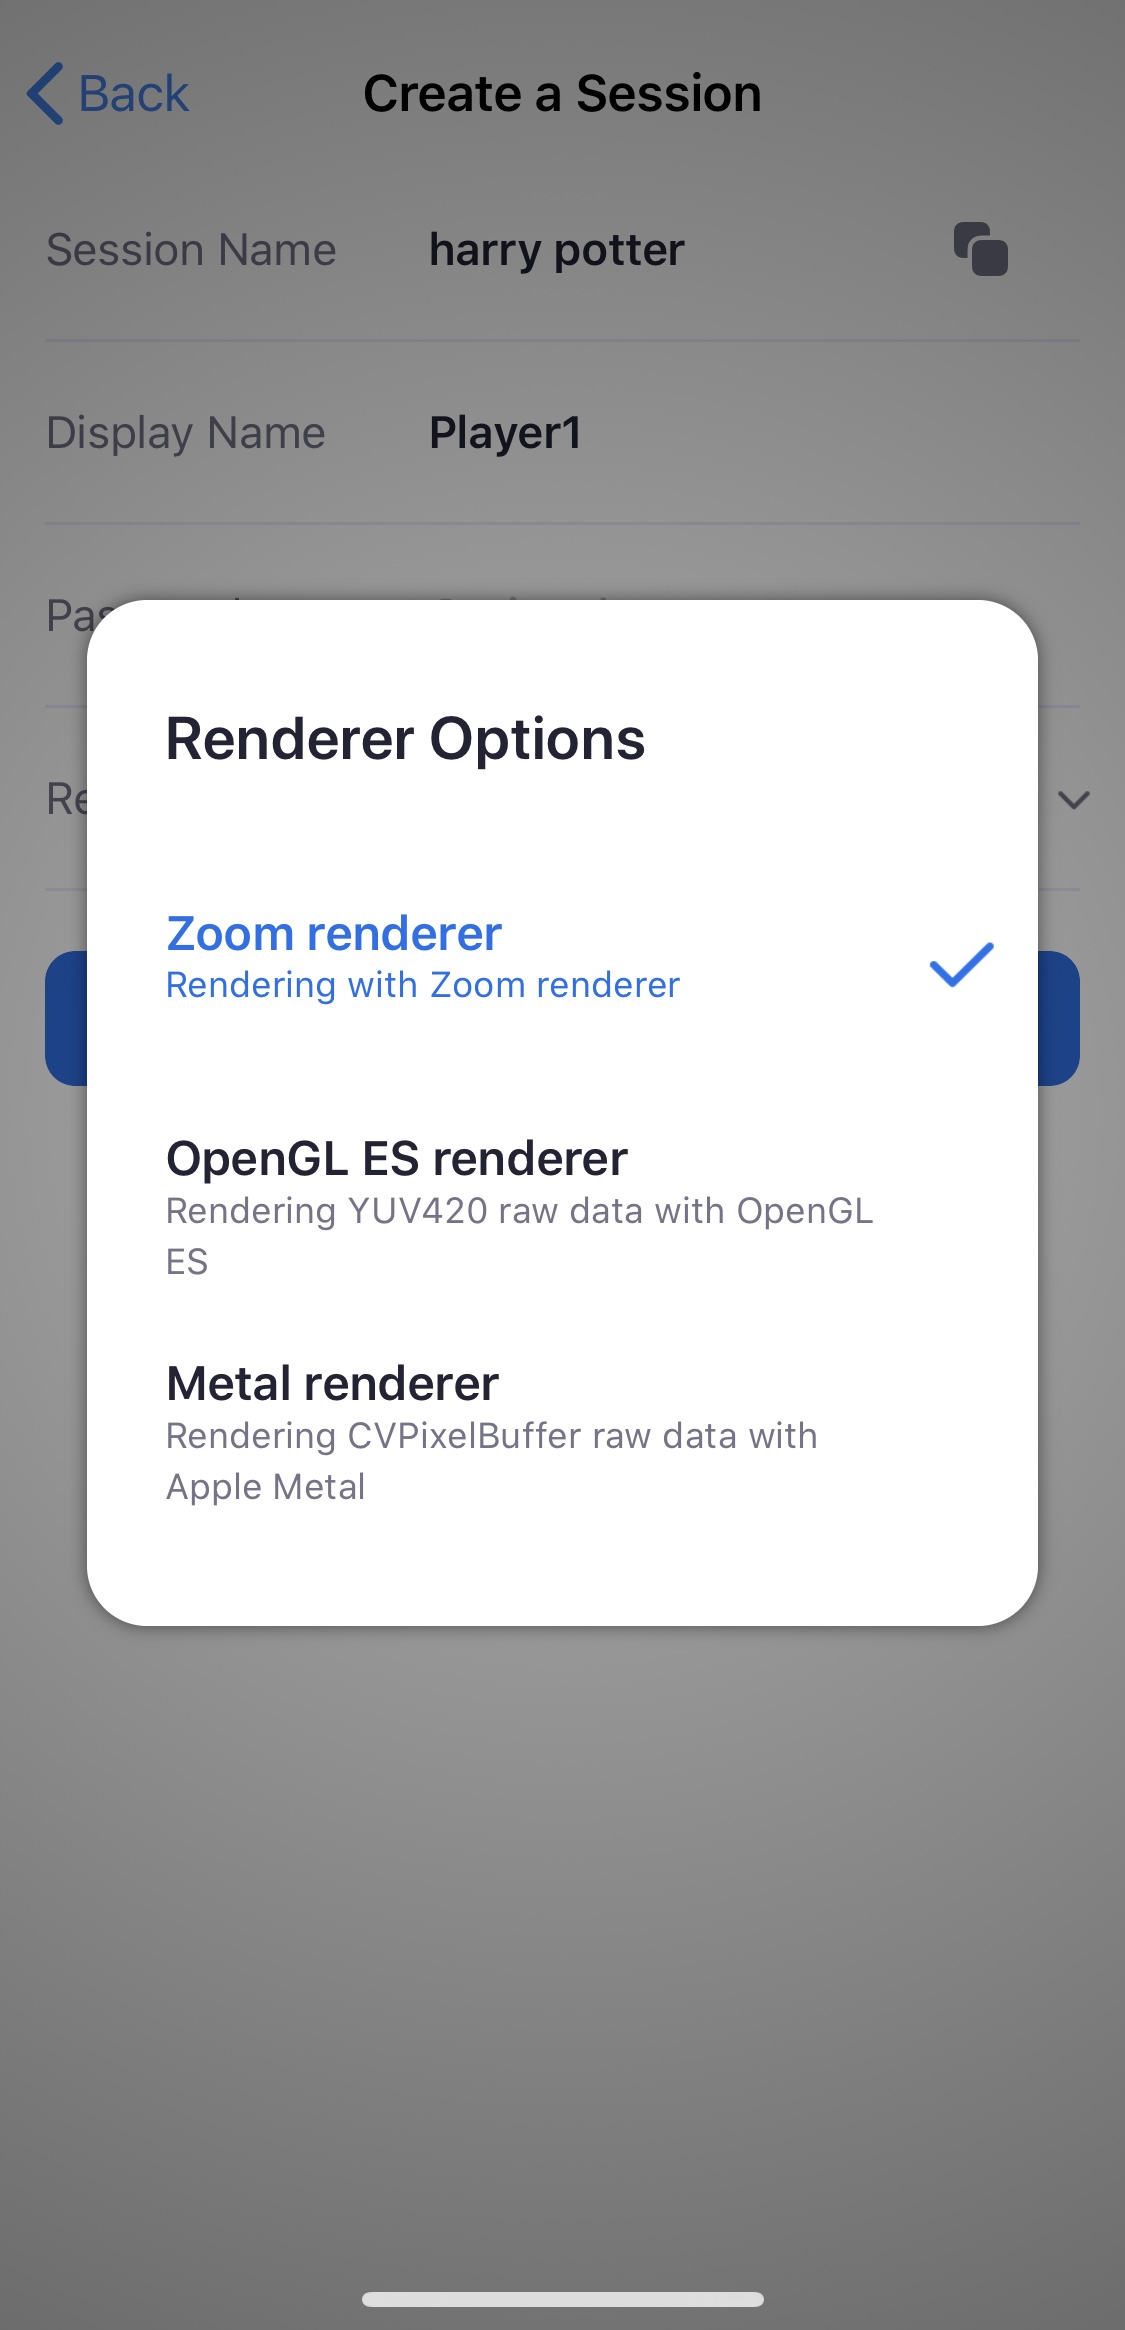
- Zoom renderer - Developed by Zoom and highly-optimized for Zoom services. Designed for ease of use and simple usability.
- OpenGL ES renderer - Cross-platform renderer designed for embedded mobile systems providing a flexible interface between software and graphics acceleration hardware.
- Apple Metal renderer - Optimized for iOS; designed to be easy for iOS developers to learn and use.
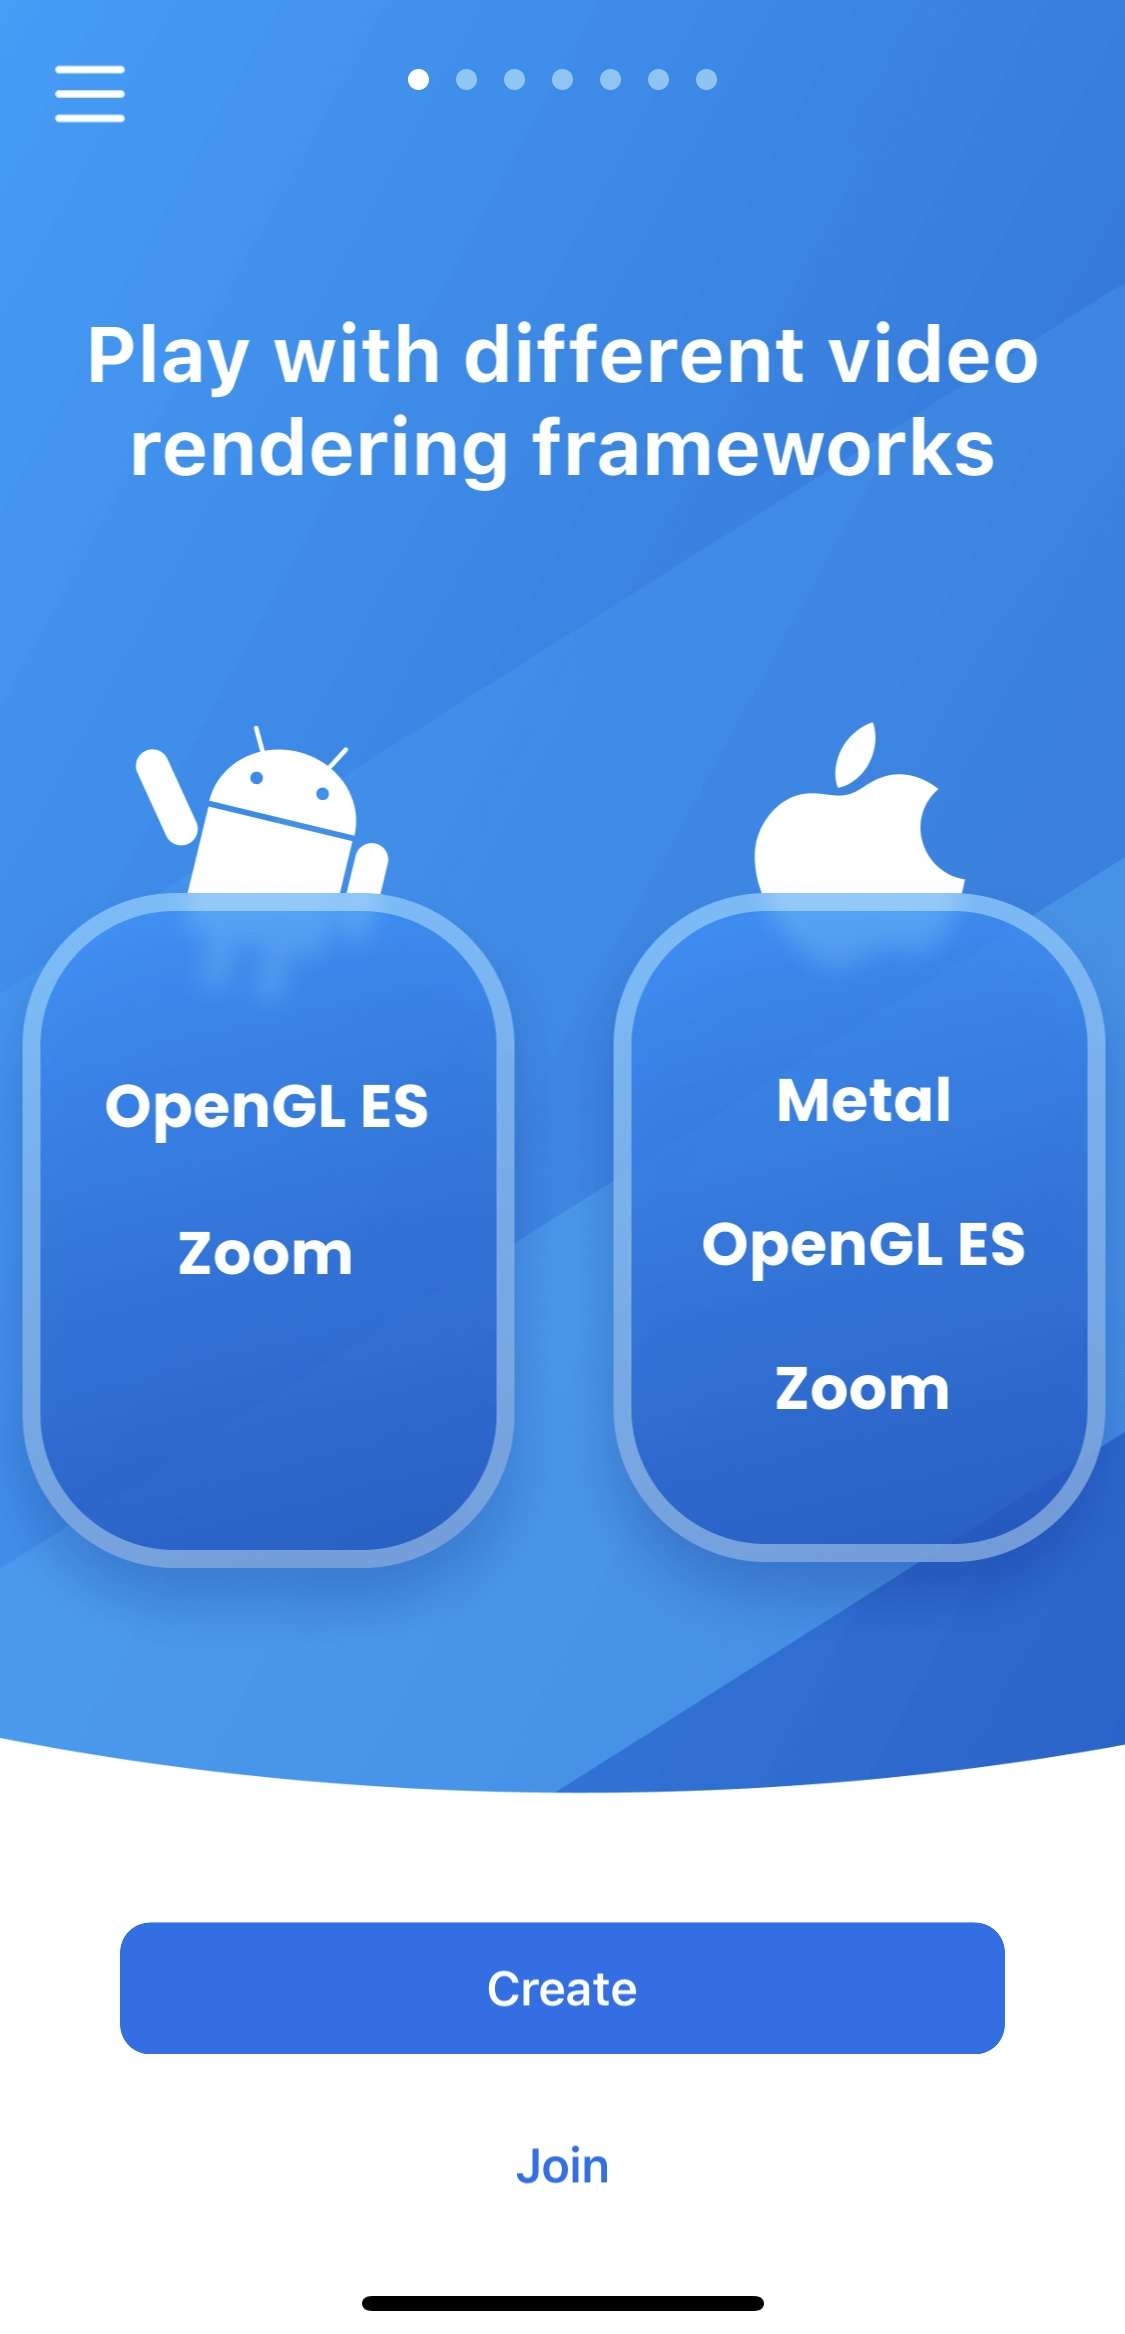
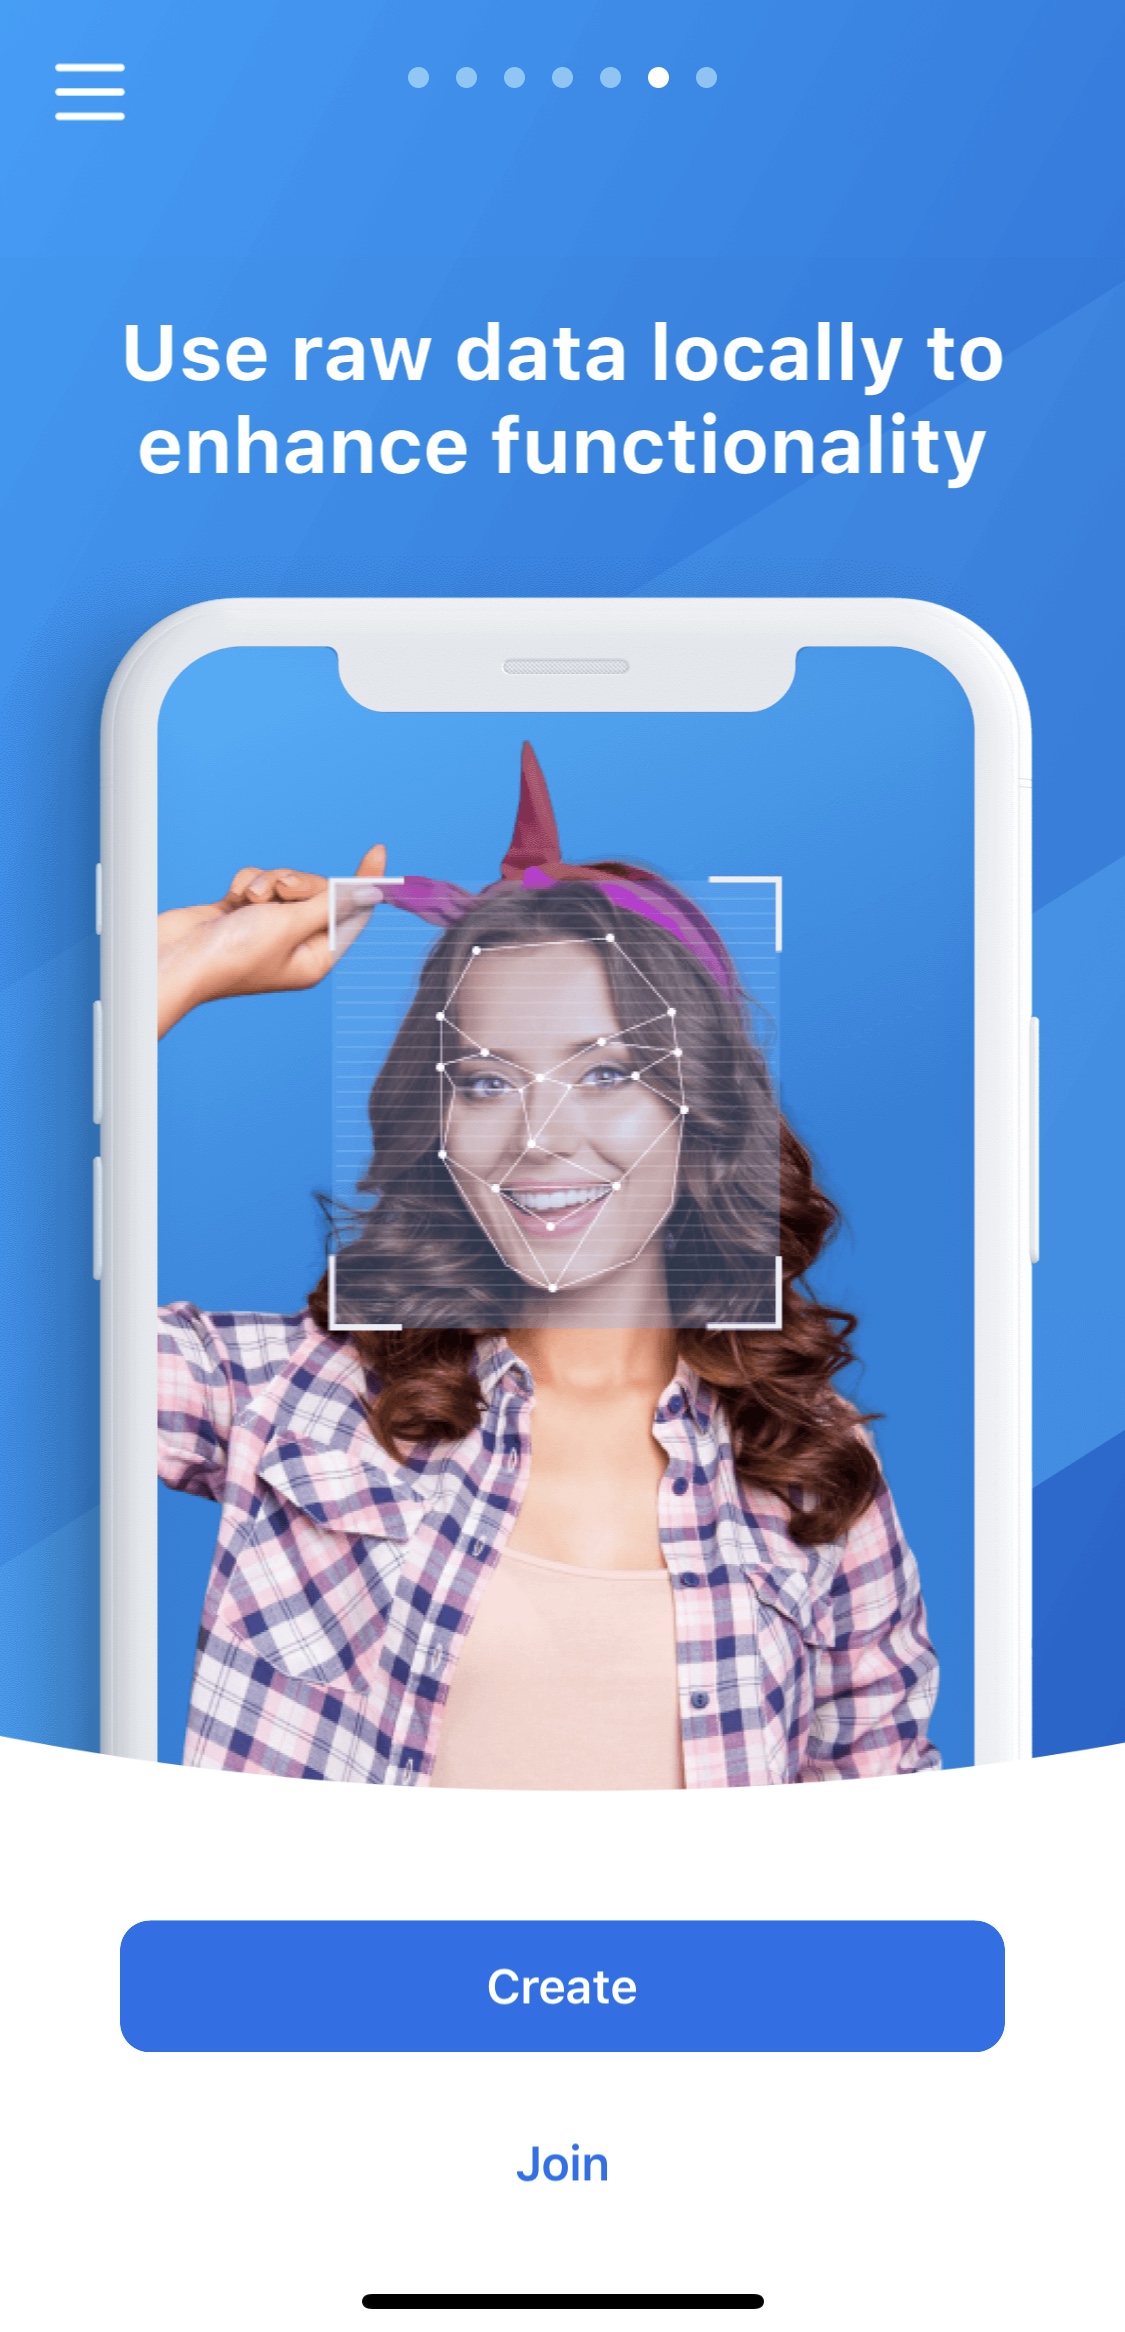
Swipe right on the carousel to see the key features available in the Video SDK.
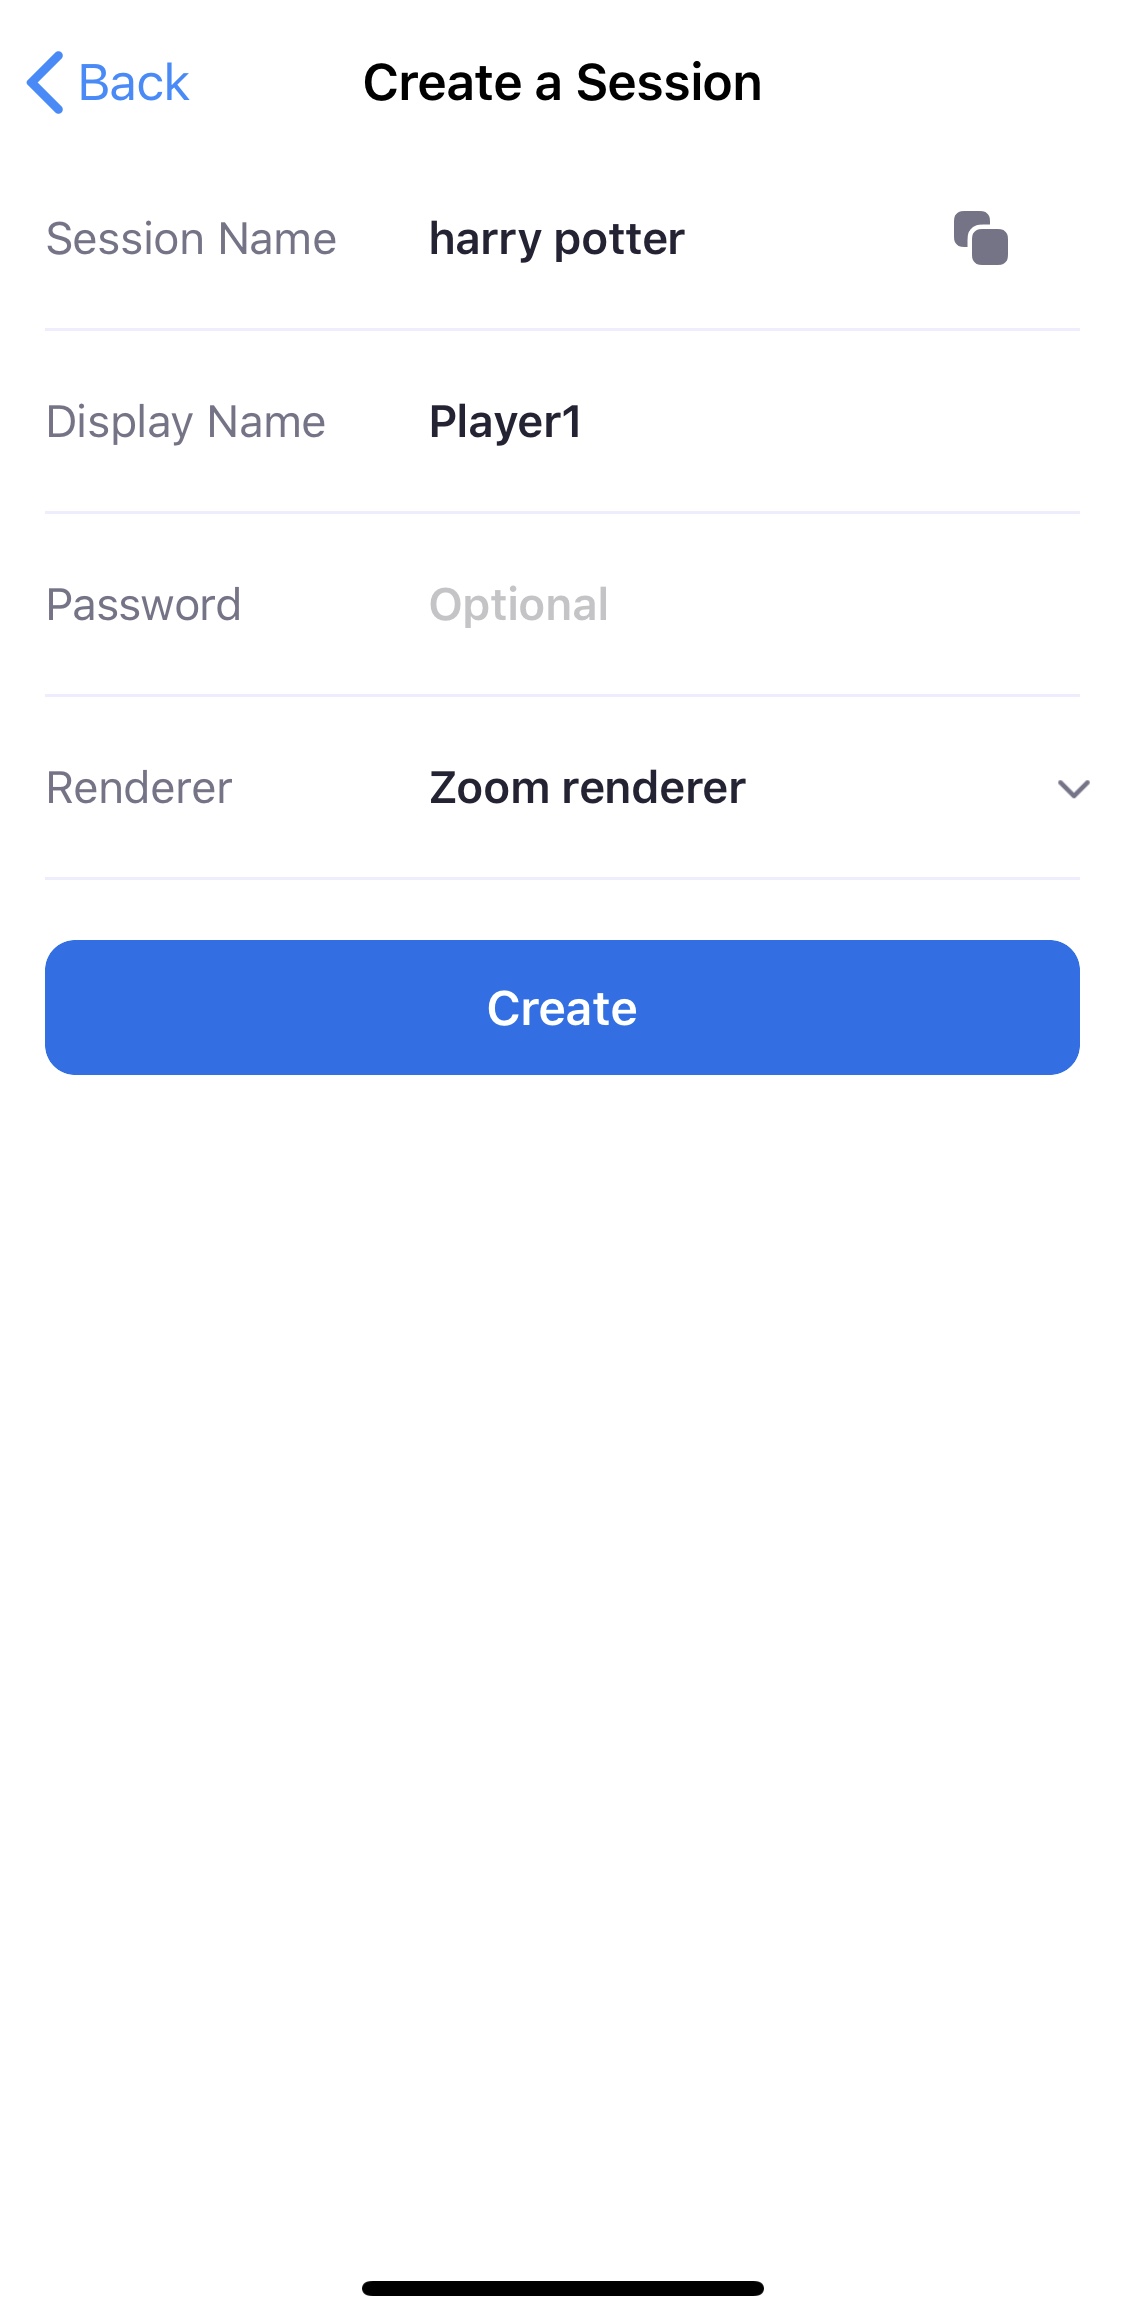
Press Create to create a session. We're going to create a session called "Harry Potter" and fill in the display name. The session name should be the same as the one you used to generate the JWT token.
Tap the Renderer field to select the renderer you would like to use to render the video. For demo purposes, the UI will look the same across the renderers.
When you're finished selecting the renderer, press Create to start a session.
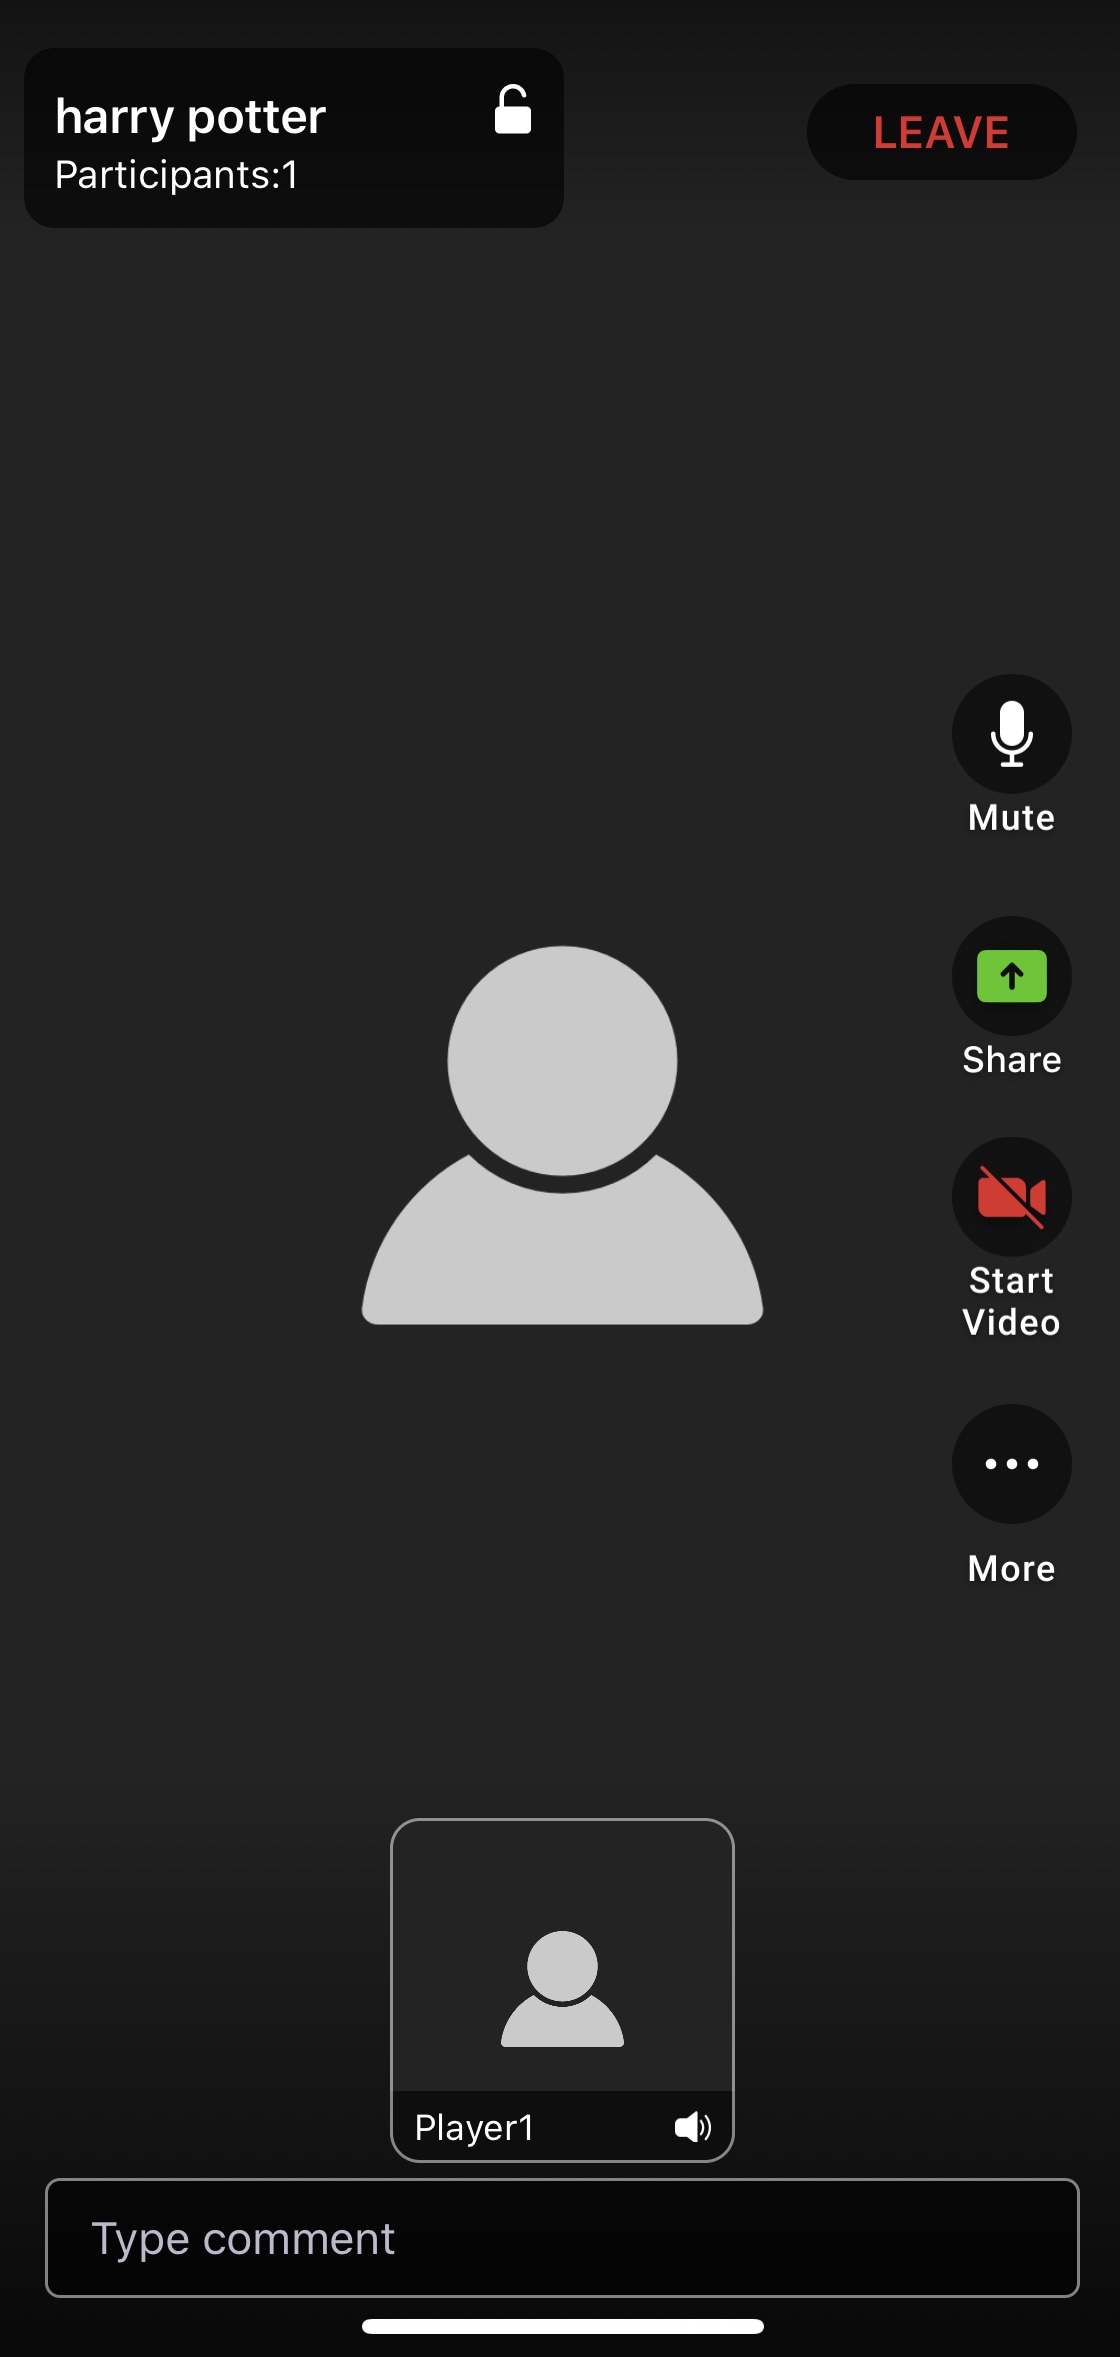
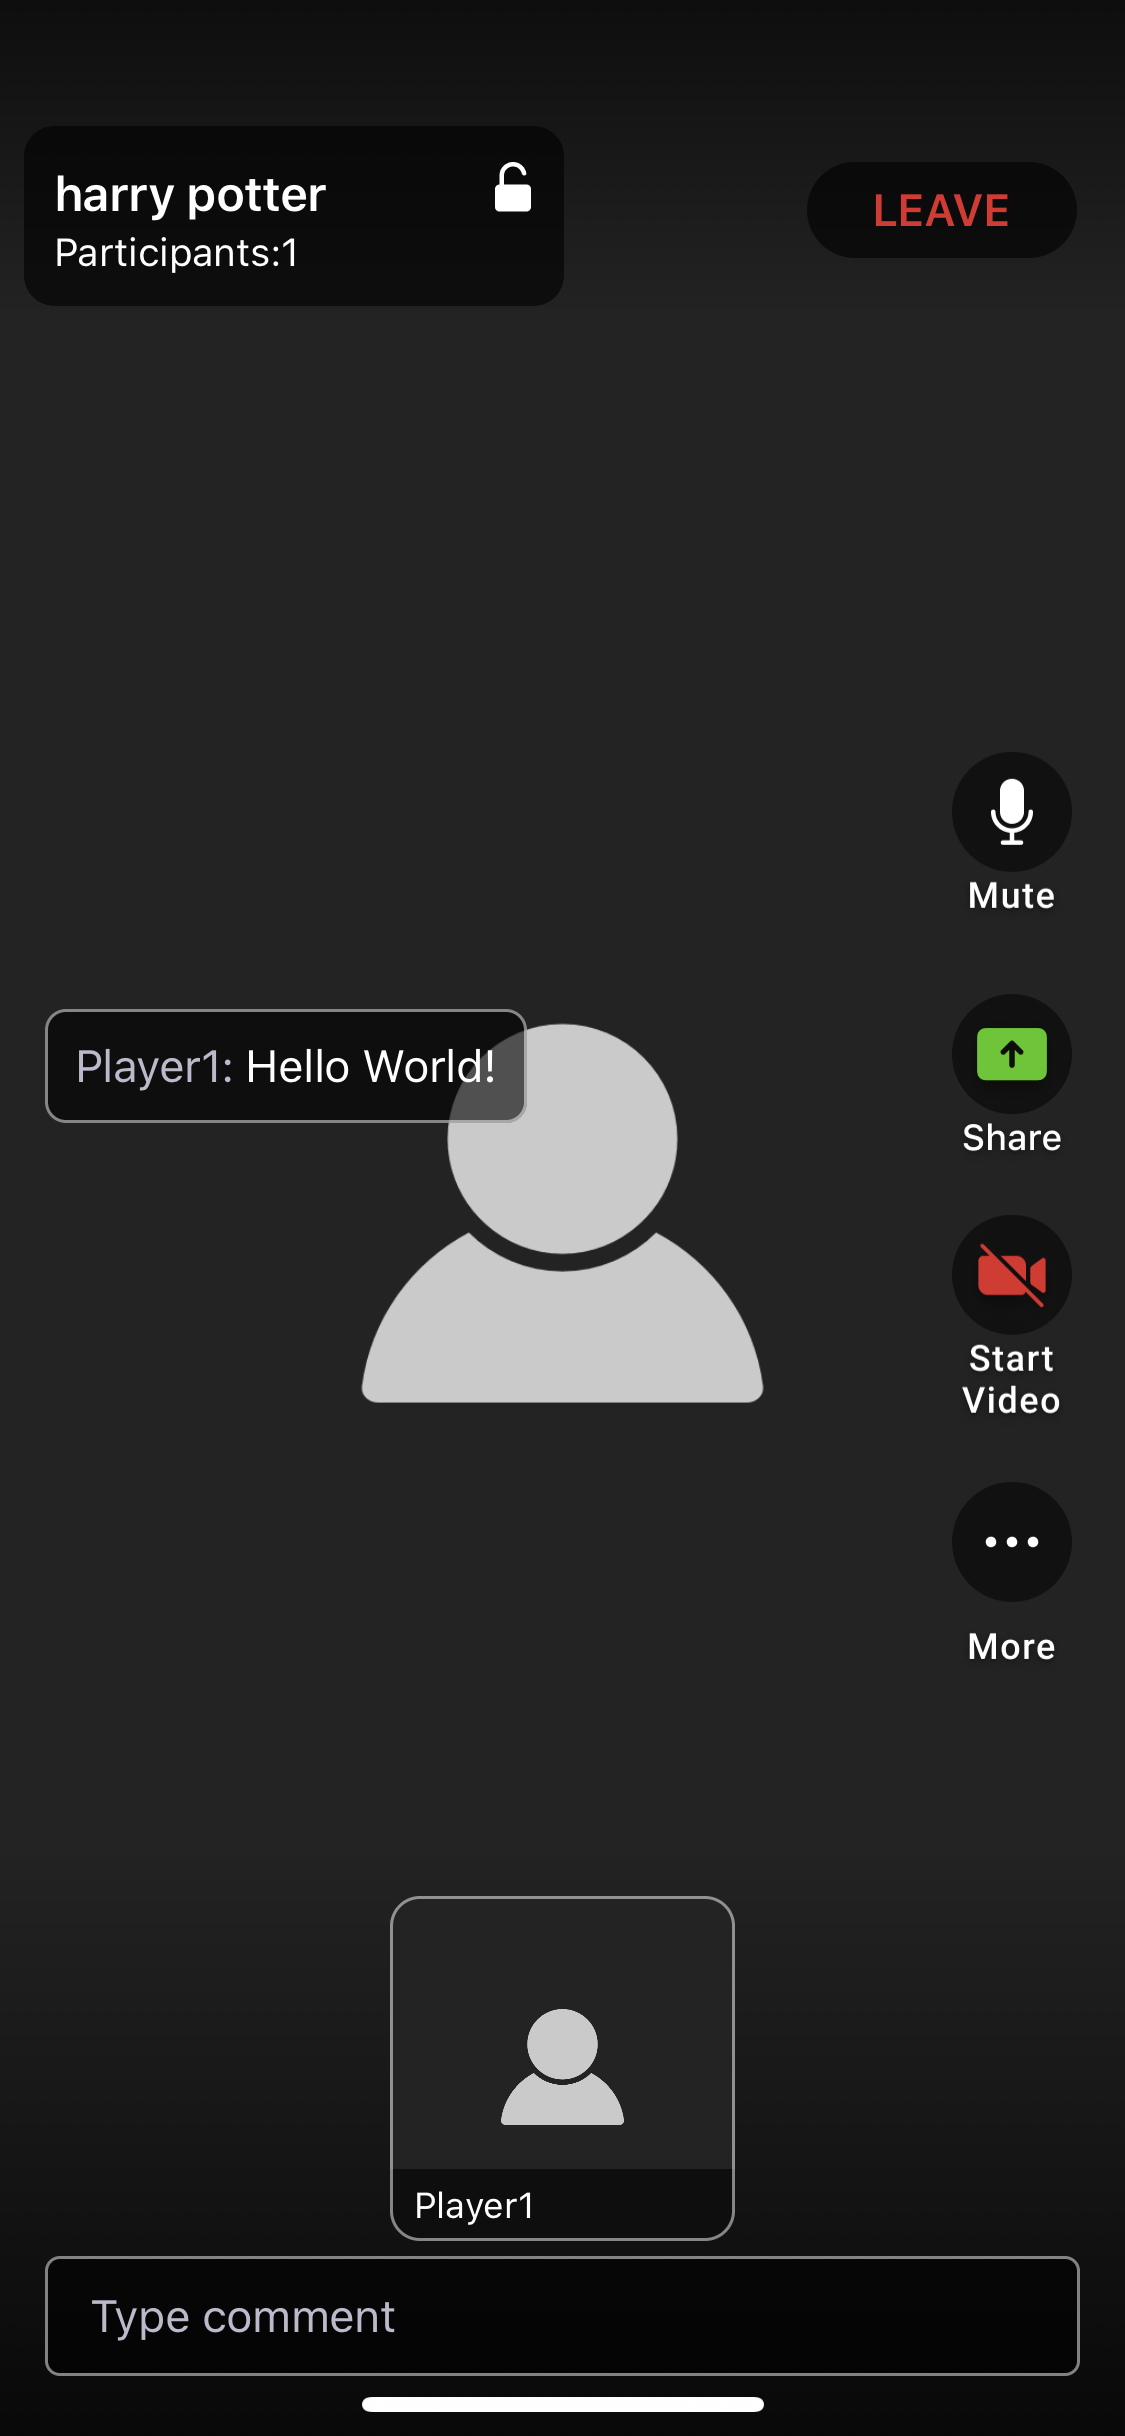
When the session is ready, the video session UI will appear. Other users can type the name "Harry Potter" and join the same session.
Note: You can customize the Video SDK UI to fit your use case.
In this app, you'll see common Zoom features like muting/unmuting audio, disabling/enabling video, switching cameras, screen sharing, and chat.
Integrate and add features
Now that you've gotten a feel for the Video SDK by running the sample, you can integrate it into your own app.
As part of the integration, you will need to Initialize the SDK. After initialization, you will have access to implement Video SDK features in your app, such as:
- listening for callbacks
- creating, joining, and leaving sessions
- rendering a user's video
- managing audio
- sending and receiving chat messages
See the guides under Add features to better understand these features and more.