The sample app is included in the SDK download. Follow the steps on this page to install Flutter and run the sample app. Be sure you have the necessary prerequisites before you start.
Make sure to download and install Flutter before you begin!
See Video SDK Plans & Pricing for Developer for pricing.
1. Install platform SDK files
You can use the Video SDK for Flutter to develop an Android or iOS app. Follow the steps below to run the sample app.
Android
-
In the root directory
flutter-zoom-video-sdk/, run this command in the console:flutter pub get -
Connect with your Android device or open an Android emulator in Android Studio. Then go to step 2 to configure the sample app.
iOS
You must install CocoaPods to use the iOS sample.
-
In the root directory
flutter-zoom-video-sdk/, run this command in the console:flutter pub get -
Connect with your iOS device or open an iOS simulator.
2. Configure the sample app
Follow these instructions to configure the sample app.
- Fill in the SDK Key & Secret in
/flutter-zoom-video-sdk/example/lib/config.dart. - Verify that the example configuration is correct in
/flutter-zoom-video-sdk/example/lib/main.dart:
InitConfig initConfig = InitConfig(
    domain: 'zoom.us',
    enableLog: false,
);
3. Run the sample app
In /flutter-zoom-video-sdk/example/lib, run this command on the console:
flutter run
If there are multiple devices available, the console will show a list. Select the device you want to launch the app on.
Run sample app in Android Studio or terminal
To see more details about the sample app as it's running, run the Android sample app in Android Studio or Visual Studio code or terminal. See the instructions below.
Note: You can also run the sample app on XCode (not shown).
Using Android Studio
Follow these steps to run and debug the sample app using Android Studio.
-
Install two plugins in Android Studio: Flutter and Dart.
-
Open the project in Android Studio, then edit the Flutter SDK path and Dart SDK path to point to the flutter and dart-sdk path. The dart-sdk usually located in the
flutter/binfolder when downloading flutter sdk from its official site. -
Edit run/debug configurations to add a new configuration template. Set the
main.dartfile as the Dart entrypoint.
Select a device, and click Run to launch the app.
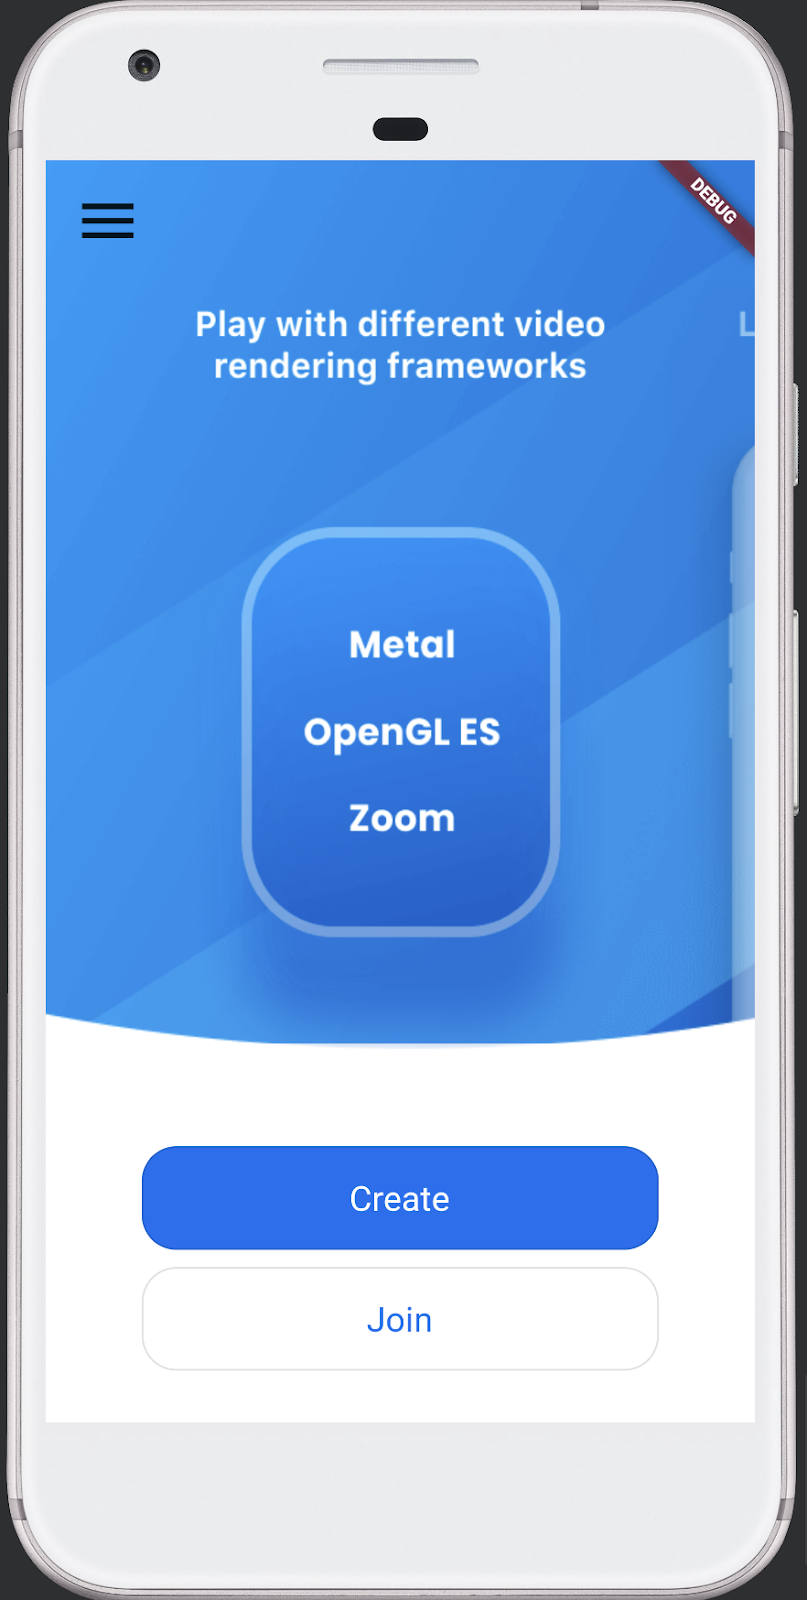
Using terminal
Follow these steps to run in terminal.
-
Define the path of the Video SDK for Flutter in your terminal:
export PATH="$PATH:`pwd`/flutter/bin" -
From the root directory (for example,
git/flutter-zoom-video-sdk) run:flutter pub get -
Run an Android emulator or iOS simulator, then start the sample:
cd example flutter run -
From the terminal, select the device or emulator to run the sample:
Android SDK built for x86 (mobile) • emulator-5554 • android-x86 • Android 11 (API 30) (emulator)
iPhone 14 (mobile) • 4C86BB12-2B94-4E89-B6D3-62B080C3FEE4 • ios • com.apple.CoreSimulator.SimRuntime.iOS-16-2 (simulator)
[1]: Android SDK built for x86 (emulator-5554)
[2]: iPhone 14 (4C86BB12-2B94-4E89-B6D3-62B080C3FEE4)
Please choose one (To quit, press "q/Q"):
Authenticate
You will need a Native SDK Key and Secret to generate a JSON Web Token (JWT) that your application will pass into the Video SDK. See Video SDK Authentication for details.
For security reasons, these credentials should not be stored in the application itself. You should generate this where you can securely store your Video SDK credentials, such as through a backend (server-side) function.
Sample app walkthrough
The sample app provides code that shows how to use the Video SDK in a basic Flutter application.
Folder Structure
The sample app's folder structure is set up like this:
example
   │───android
   │───ios
   │───lib
   │    │───components
   │    │      │───video_view.dart
   │    │      │───comment_list.dart
   │    │      │───intro_image_list.dart
   │    │      └───menu_bar.dart
   │    │───utils
   │    │      └───jwt.dart
   │    │───screens
   │    │      │───call_screen.dart
   │    │      │───join_screen.dart
   │    │      │───intro_screen.dart
   │    │      └───call_screen.dart
   │    │───config.dart
   │    └───main.dart
   └───pubspec.yaml
See the following sections for details.
android and ios
This application began as a simple Flutter project (flutter create my_app) which includes the android and ios folders. The native Zoom SDK was installed for both platforms in these folders. For example, the native SDK for Android was added as a dependency in example/android/app/build.gradle.
example/lib
This folder contains components about the user interfaces and interaction from frontend to backend.
There are three screens used for this application in example/lib/screens:
call-screen: UI for video conferencing, chat and screen sharingintro-screen: Sets permissions for video/audio and provides UI to start or join a video sessionjoin-screen: Form for values used to start or join a video session
Files that the frontend might use are in example/lib/utils. For example, jwt.dart generates tokens with SDK keys and secrets.
jws.dart includes a JWT-generation function, but in a real-world production application, JWTs should be consumed from a secure, server-side source as described in Authenticate
example/lib/main.dart
This is the entry point for the example application. The Video SDK for Flutter imports the context wrapper for the entire application, named ZoomVideoSdk, on line 2:
import 'package:flutter_zoom_videosdk/native/zoom_videosdk.dart';
See Import SDK for details.
pubspec.yaml
This file lists package dependencies as well as command line scripts that you can run.