Try the demo app
The code on this page works with either the default UI or the custom UI.
Now that you've downloaded and set up the sample app, it's time to bring it to life.
Select your environment
- In Xcode, look for the big triangle in the upper left corner next to the Close, Minimize, and Zoom buttons. On the righthand side of the Run button, select the environment to run your app on.

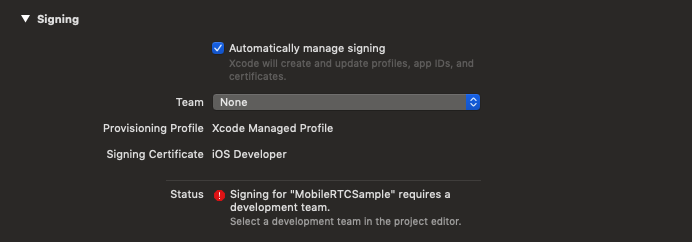
- Once you select your running environment, configure one more setting before you successfully build your app. Go to the project configuration page. In General, there is a section called Signing. Use your own team to sign your developer certificate.
Run on a device
To bring out the full power of the Meeting SDK, run and test the demo app on an iOS device.
-
Connect your iOS device with your computer.
When you connect your iOS device to your computer to build and run applications on your device, a pop-up displays, asking if you would like to trust this computer will open on your device. Press Trust this computer to enable debug mode.
-
Select the device, then select Run.
The demo app is generated and automatically installed on the device you selected.
Play with your app
To run the demo app, you will need:
-
Another device that can host a Zoom meeting, such as Zoom desktop clients or Zoom mobile clients. We will use the Zoom client for iOS.
-
Your demo application with the Meeting SDK.
Step 1: Start a meeting
On your Zoom iOS client, log in with your Zoom account and start a meeting.
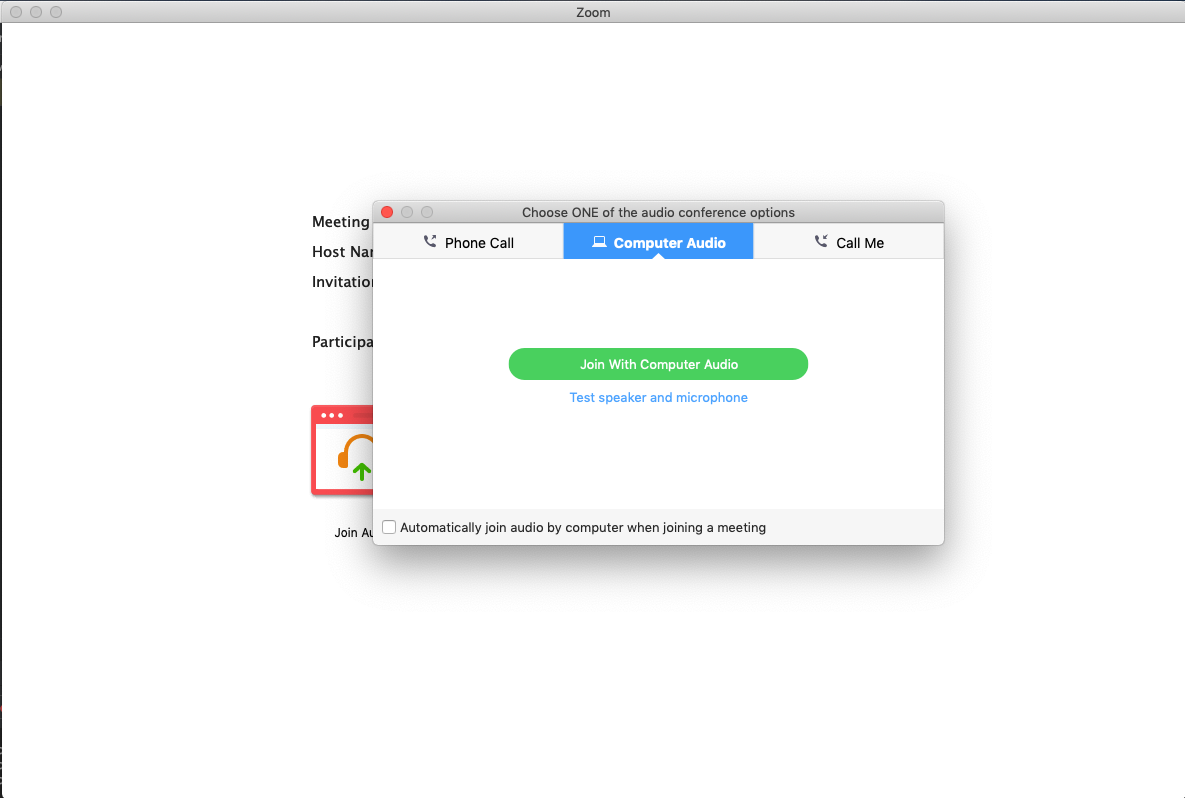
Once the meeting room is ready, you will see a nine digit Meeting ID, like 123-456-789.
Step 2
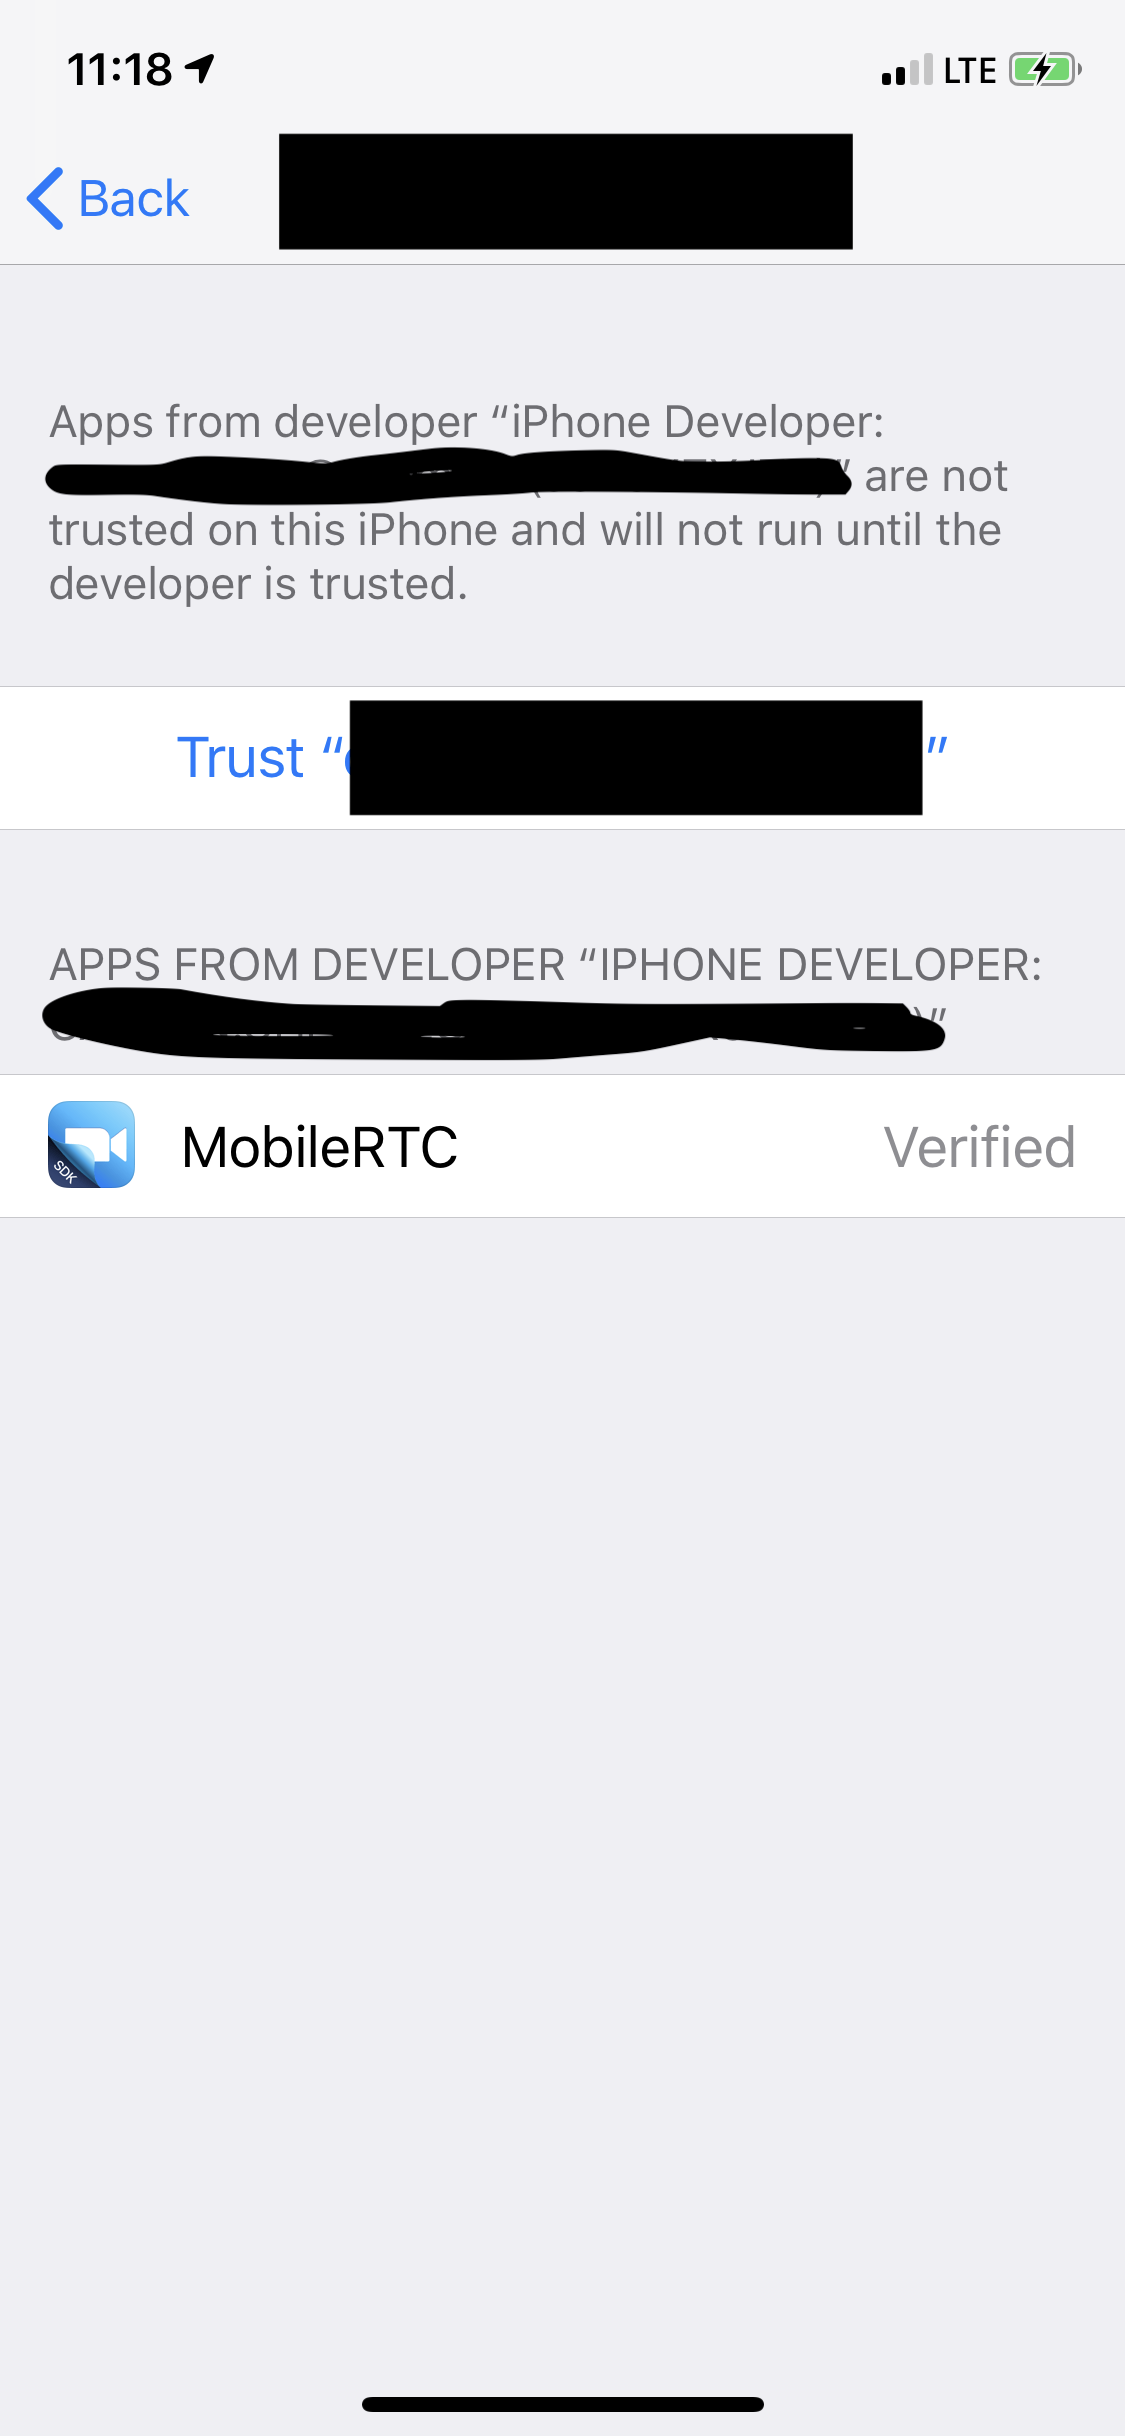
Switch to your iOS device. If you try to run the application for the first time, you'll probably run into Untrusted Developer error.
Go to Settings > General > Profiles & Device Management and press the item under Developer App. By pressing Trust, you will be able to run your own app on your iOS device.
When you launch your Meeting SDK sample app, the first screen you see is:
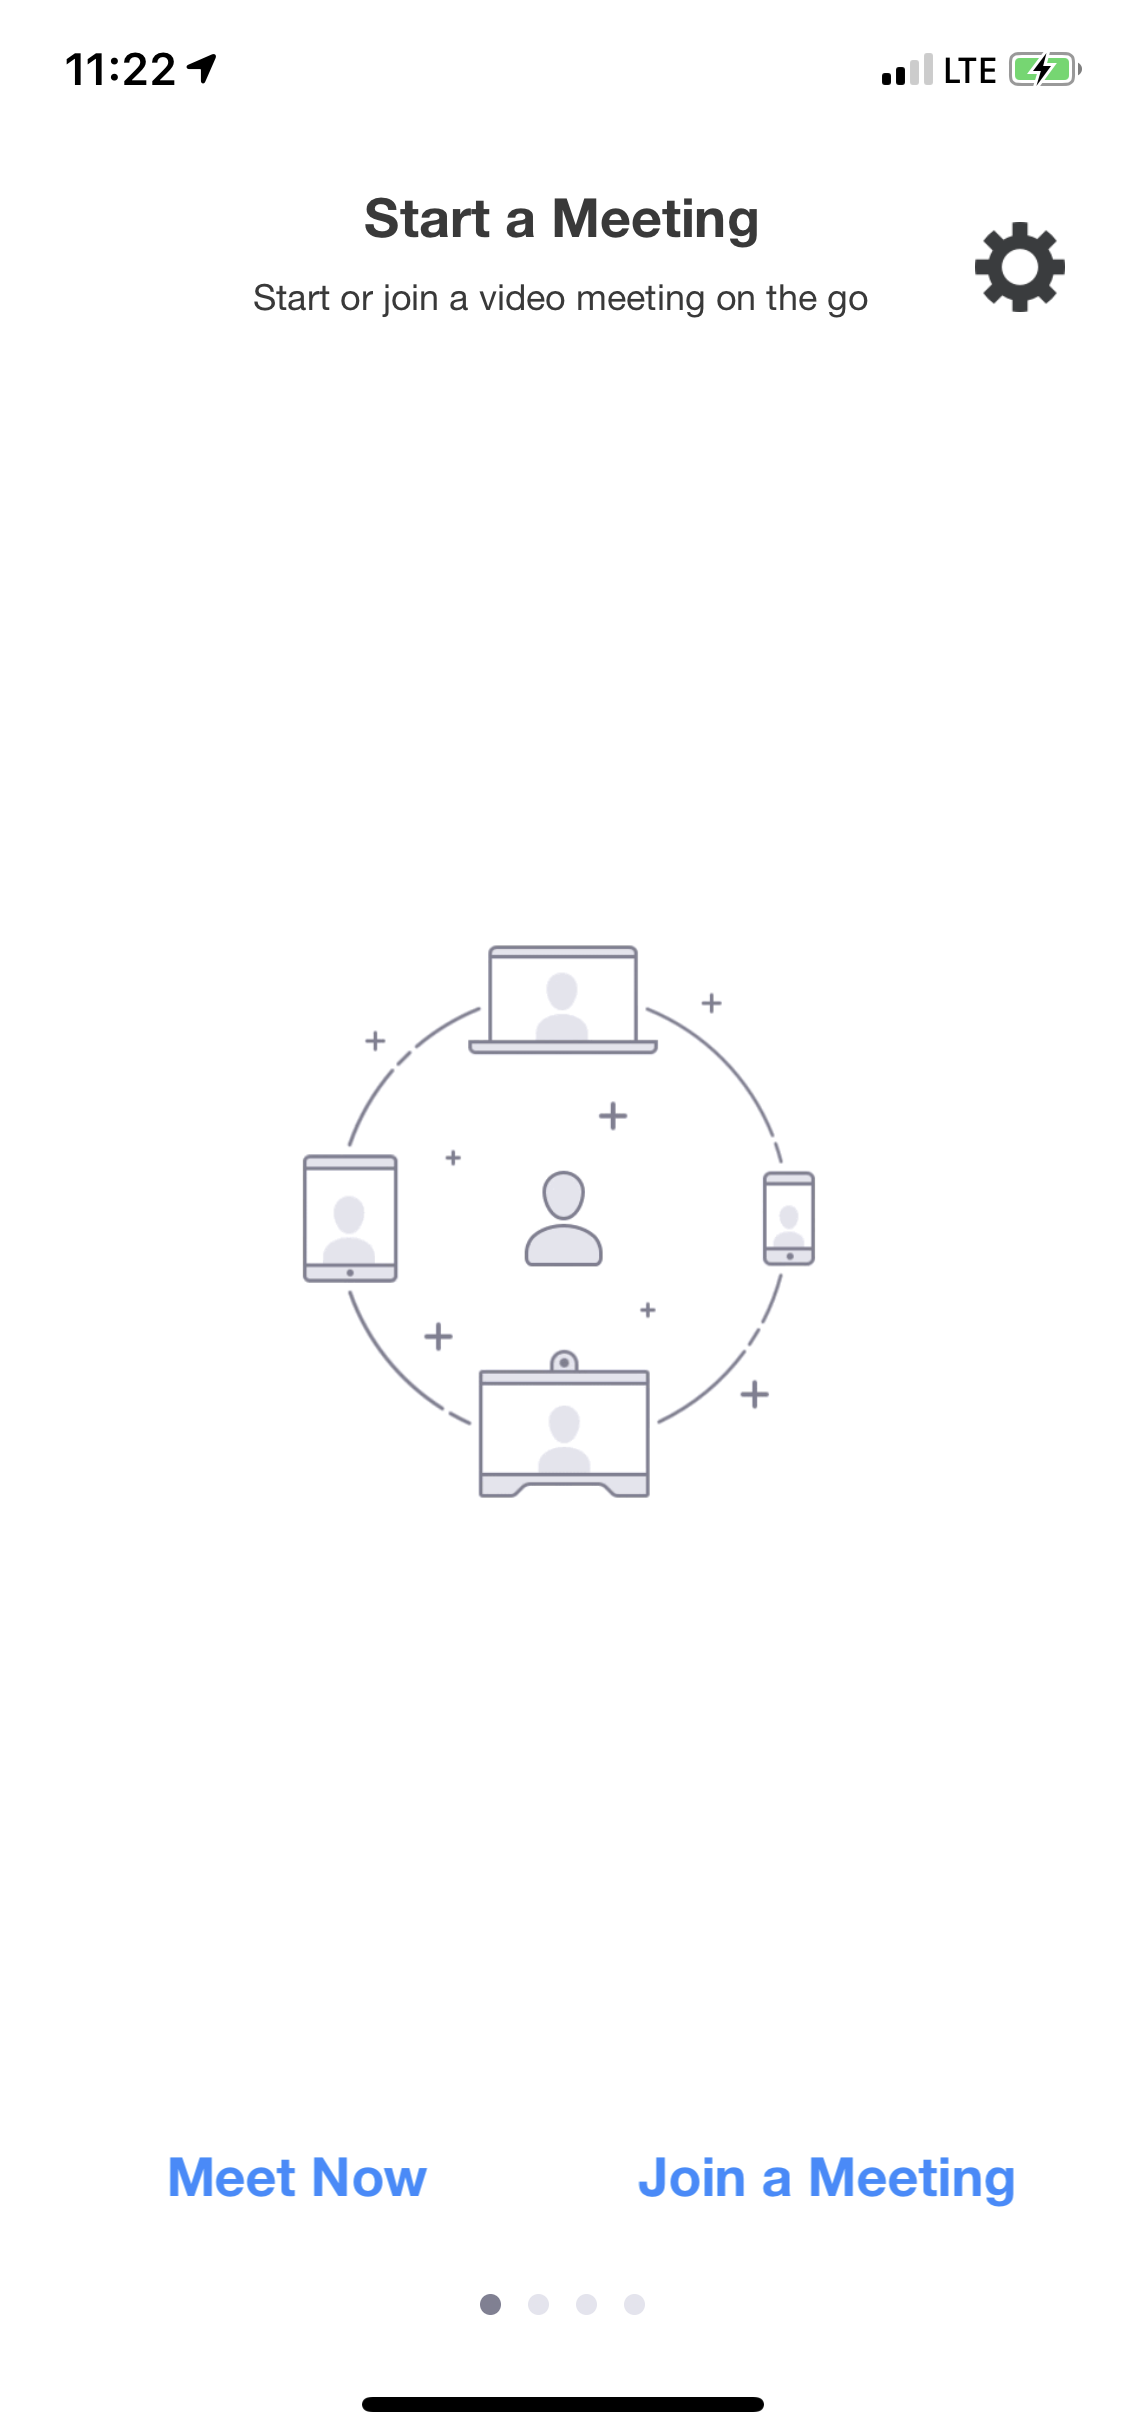
Press Join a Meeting, and enter the Meeting ID that you got from the Mac client. Then press Ok. If you didn't enter your display name in the previous section, a pop-up will ask your display name.
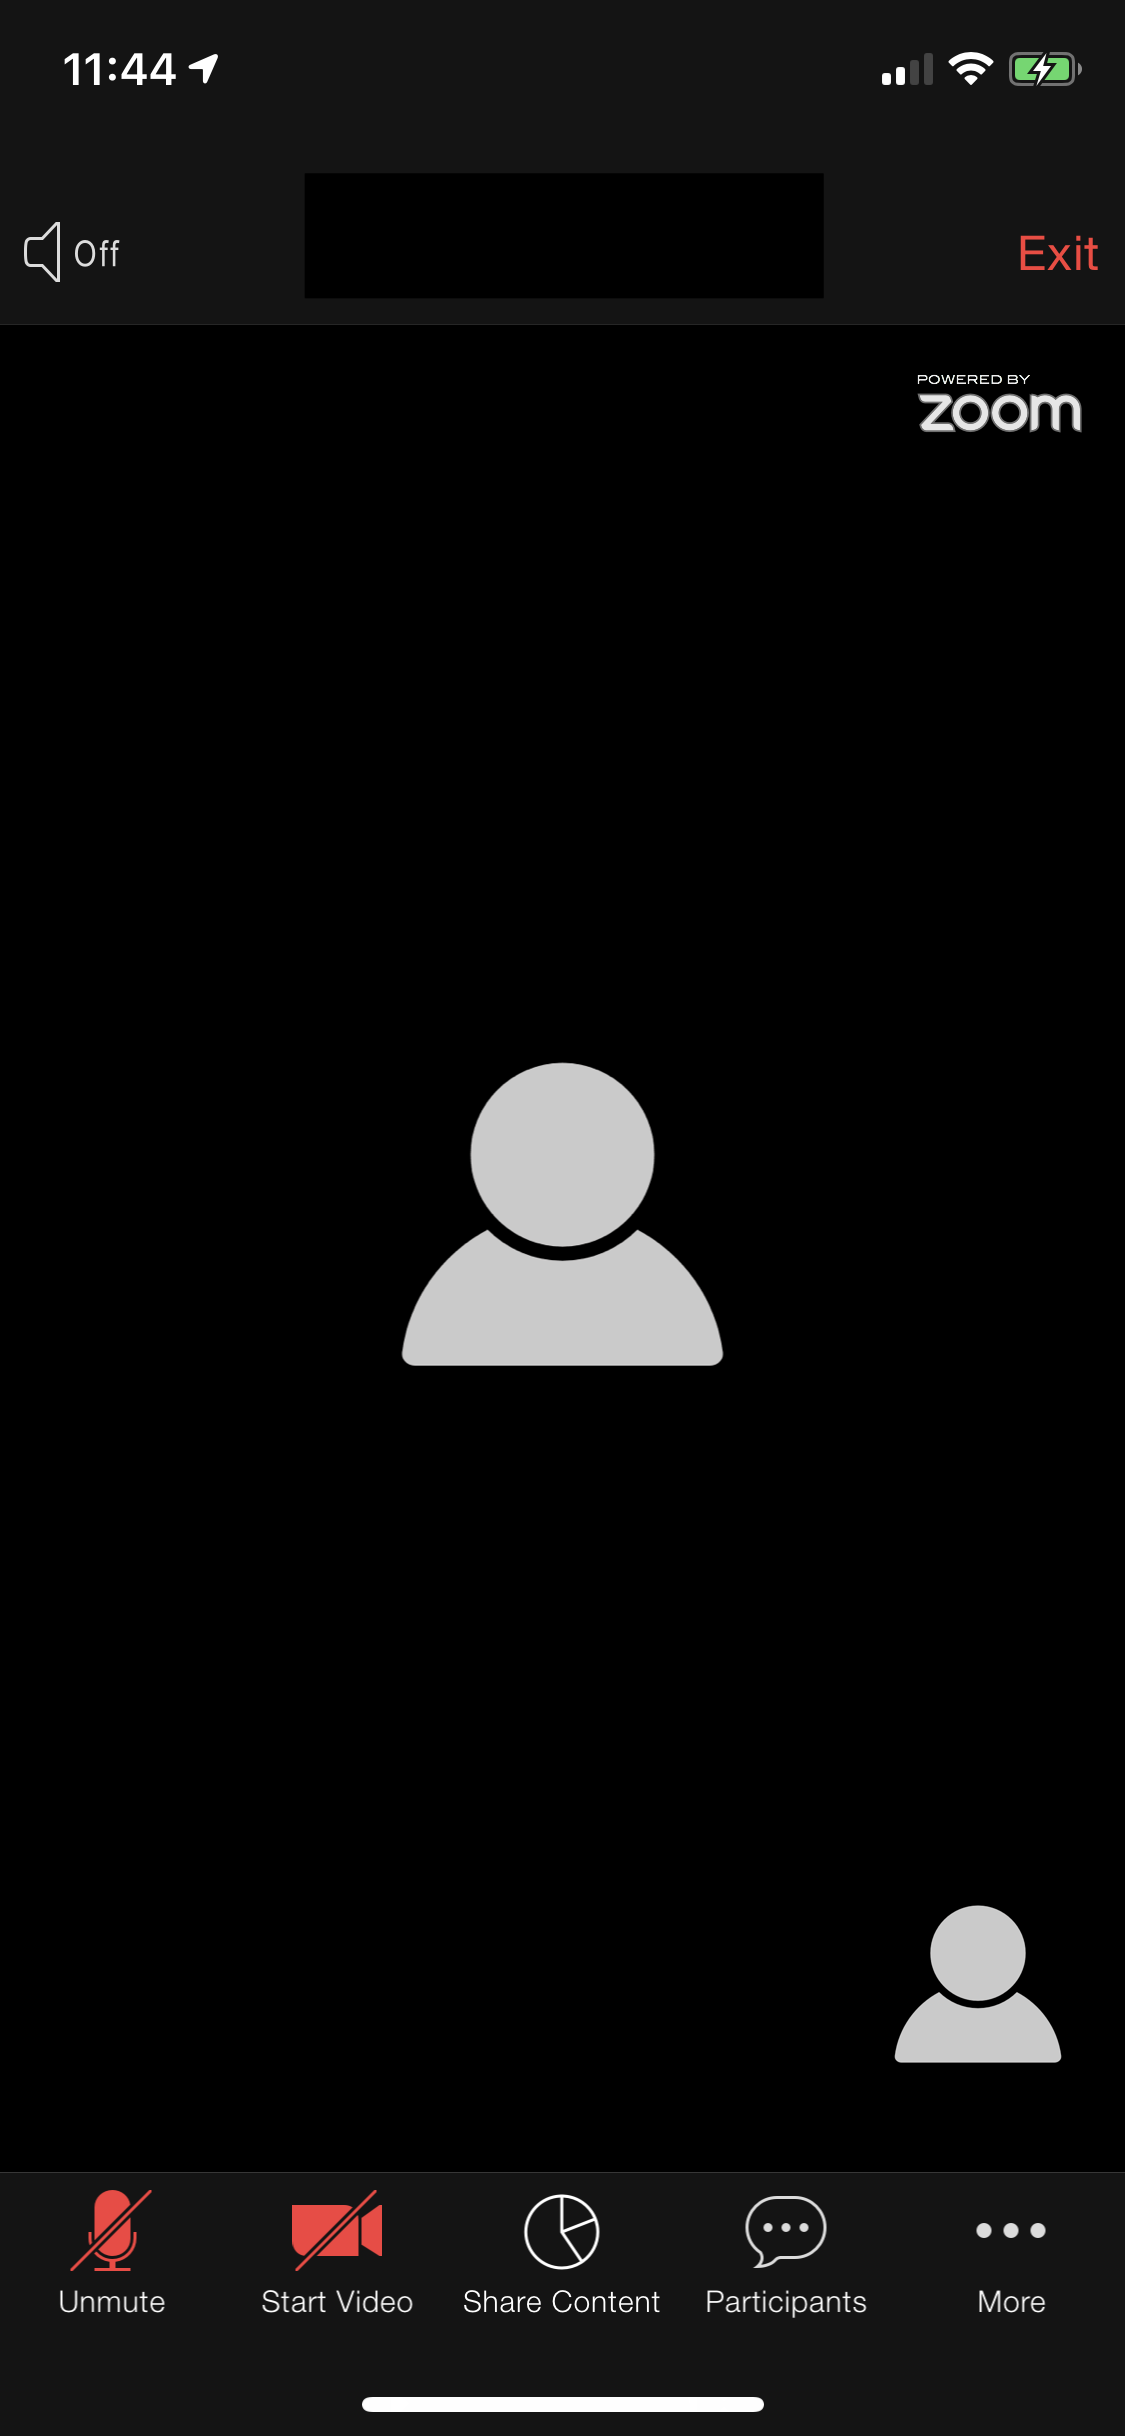
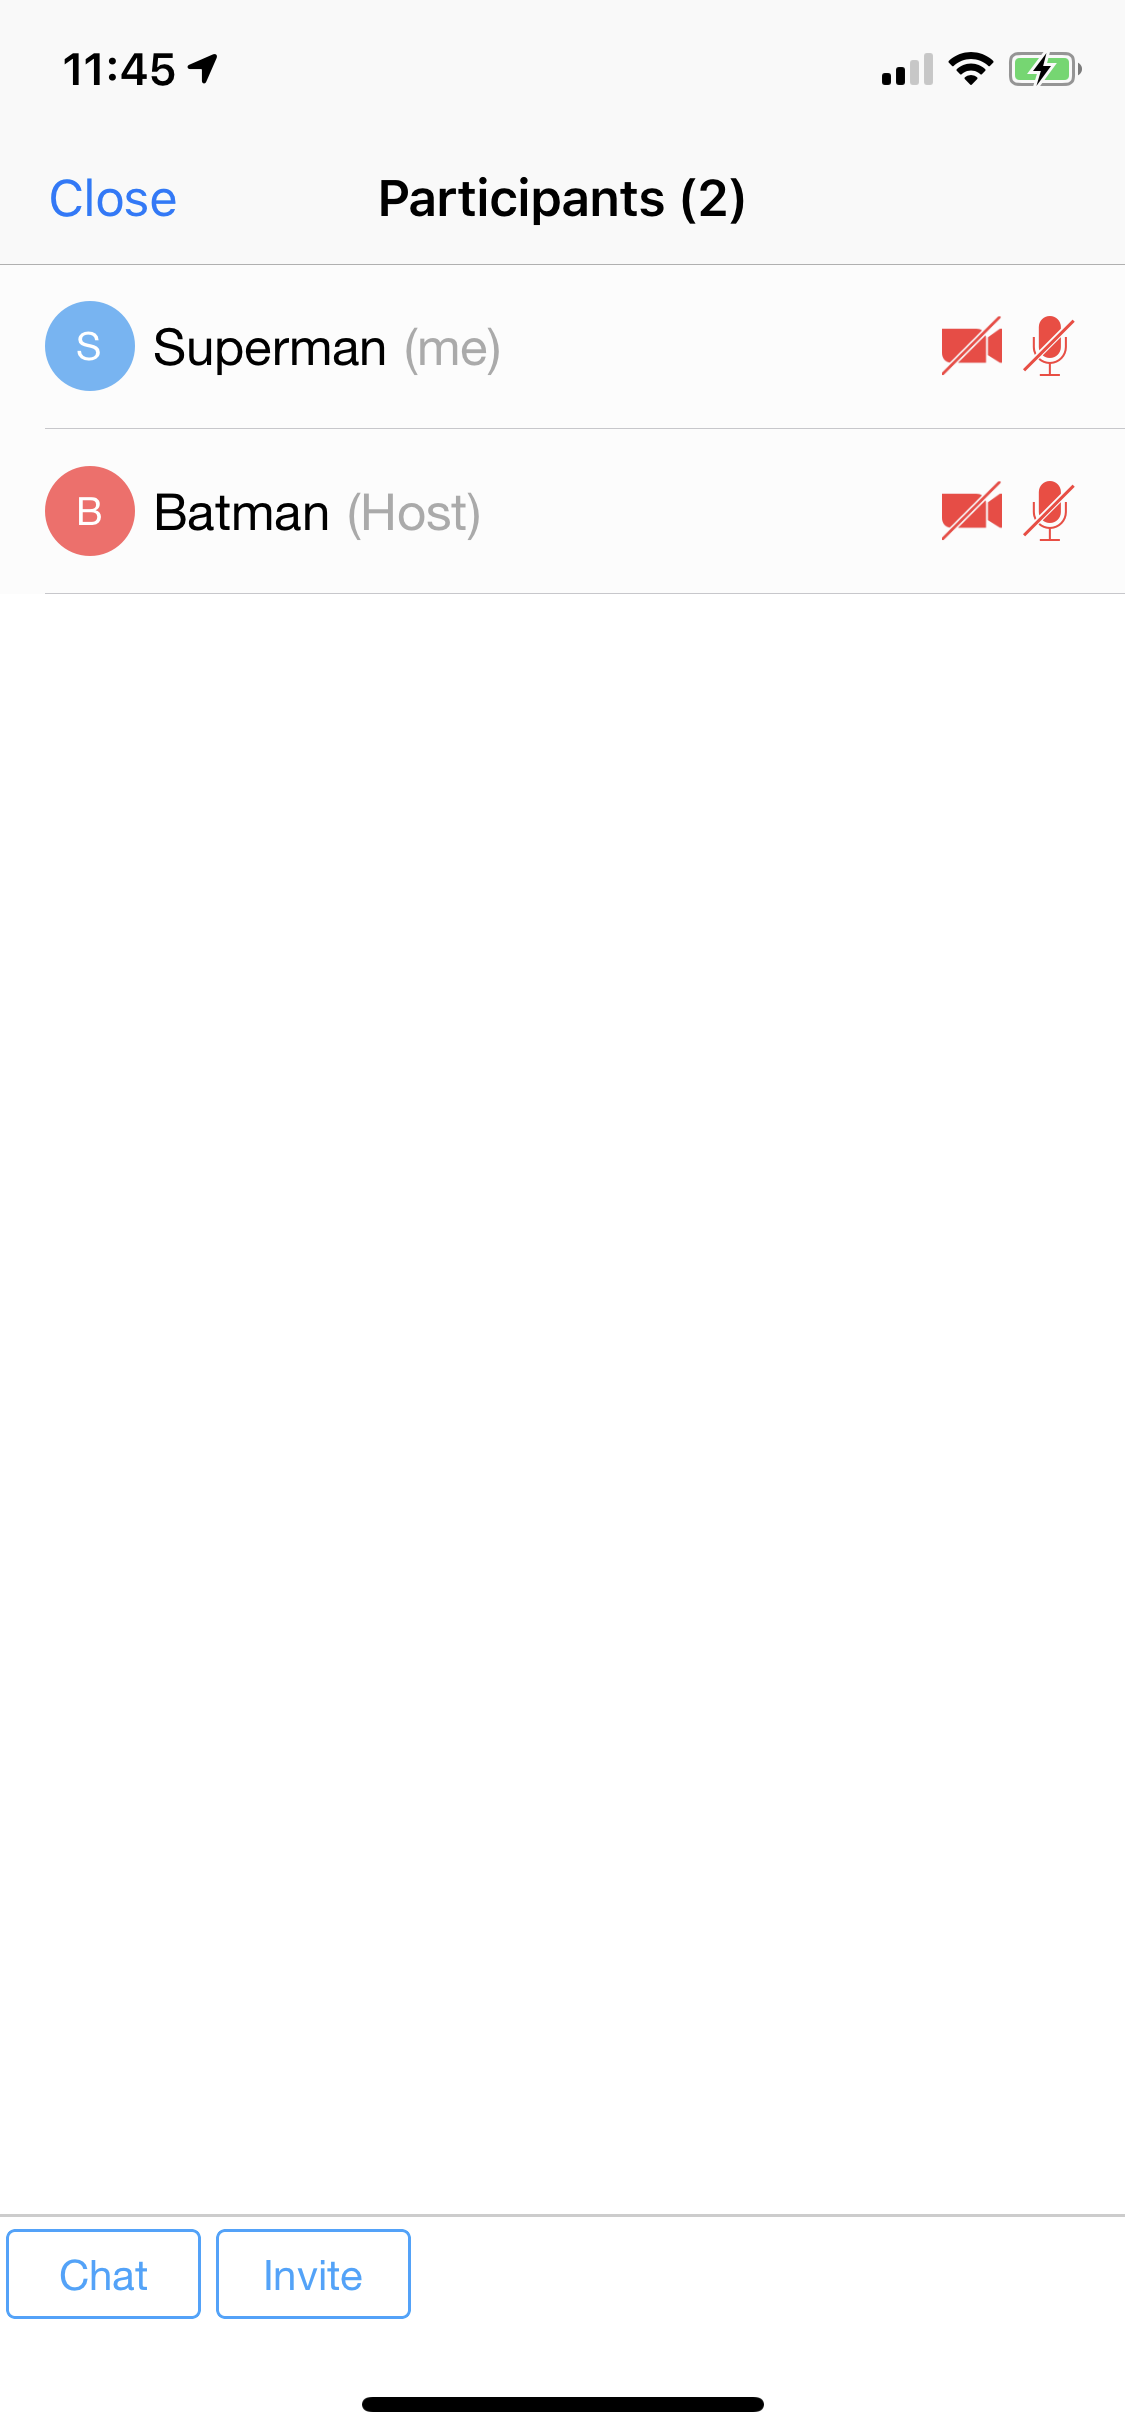
Select Participants. The name you entered while joining should appear here.
You can now browse around each button and corner in the meeting room. Our Meeting SDK offers many features to enrich your video conferencing experience, such as photo sharing, bookmark sharing, and more.
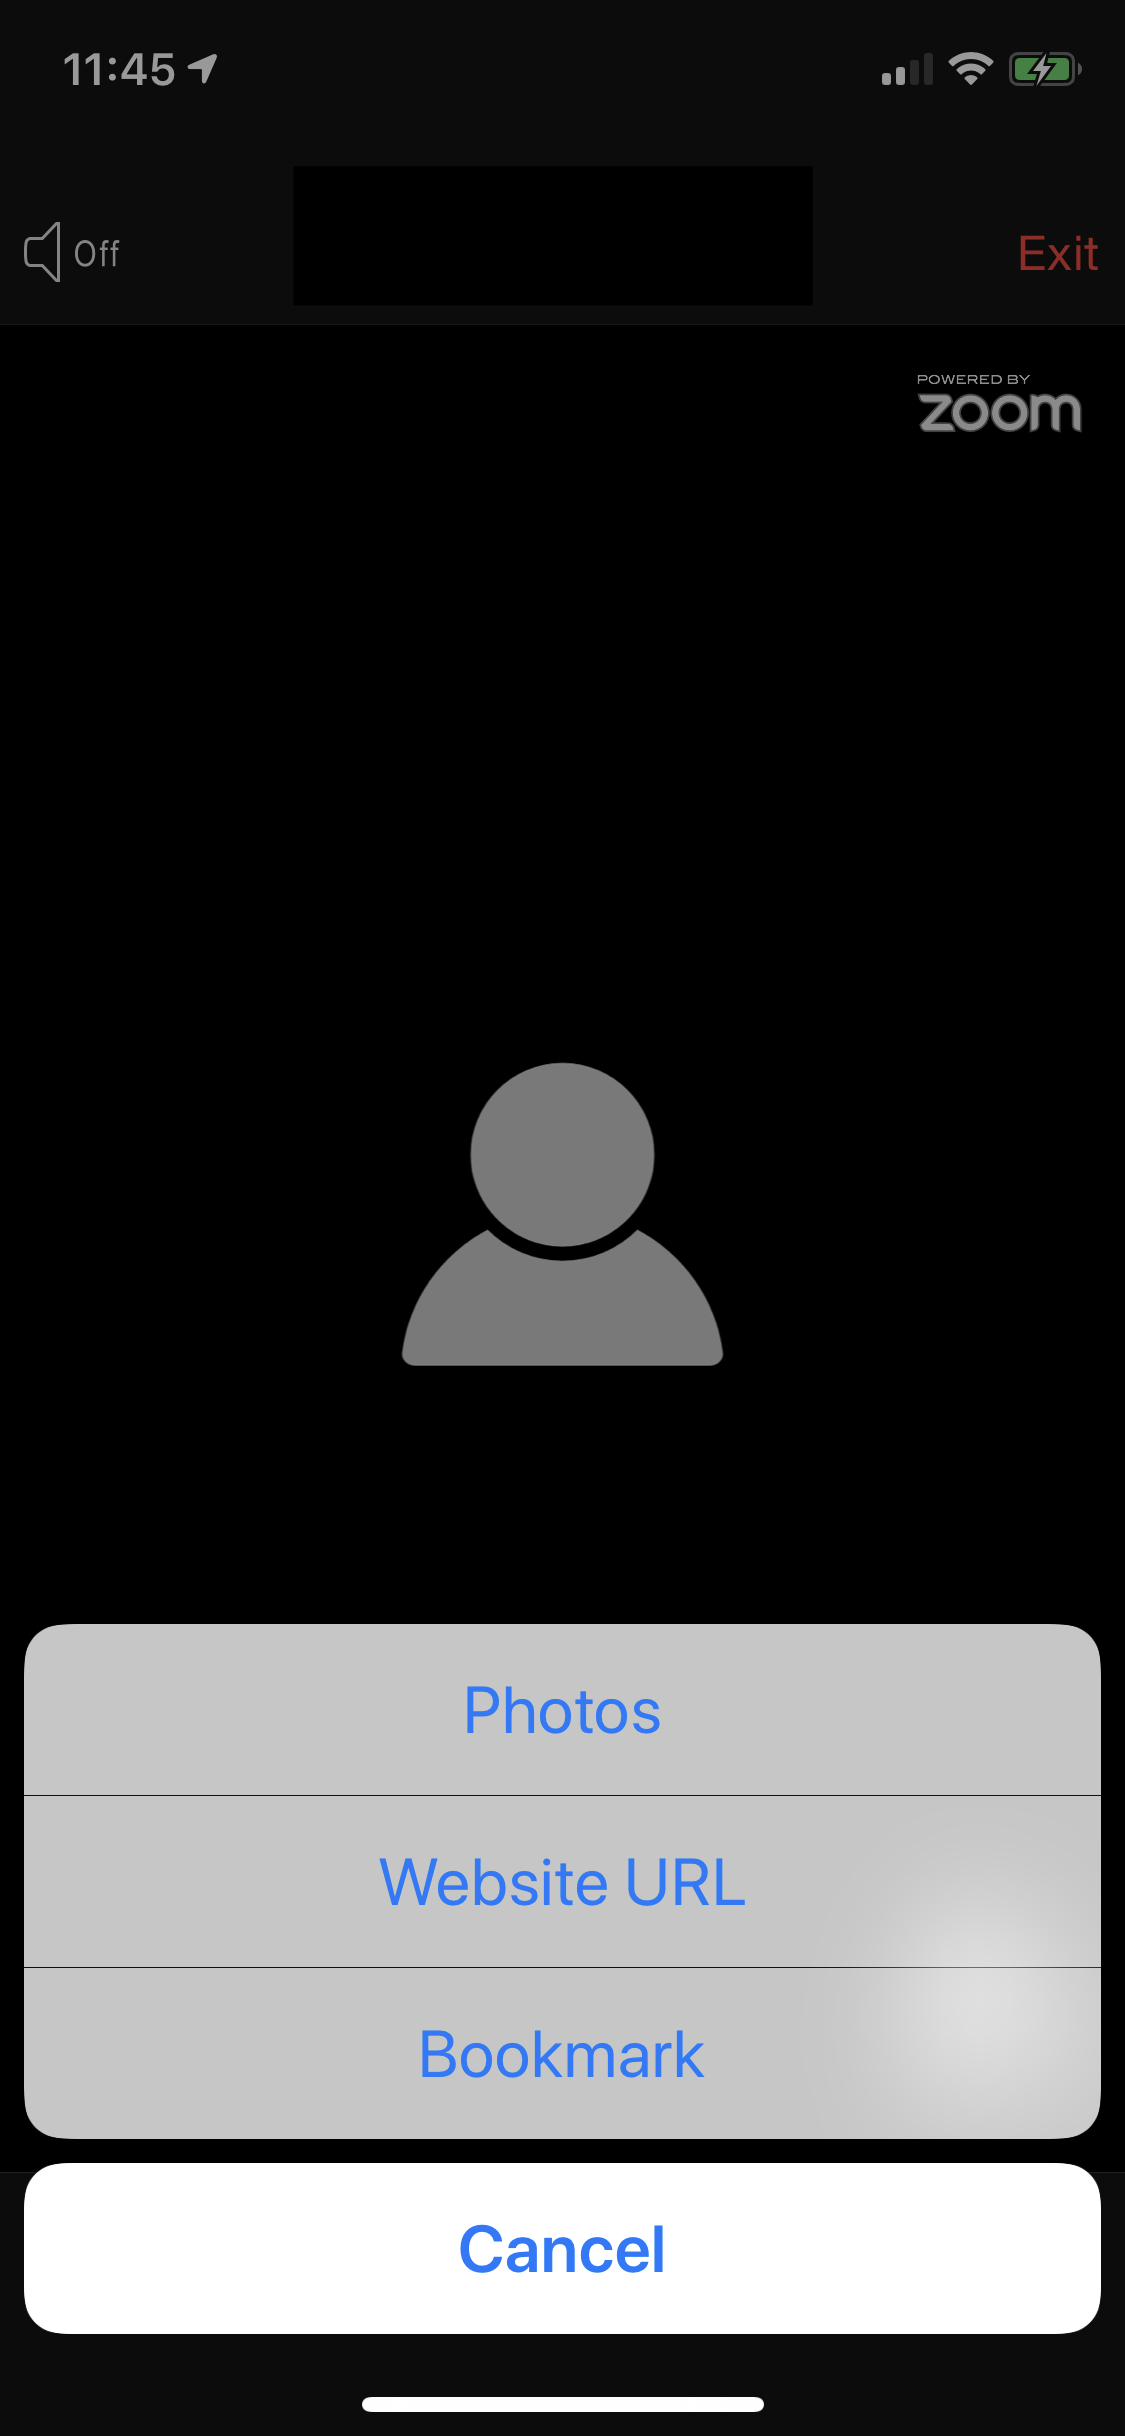
This is what our Meeting SDK for iOS feels like in an iOS application.
You can now browse around each button and corner in the meeting room. The Meeting SDK offers a lot of hands-on features to enrich your video conferencing experience, such as sharing your screen, document sharing, sending reactions, and more.