Authorize
To interact with Zoom, chat apps must be authorized and authenticated to access resources and make requests.
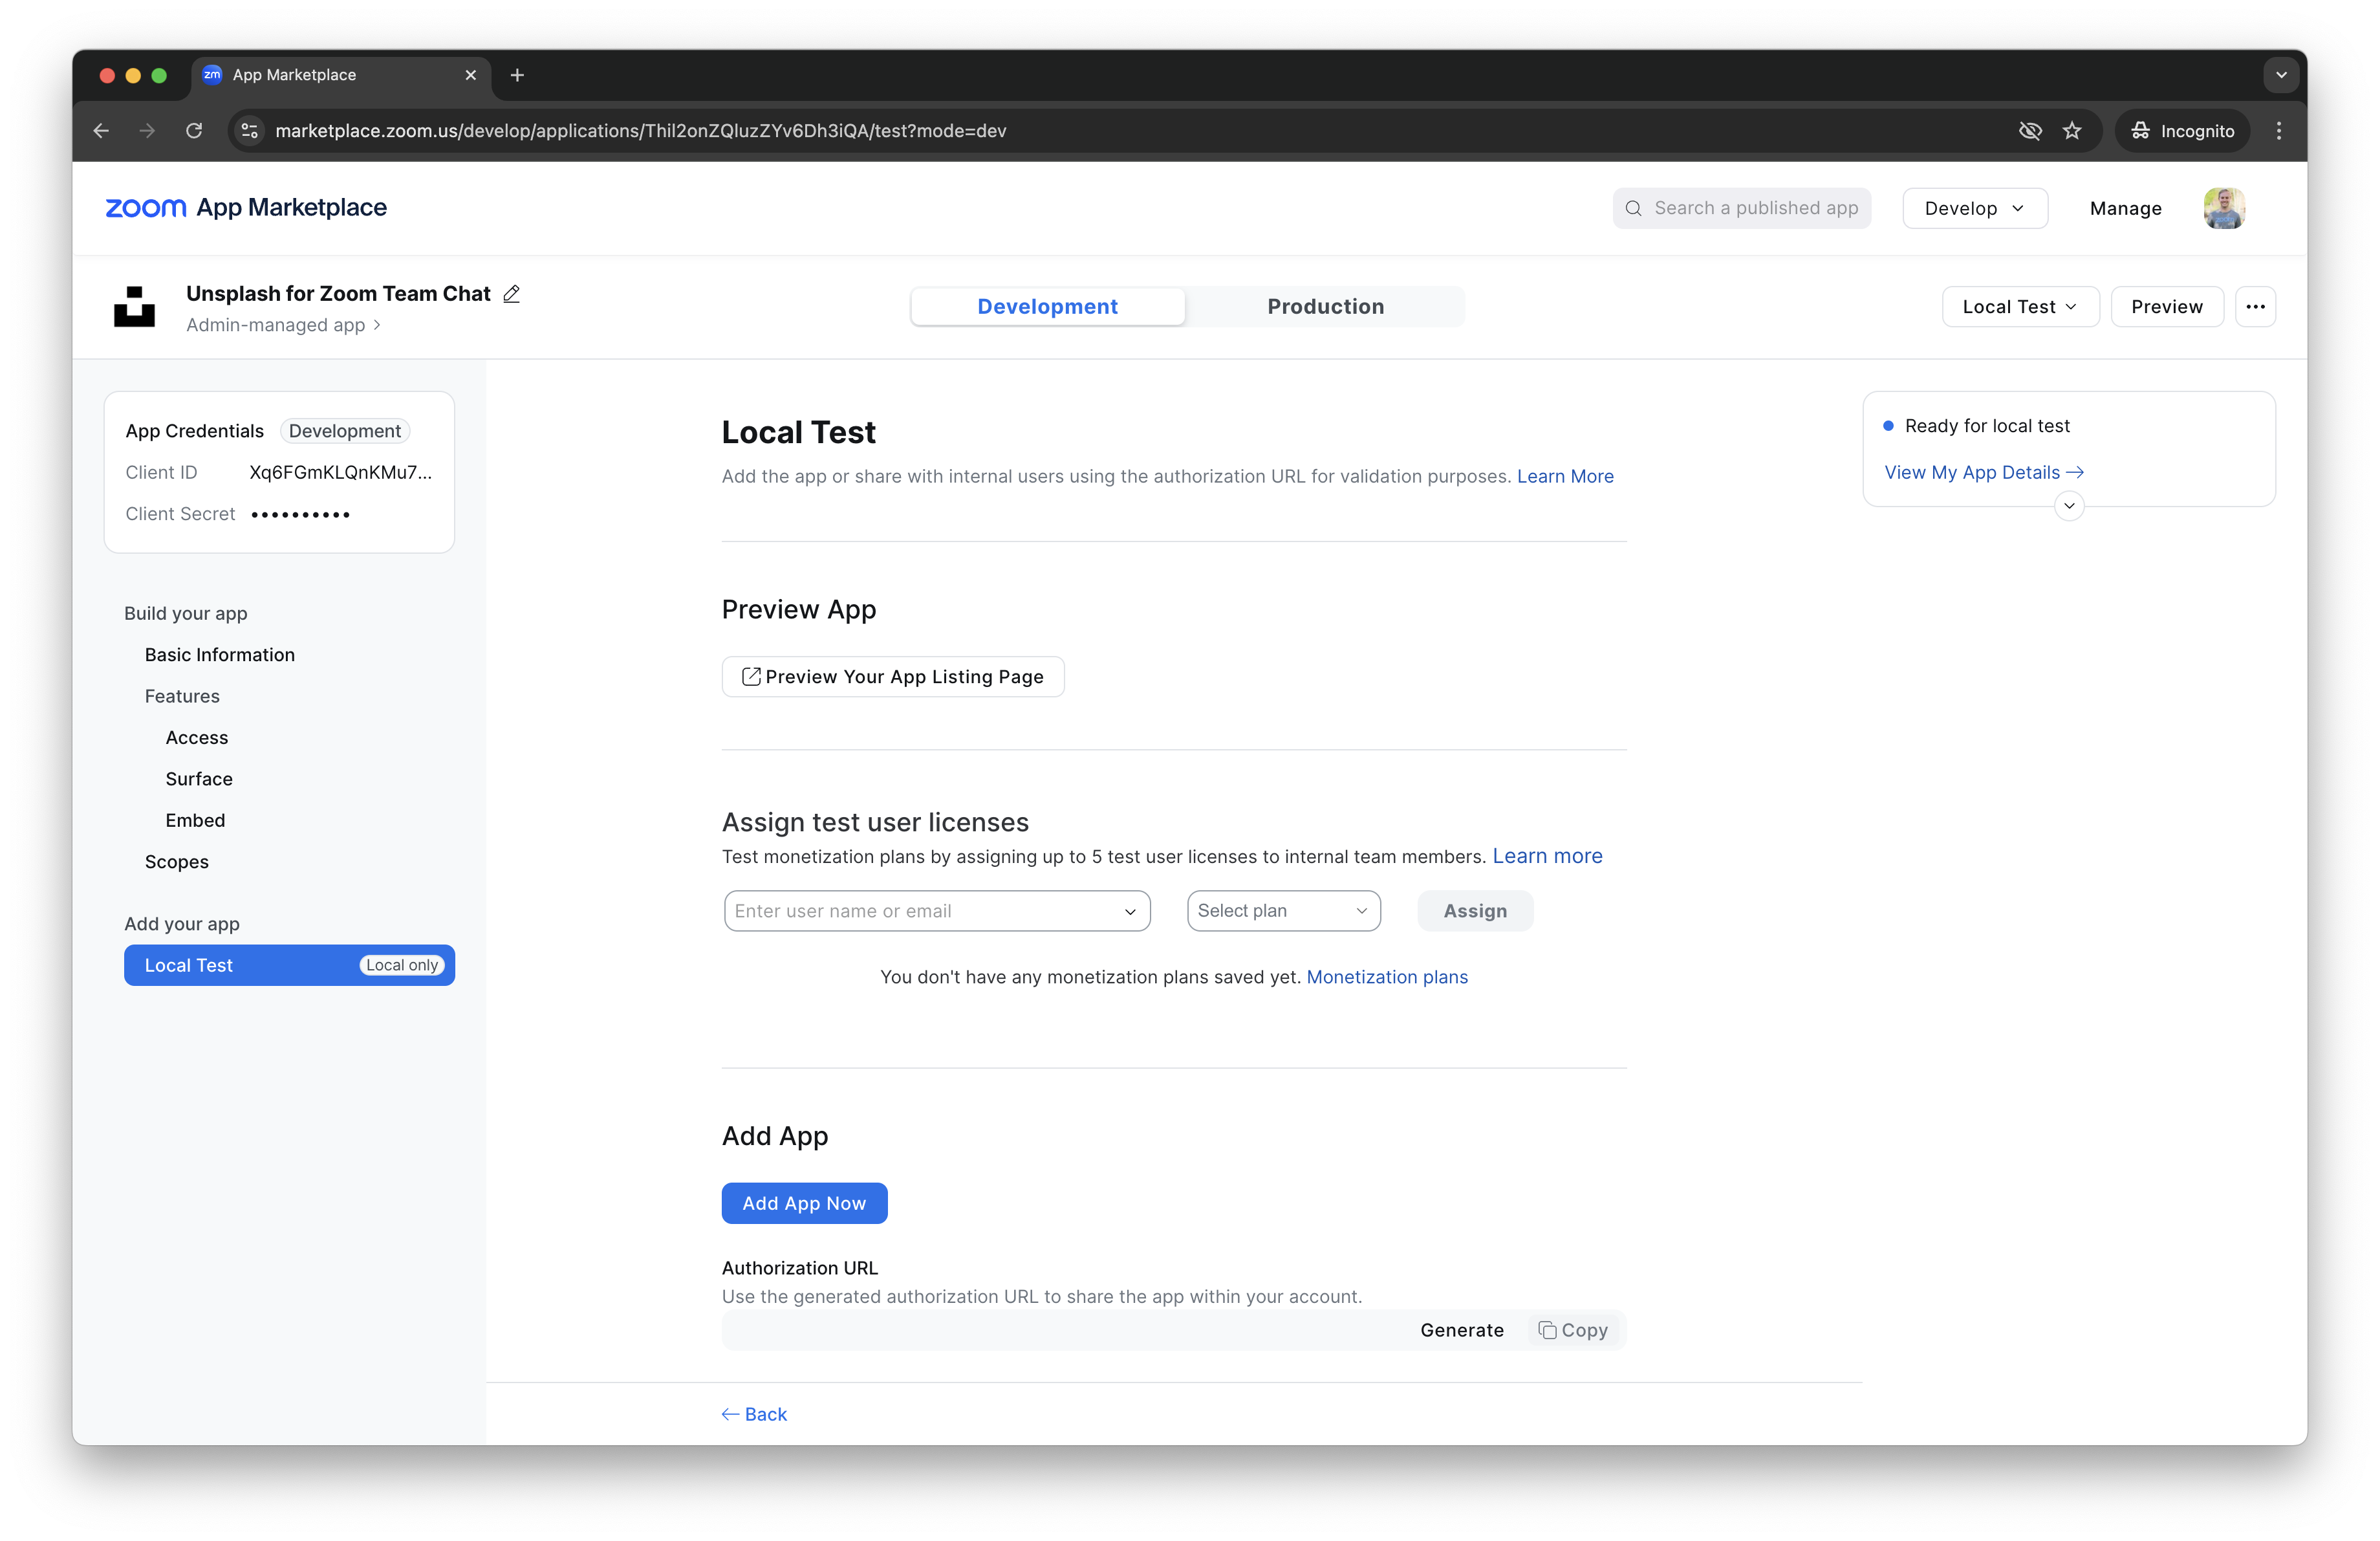
Add App
To install your Chatbot to your Zoom account, navigate to the Local Test page, and click Add App Now.
You can also construct and navigate to the authorization URL yourself following this format:
https://zoom.us/oauth/authorize?response_type=code&client_id=ZOOM_CLIENT_ID&redirect_uri=ZOOM_REDIRECT_URI
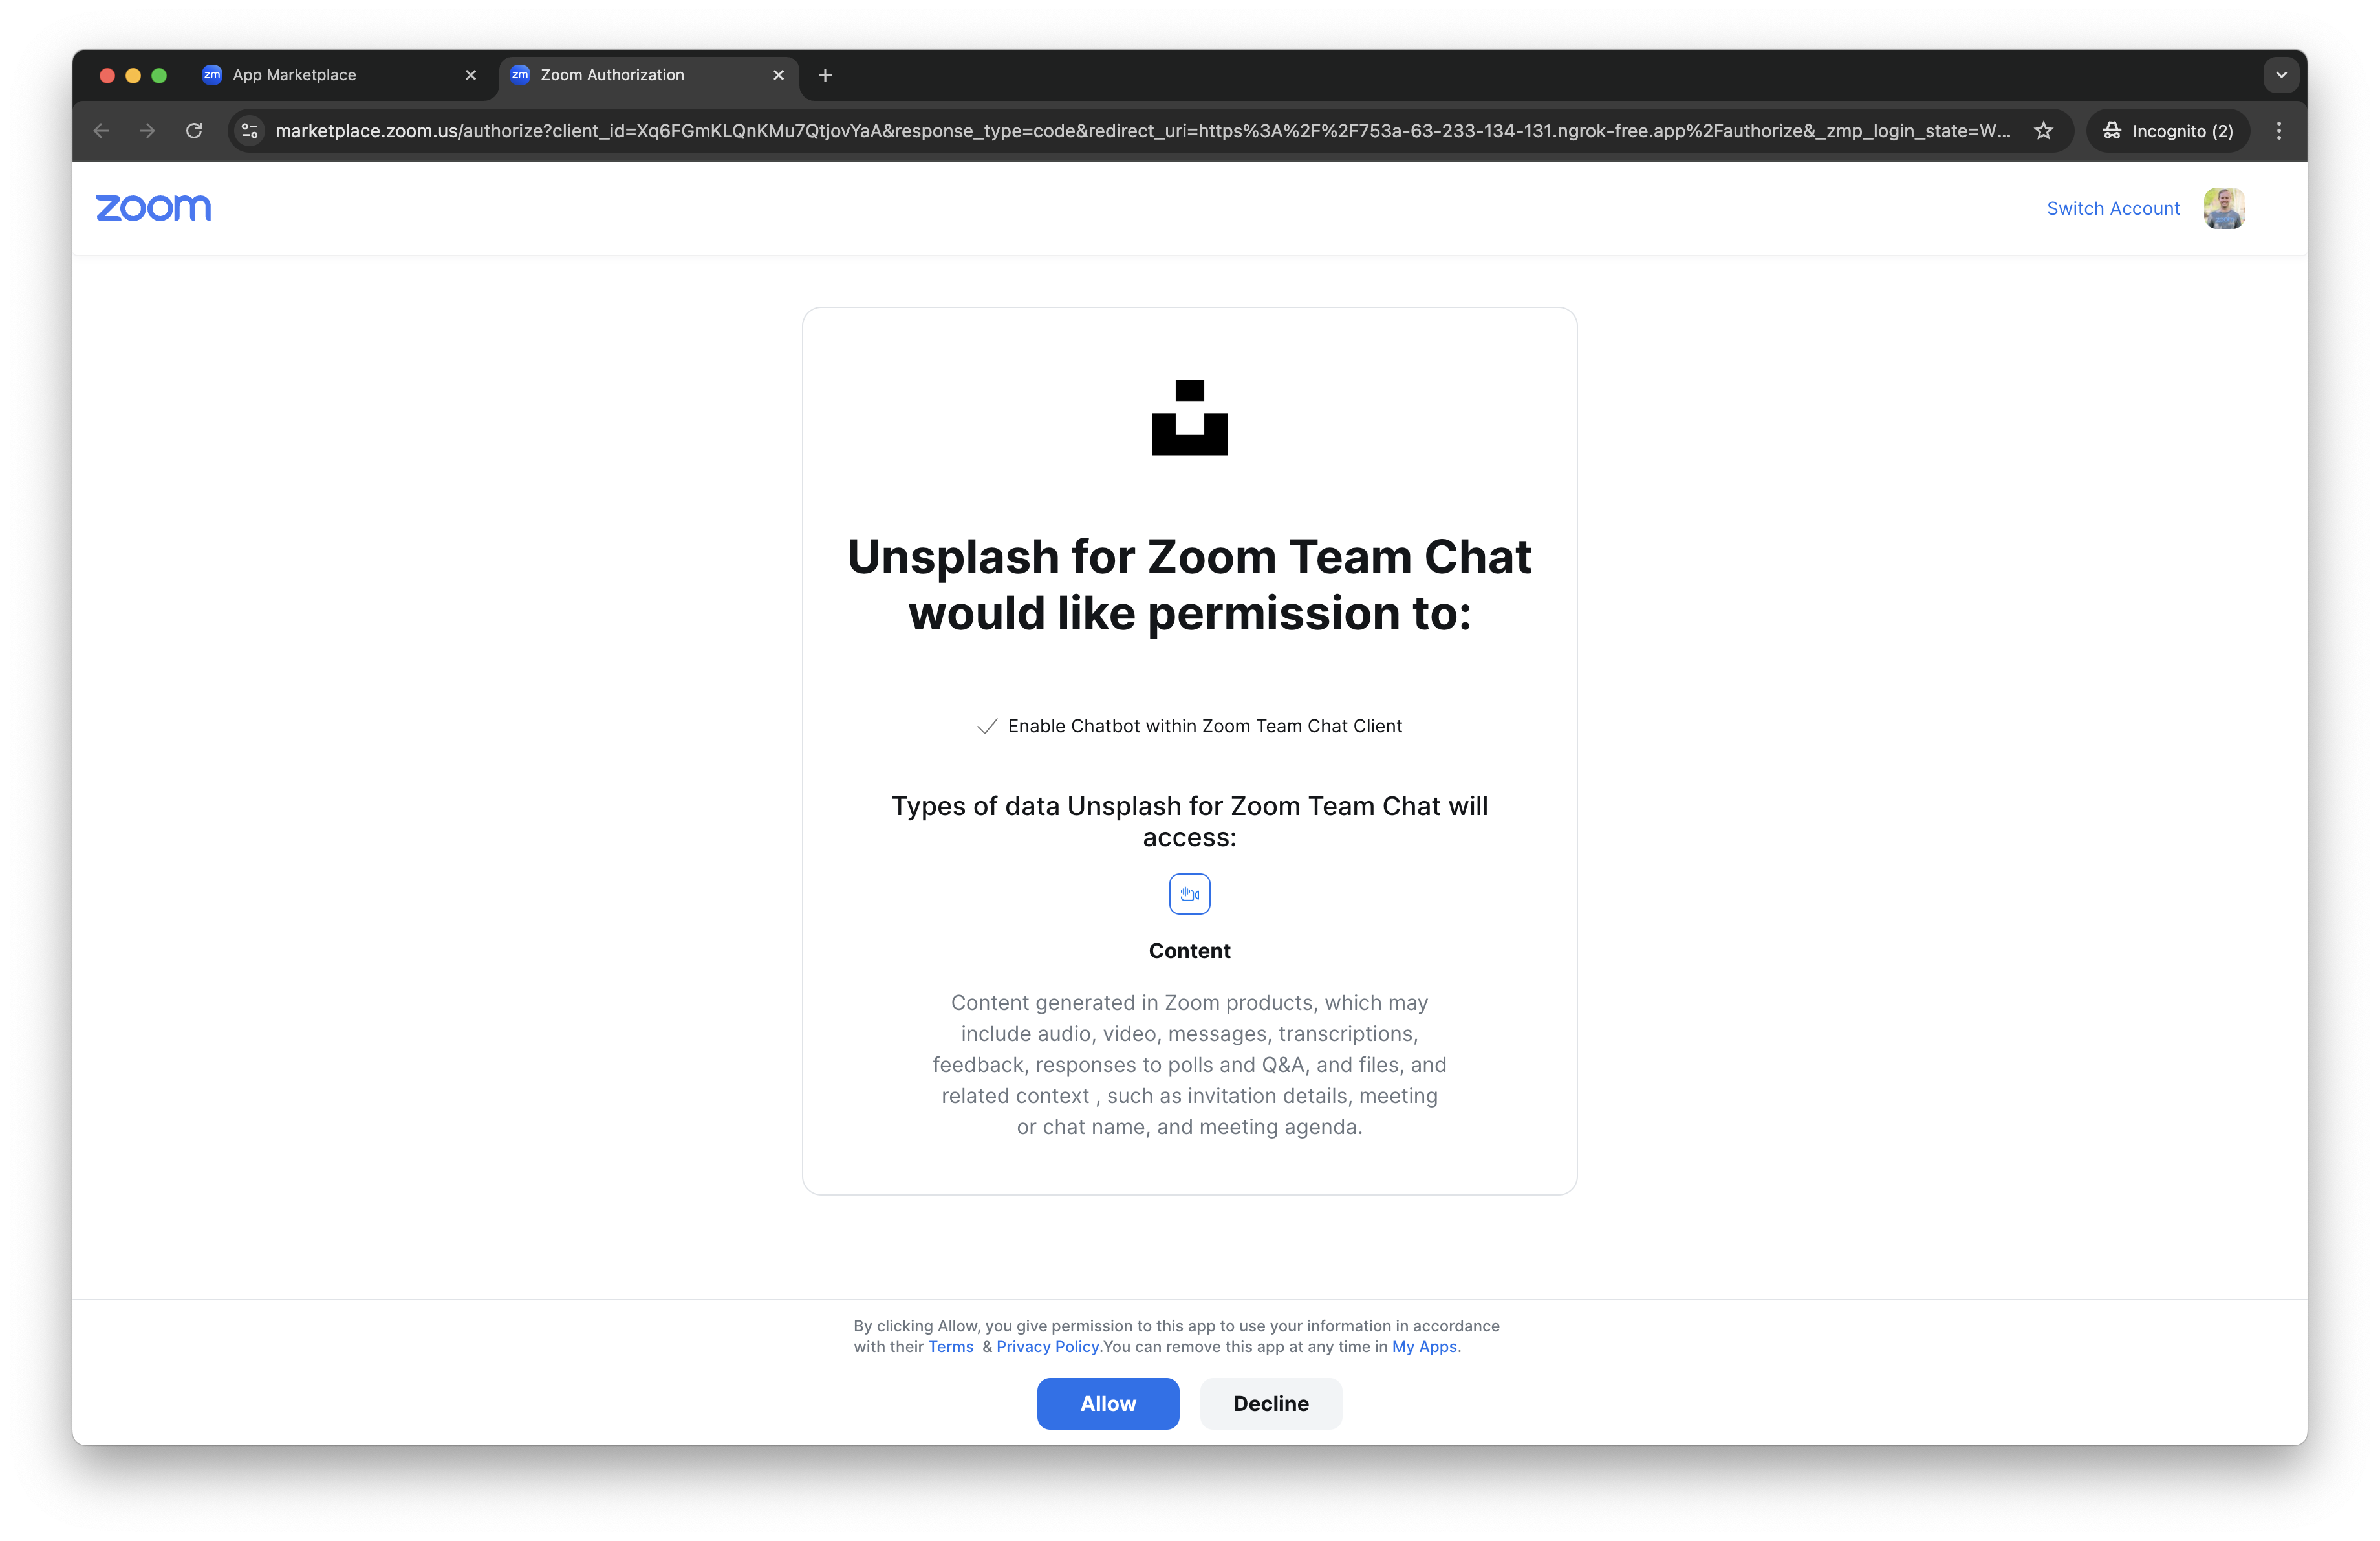
If this is the first time you are authorizing your app or if you have made webhook or scope changes, Zoom prompts you to authorize.
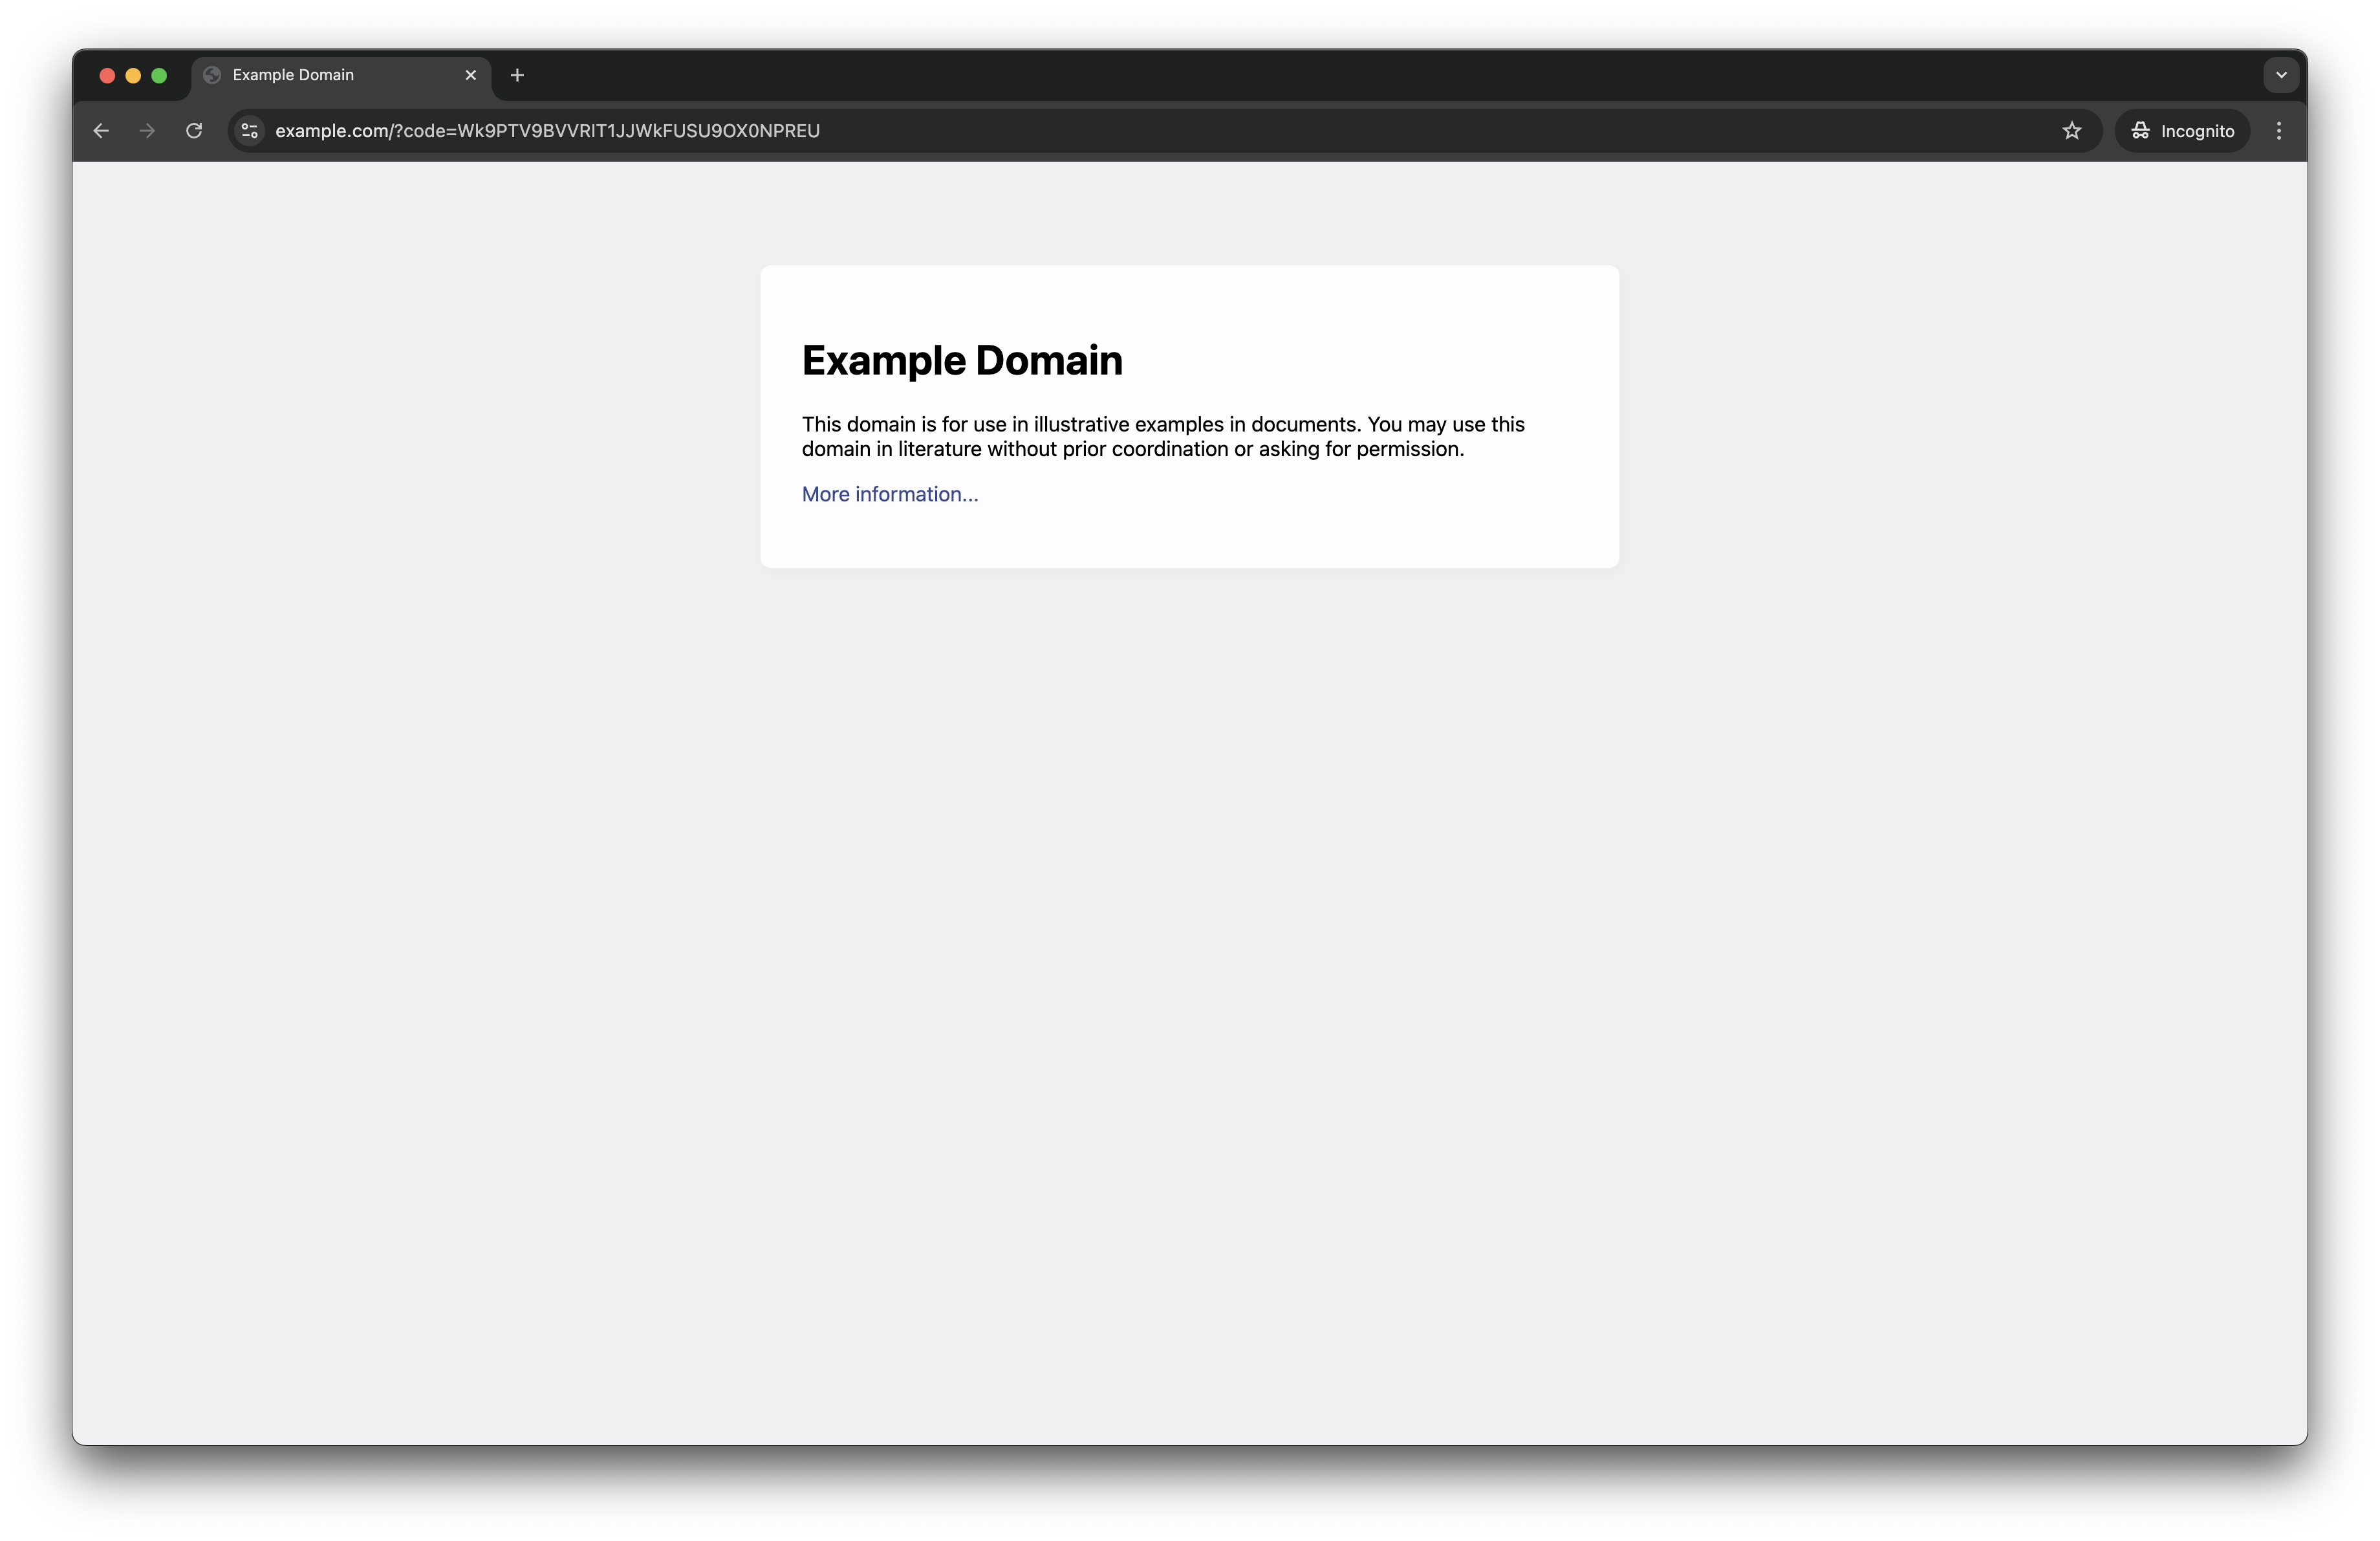
If authorized, you will be redirected to the redirect_uri with the authorization code in the code query parameter. The code in the redirect URL can be used for authorization_code OAuth flows to call additional API endpoints, but if you are just calling Chatbot API endpoints, it is not needed.
https://example.com/?code=Wk9PTV9BVVRIT1JJWkFUSU9OX0NPREU
You can also redirect to open the Zoom Client and show your chatbot to the user.
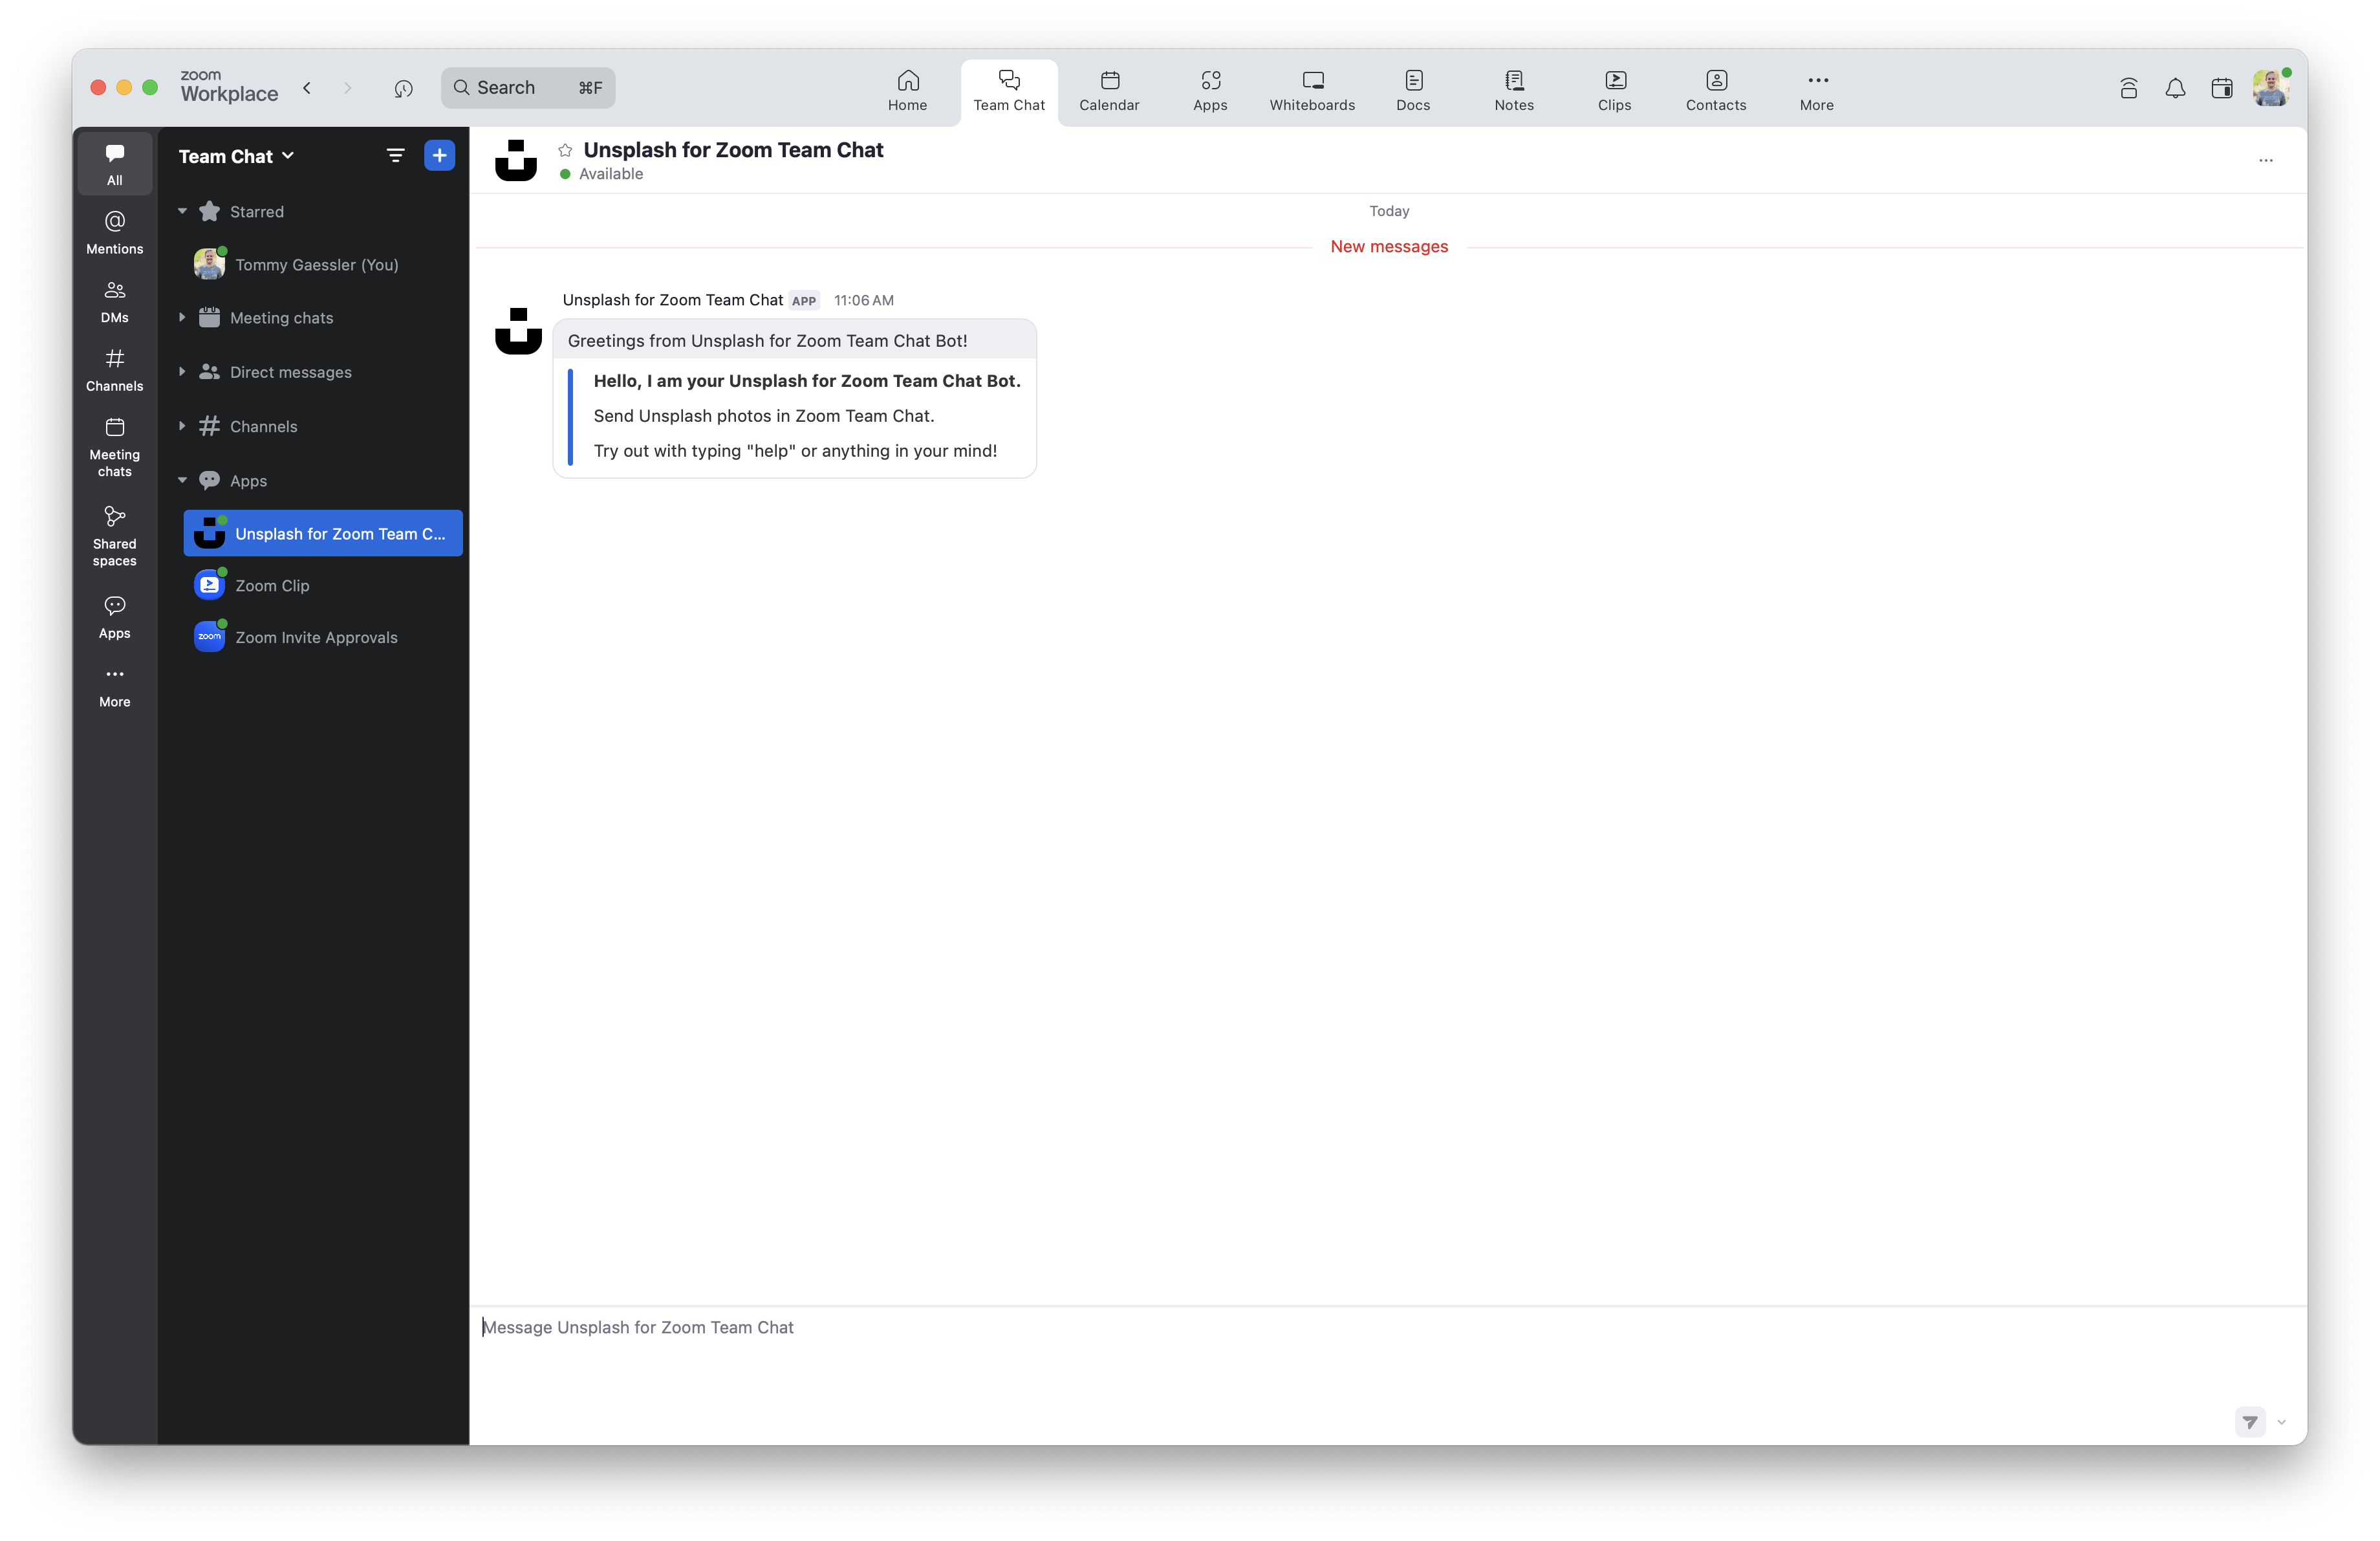
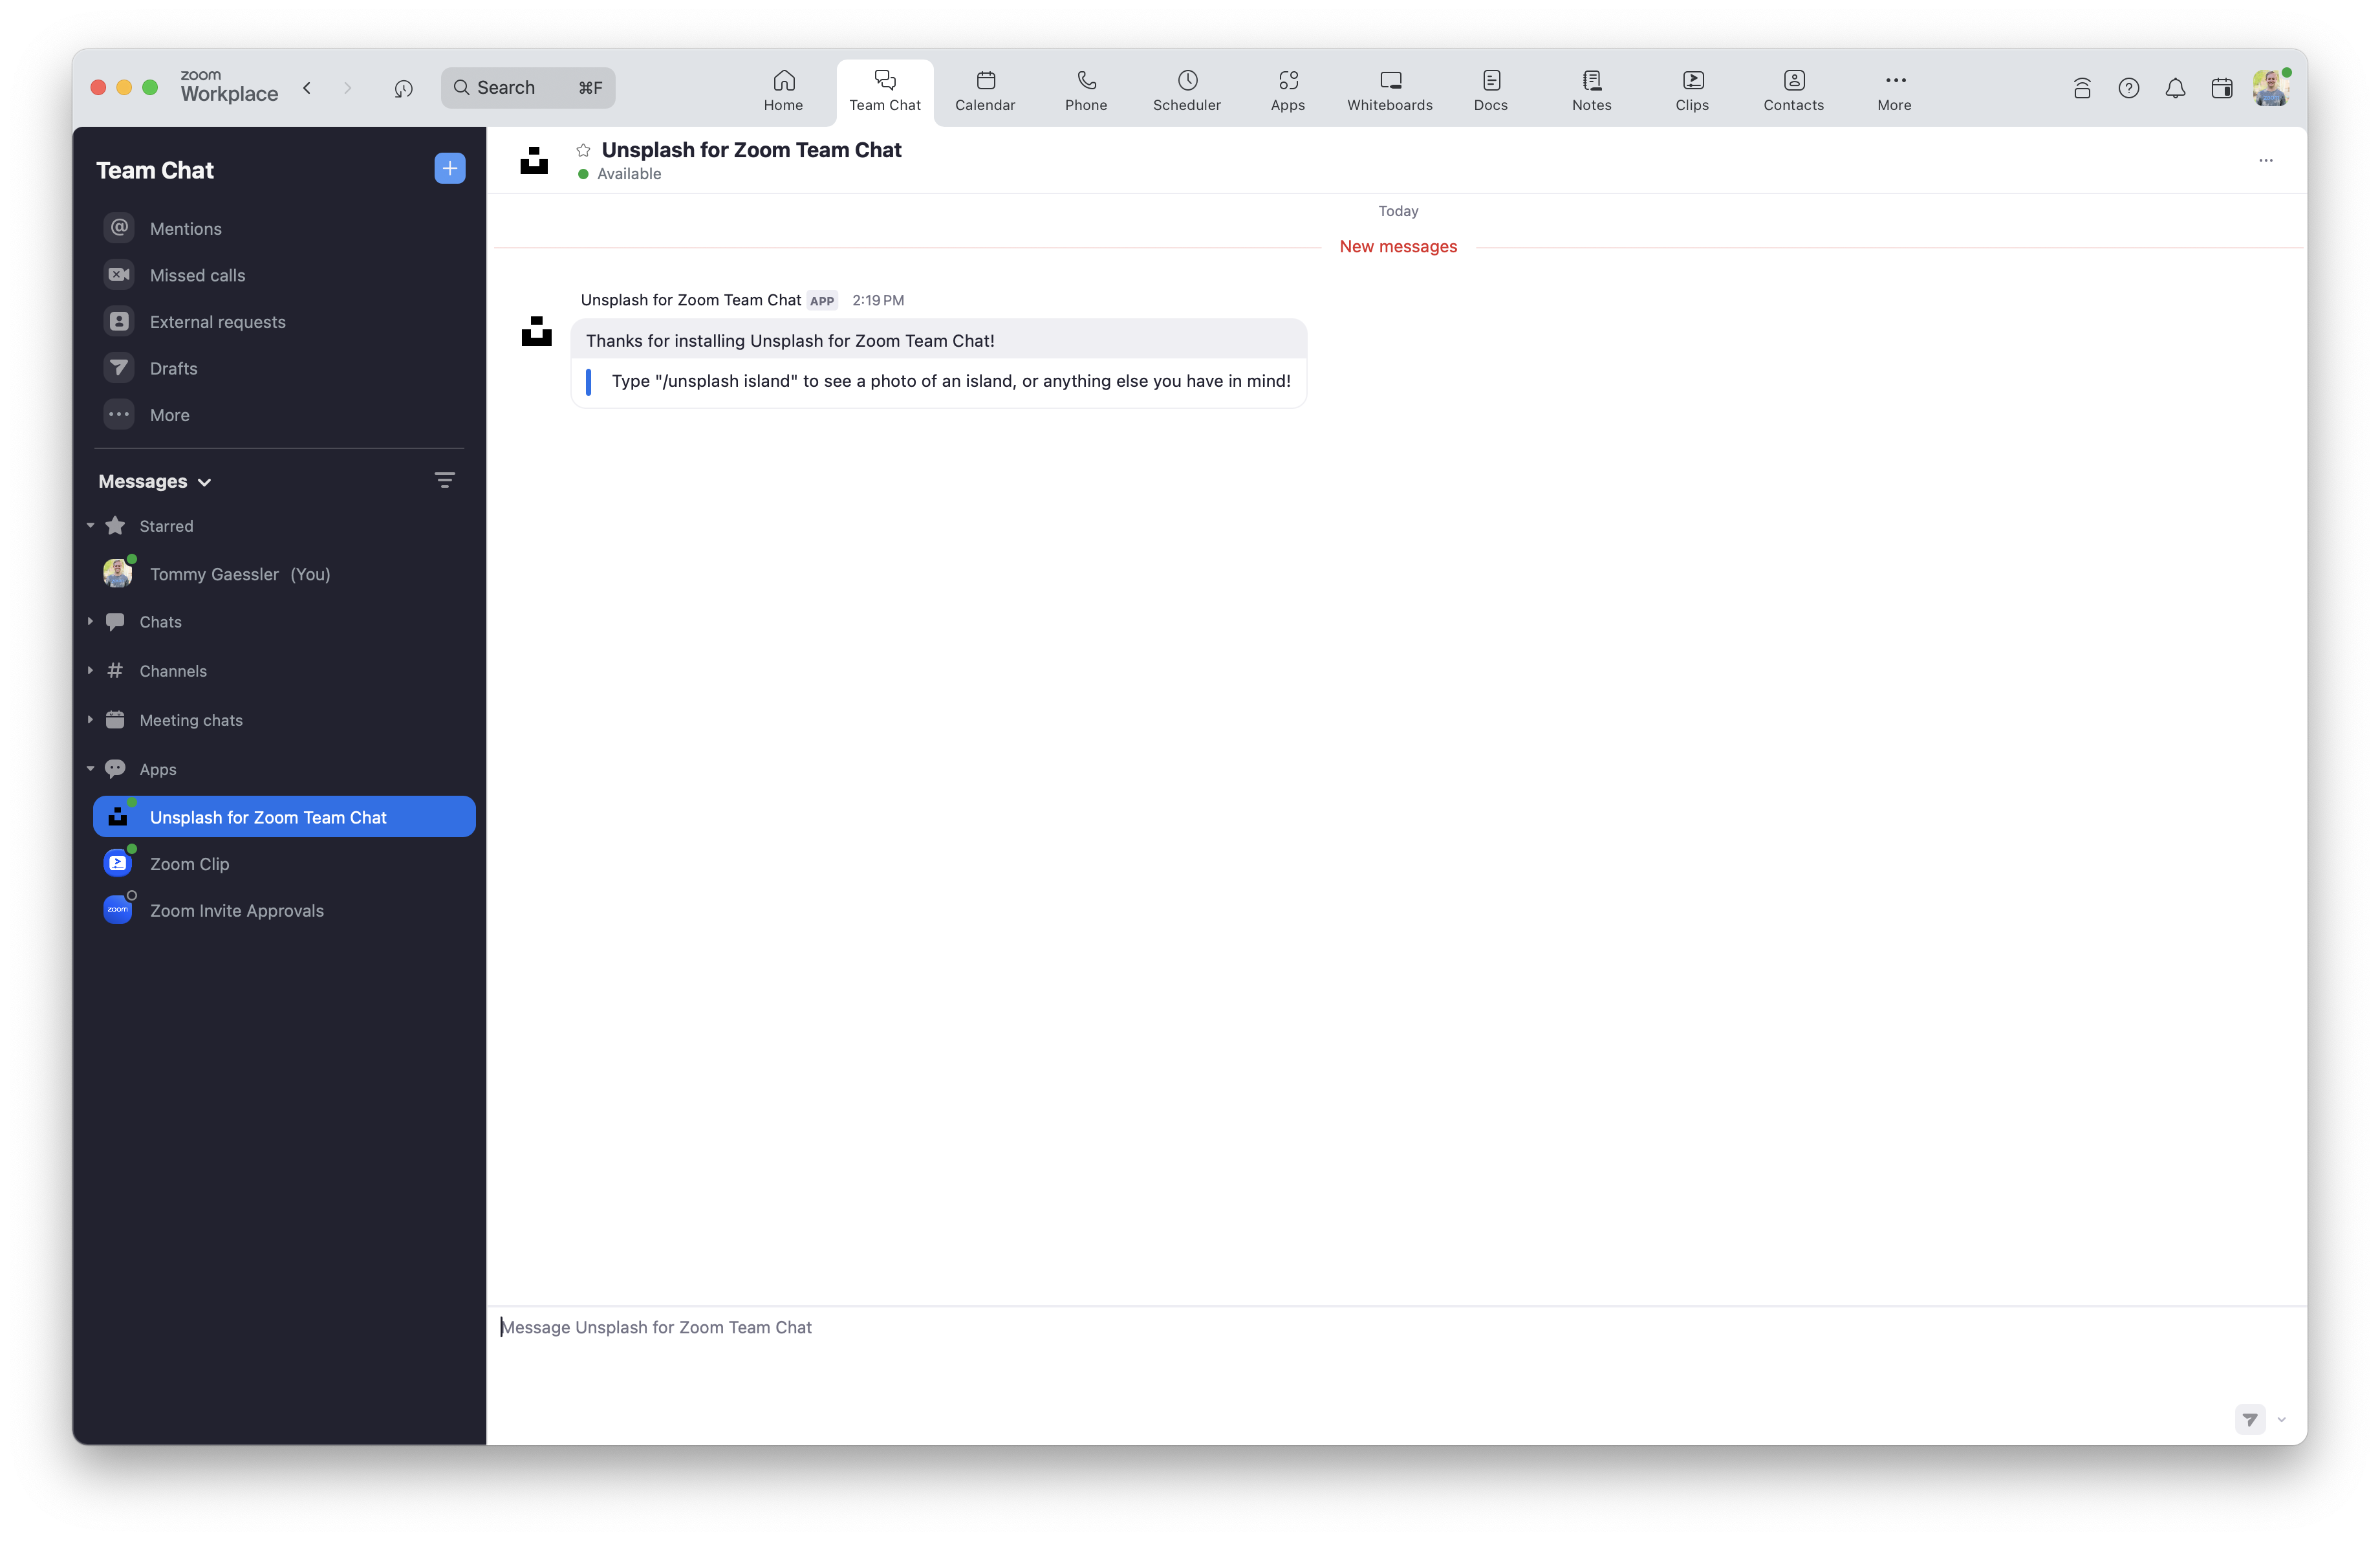
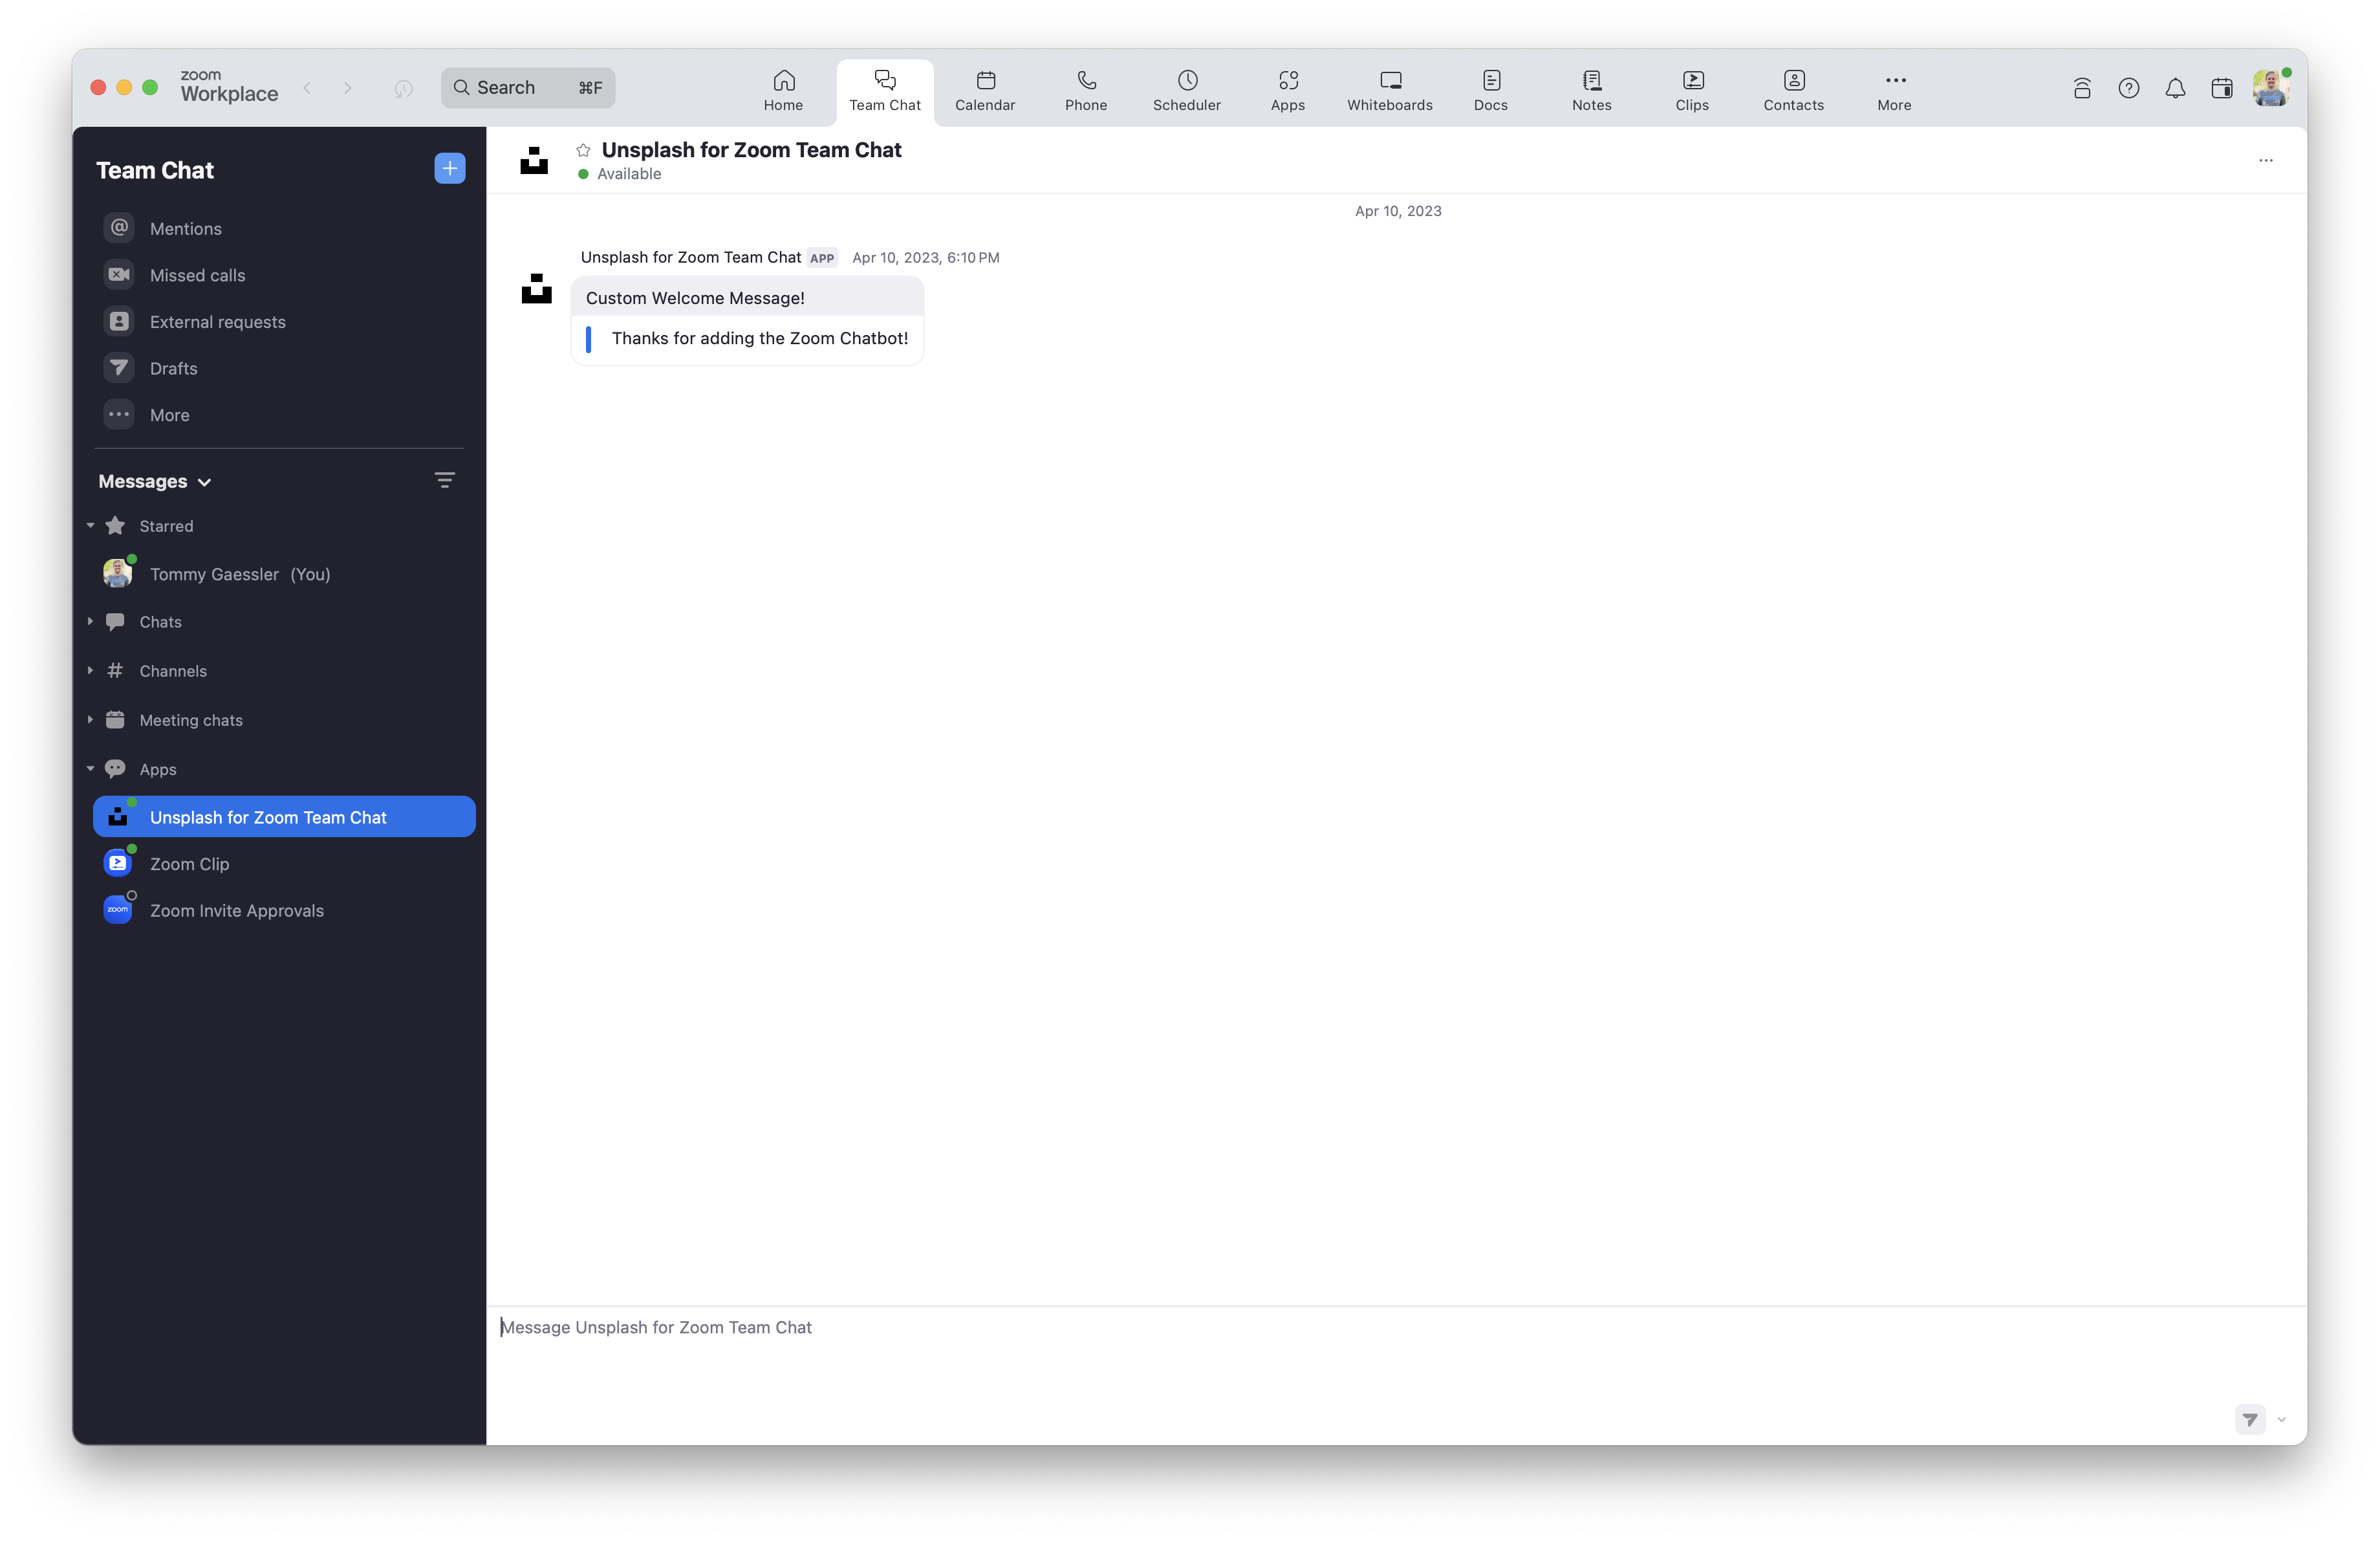
In Zoom Chat, you should see the default welcome message for your chatbot. Custom welcome messages will be covered later in this section.
Request chatbot token
To request a Chatbot token, make a POST request with a basic authorization header to:
https://zoom.us/oauth/token?grant_type=client_credentials
The basic authorization header is your Client ID and Client Secret with a colon : in between, Base64 Encoded.
Example request:
POST https://zoom.us/oauth/token?grant_type=client_credentials
Request headers:
{ "Authorization": "Basic Wk9PTV9DTElFTlRfSUQ6Wk9PTV9DTElFTlRfU0VDUkVU" }
If successful, the response body is a JSON representation of the Chatbot token:
{
    "access_token": "<JWT_TOKEN>",
    "token_type": "bearer",
    "expires_in": 3600,
    "scope": "imchat:bot",
    "api_url": "https://api.zoom.us"
}
Chatbot tokens expire after one hour. After your chatbot token expires, you can simply request a new one, there is no separate refresh flow required.
OAuth token
To call APIs endpoints other than the Chatbot ones, you can request an account managed or admin/user managed OAuth access_token with your Chatbot's same client ID and client secret.
Deep linking
The Zoom Client supports deep linking so that an application can open the Zoom Client to the chatbot.
To open Zoom Chat to a Chatbot channel, direct your user to:
https://zoom.us/launch/chat?jid=robot_ZOOM_BOT_JID
This URL is useful for redirecting users to your Chatbot in Zoom Chat after they add and authorize it.
Notes:
- If you intend to submit your app to the Zoom App Marketplace and have set this deep link as your OAuth redirect URL, you may need to proxy this deep link from a domain you own since Zoom may require domain validation when you submit your app.
- After navigating to the Chatbot Channel deep link, if users are not logged in to the Zoom web portal, they are prompted to log in.
- After log in, the browser asks permission to open the Zoom Client.
- If the user is logged in to the Zoom Client as a user different from the Zoom web portal, the Zoom Client asks the user to switch to the same account. Then the Chatbot channel opens.
Custom welcome message
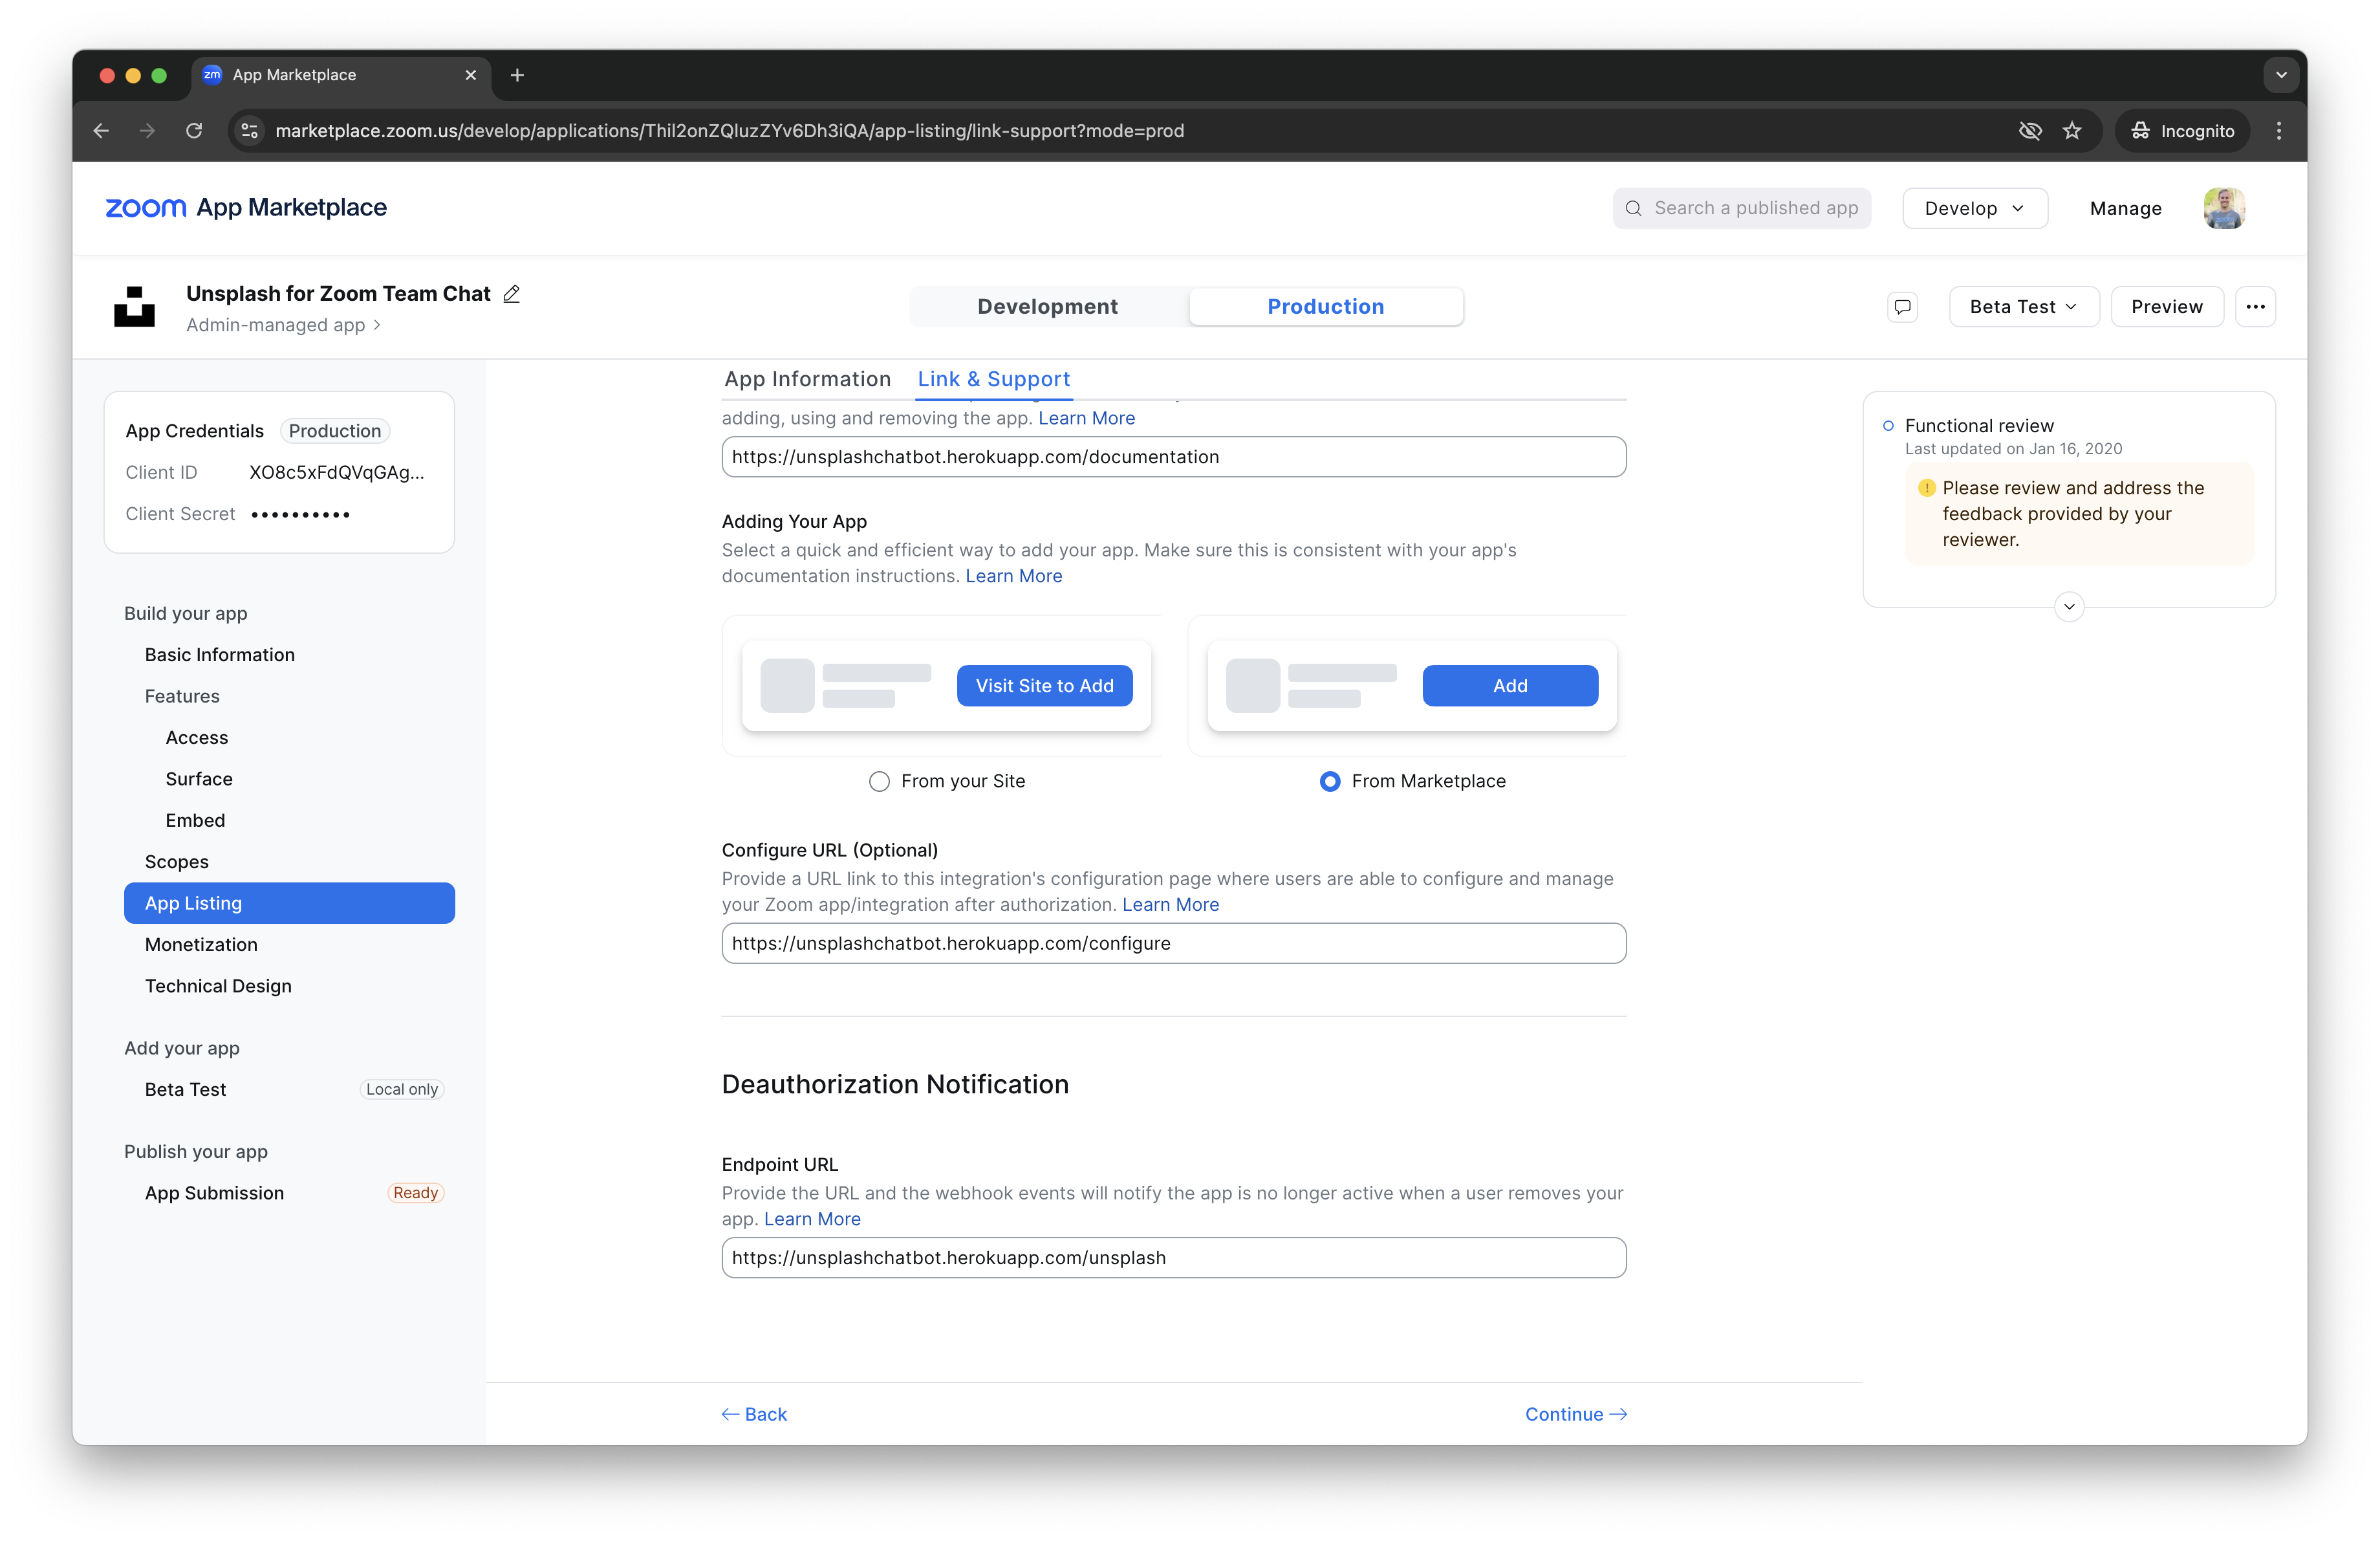
From the App Marketplace Dashboard, you can customize the type of welcome message users receive when they add your Chatbot.
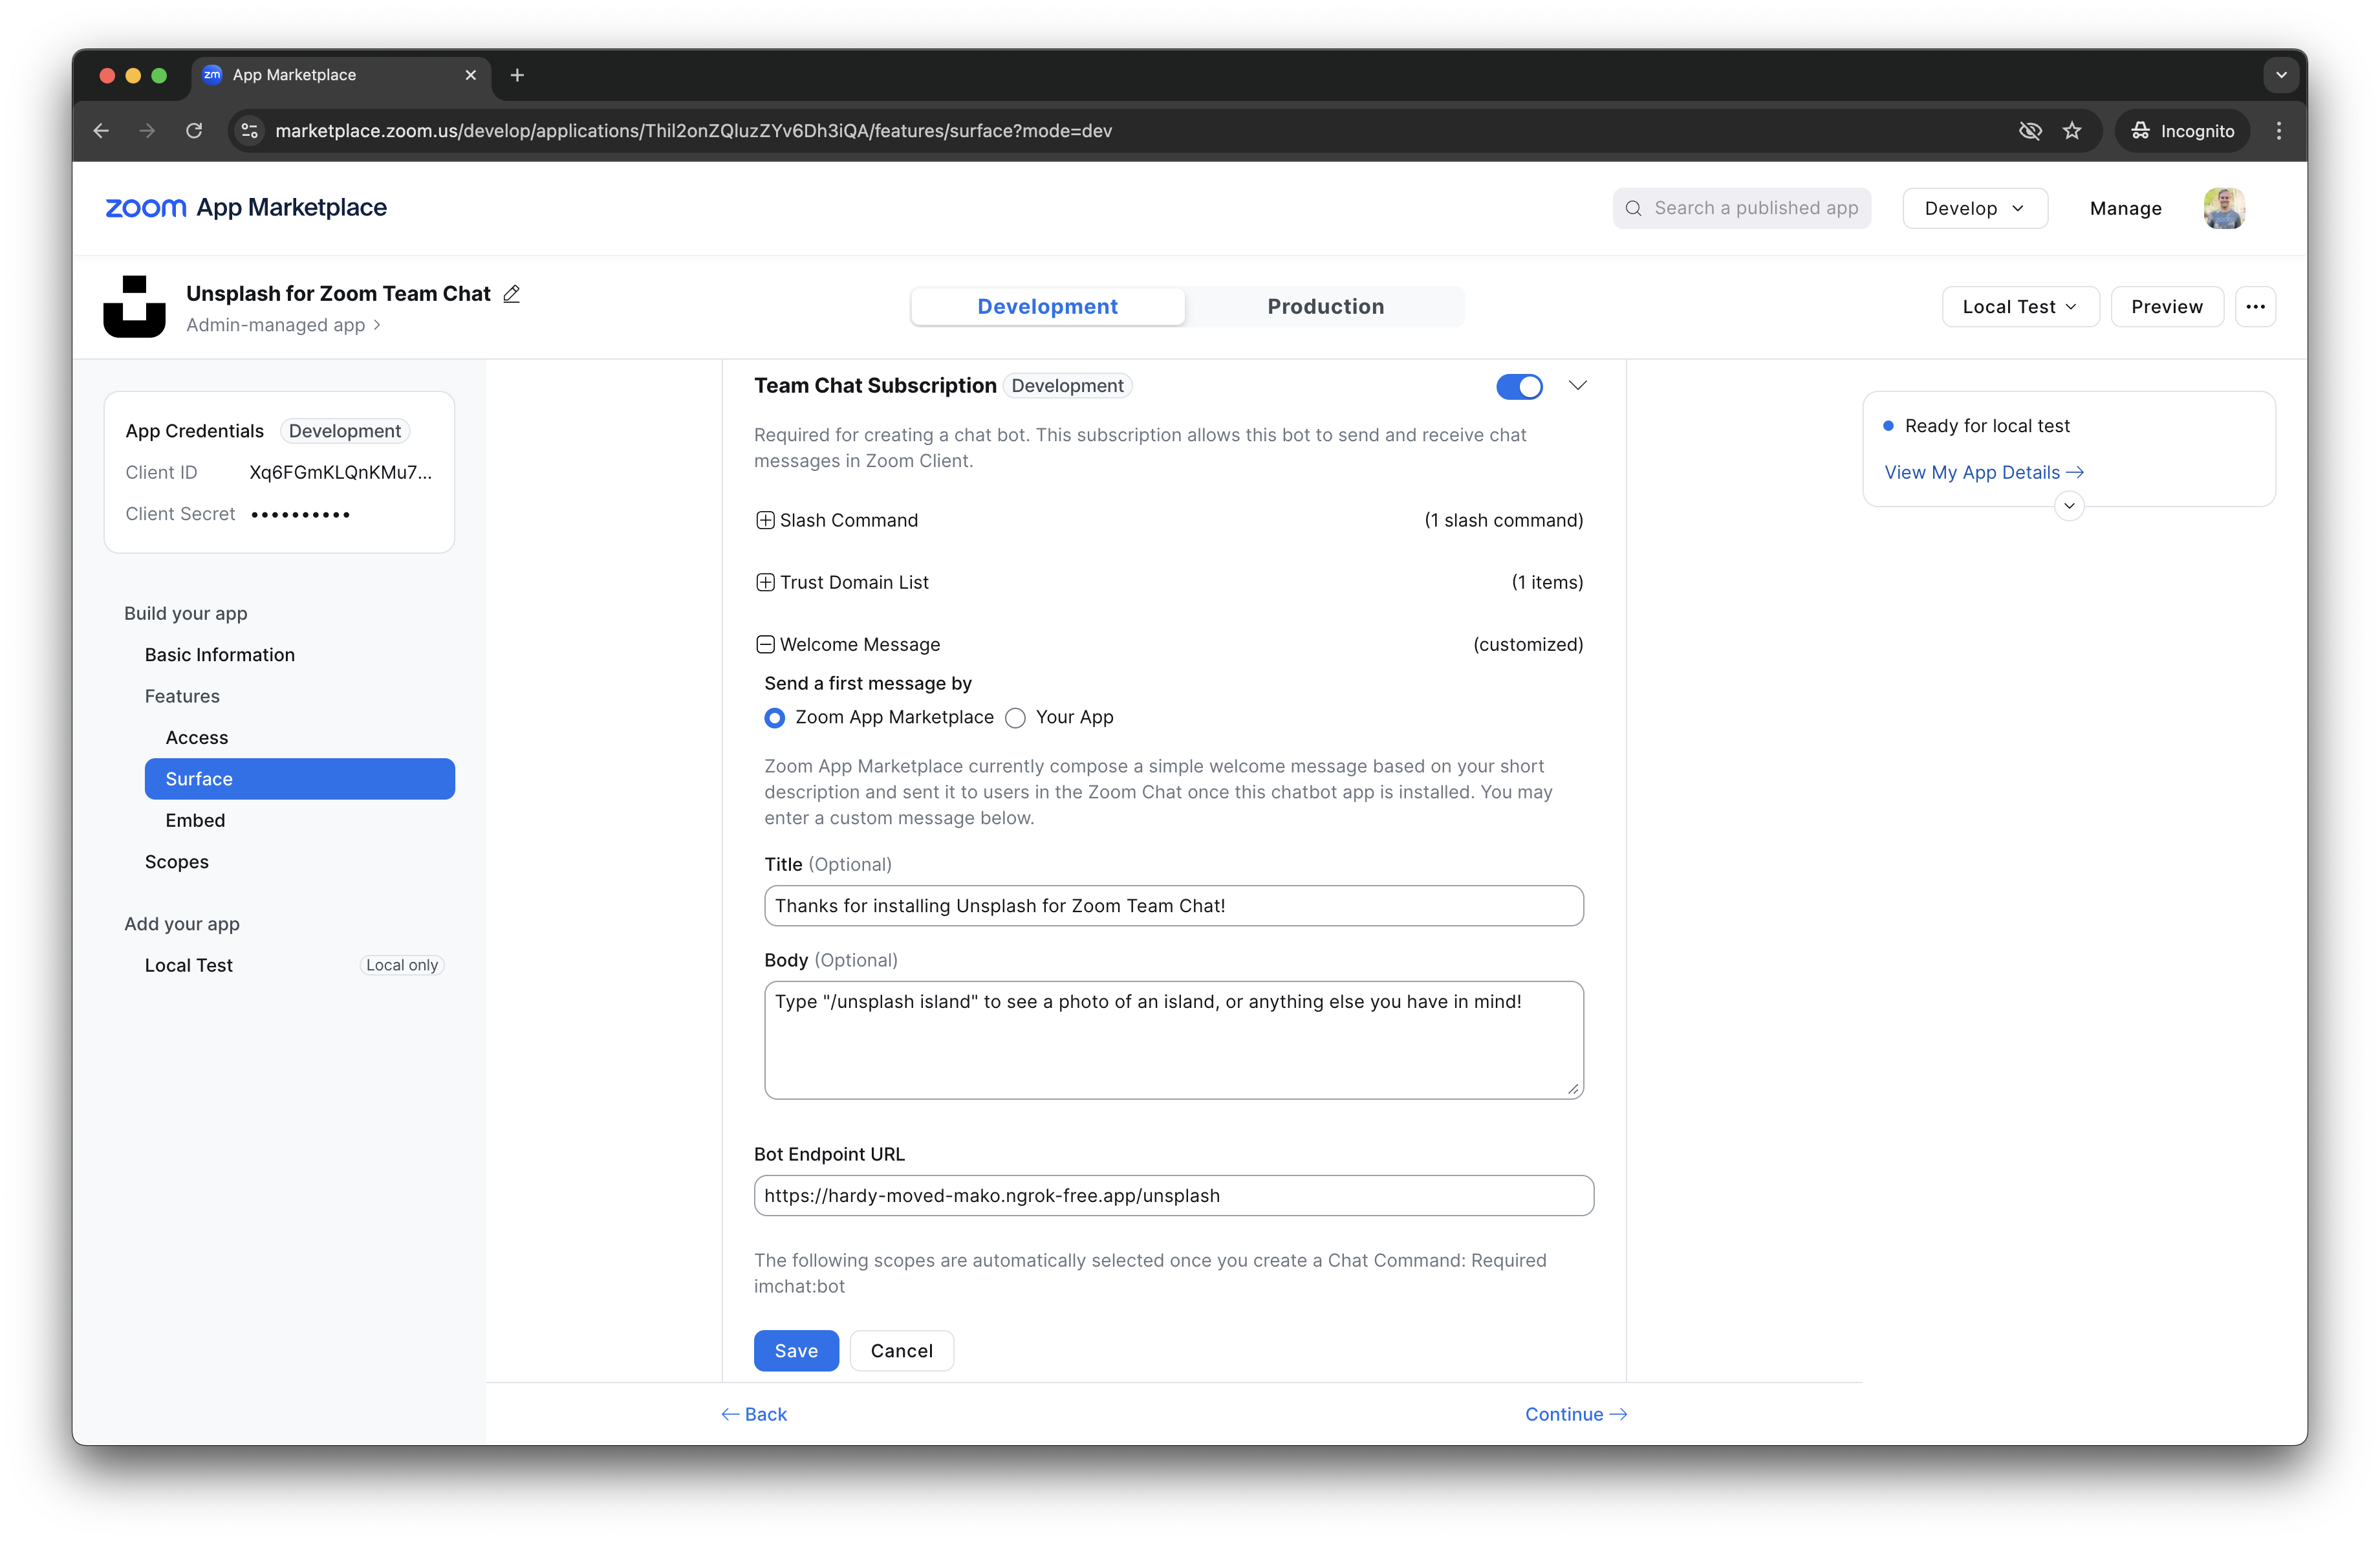
Configuring a static welcome message
The Zoom App Marketplace option allows you to set a static welcome message through the Marketplace GUI. If you do not enter anything in the Title and Body inputs, you get the default message shown in the image above.
Welcome message in Zoom Chat:
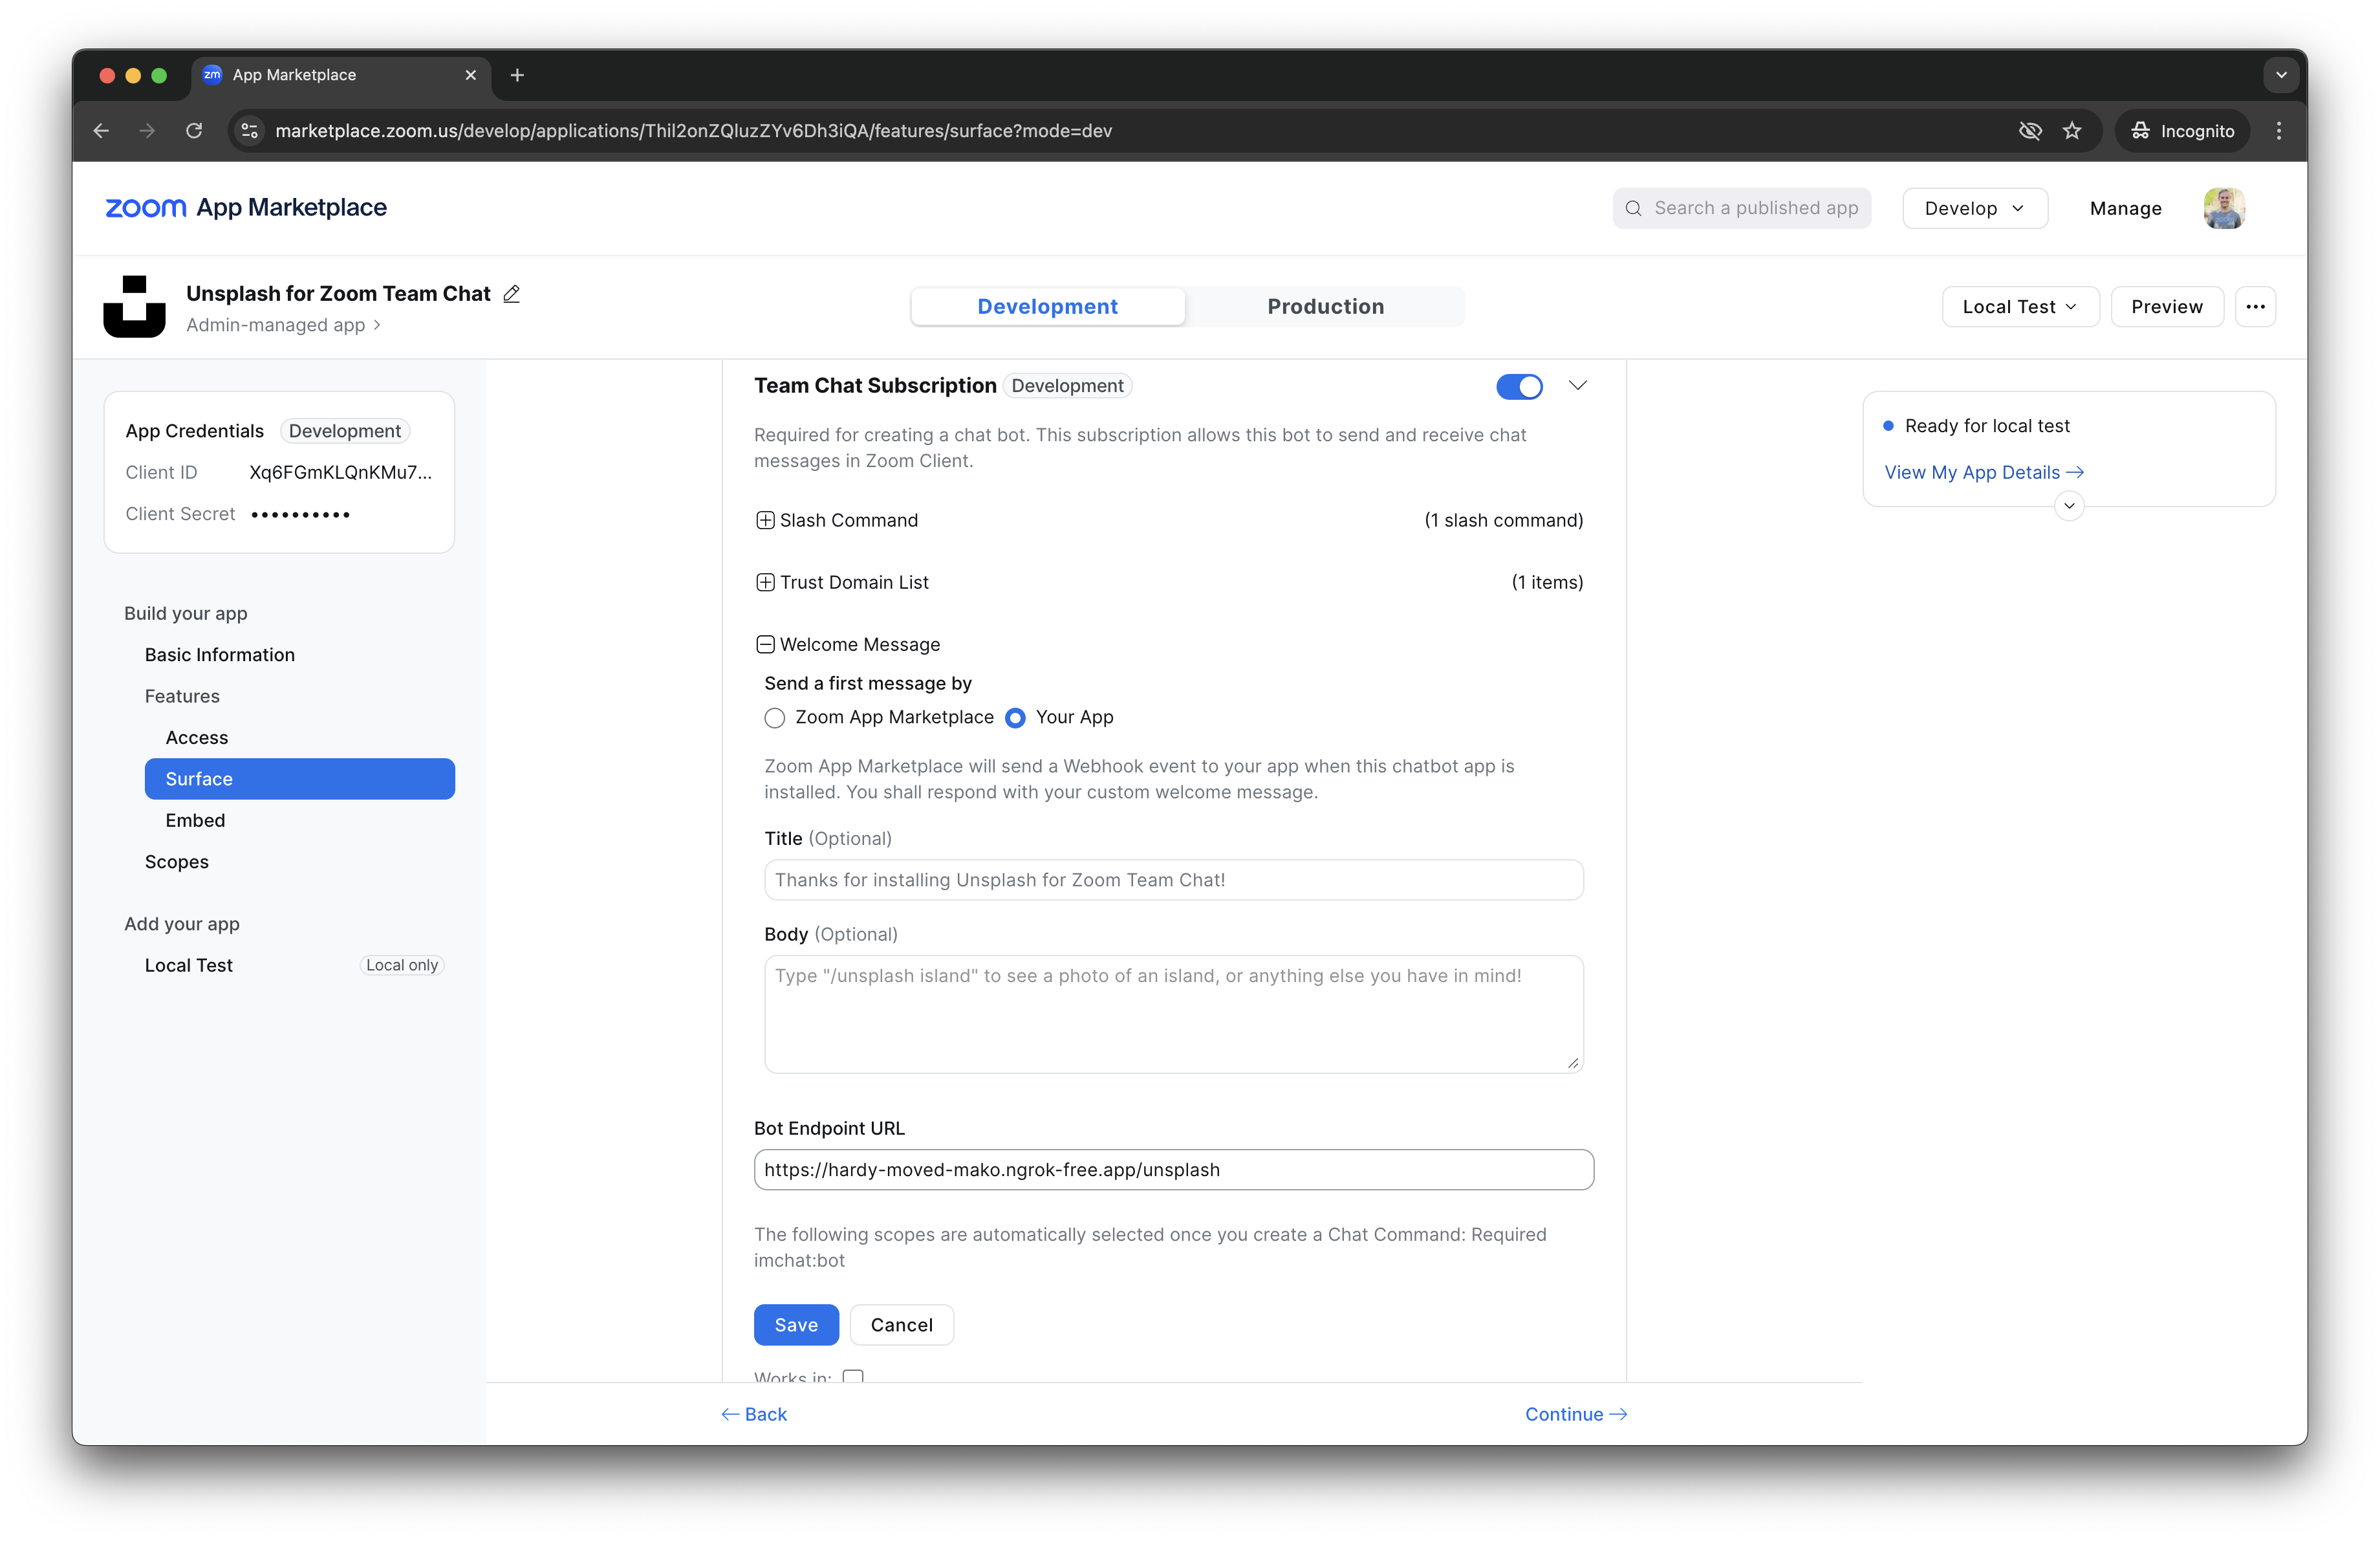
Configuring a dynamic welcome message
The Your App option allows you to set a dynamic welcome message that is sent programmatically after your Chatbot is authorized.
After your Chatbot is authorized, an HTTP POST request goes to your respective Bot Endpoint URL with the following request body:
{
    "event": "bot_installed",
    "payload": {
        "accountId": "Wk9PTV9BQ0NPVU5UX0lE",
        "robotJid": "Wk9PTV9ST0JPVF9KSUQ@xmpp.zoom.us",
        "timestamp": 1740442110529,
        "userId": "Wk9PTV9VU0VSX0lE",
        "userJid": "Wk9PTV9VU0VSX0lE@xmpp.zoom.us",
        "userMemberId": "Wk9PTV9VU0VSX01FTUJFUl9JRA",
        "userName": "Jane Dev",
        "userStatus": "authenticated"
    }
}
Sending the welcome message
After receiving the bot_installed event, respond to the HTTP
POST request you received with a Chatbot Message Object to send the welcome
message to Zoom Chat.
Response Body:
{
    "content": {
        "head": {
            "text": "Custom Welcome Message!"
        },
        "body": [
            {
                "type": "message",
                "text": "Thanks for adding the Zoom Chatbot!"
            }
        ]
    }
}
Welcome message in Zoom Chat:
Deauthorization
When a user deauthorizes or removes a production Chatbot app, an HTTP POST request will be sent to your app's Deauthorization Notification Endpoint URL specified on the App Listing page.
After receiving a deauthorization webhook event, apps must delete all associated user data.
An unsecured deauthorization notification endpoint URL leaves your server vulnerable to denial of service attacks. We recommend you verify the requests sent to your deauthorization notification endpoint URL with our supported webhook verification methods.
Below is an example deauthorization webhook event:
{
    "event": "app_deauthorized",
    "event_ts": 1740439732278,
    "payload": {
        "account_id": "Wk9PTV9BQ0NPVU5UX0lE",
        "user_id": "Wk9PTV9VU0VSX0lE",
        "signature": "Wk9PTV9TSUdOQVRVUkU",
        "deauthorization_time": "2019-06-17T13:52:28.632Z",
        "client_id": "XO8c5xFdQVqGAgGB3utlRA"
    }
}