How to play a Zoom Video SDK cloud recording
When using the Zoom Video SDK cloud recording capabilities, developers may find themselves needing to provide playback of such recordings to application users. The Zoom Video SDK makes controlling every aspect of session cloud recording easy. Follow along this guide to see how to utilize Amazon CloudFront to enable cloud recording playback across the internet.
Prerequisites
- A Zoom Video SDK Account with Cloud Recording Storage Plan
- A simple Video SDK web app with an Express server
- An AWS account or similar
Cloud Recording with the Zoom Video SDK
Zoom Video SDK sessions offer cloud recording in the two following ways:
- In-session SDK functions to enable session hosts to start, pause, resume, and stop recordings within the client.
- Cloud recording APIs to enable developers to initiate and manage cloud recording functions via API.
For the purpose of this walkthrough, we will be using In-session SDK functions.
Initialize the cloud recording client
After a Video SDK session is started, initialize the cloud recording client by calling the getRecordingClient function on the video client.
const cloudRecording = client.getRecordingClient();
Controlling the Video SDK cloud recording
Start the cloud recording in-client by calling the startCloudRecording function on the cloudRecording client.
cloudRecording.startCloudRecording();
Stop the cloud recording in-client by calling the stopCloudRecording function on the cloudRecording client.
cloudRecording.stopCloudRecording();
Configure Zoom Video SDK webhooks
The Video SDK comes with a robust set of webhooks that developers can utilize to create dynamic relationships between multiple applications. These webhooks act as POST requests to our server, which are called when certain events occur within a Video SDK account.
In our case, we will subscribe to the session.recording_completed webhook, which is triggered once a recorded session has ended. After the recording is briefly processed, the webhook request will be sent, along with a request body consisting of the relevant download_files array and download_token.
app.post('/webhooks, (req, res) => {
    ...
    switch (req.body.event) {
        ...
        case 'session.recording_completed':
            // download and upload logic goes here
            break
        ...
    }
    ...
})
Learn more about utilizing Zoom Video SDK Webhooks here.
Downloading Video SDK cloud recordings
You can download the cloud recording to your server using a GET request with the download_token as the Bearer token in the Authorization header of your HTTP request.
fetch(download_url, {
    headers: {
        Authorization: "Bearer download_token",
        "Content-Type": "application/json",
    },
});
Distribute cloud recordings with Amazon CloudFront
A content delivery network (CDN) is a geographically distributed group of servers that allows for the quick transfer of web assets, such as HTML/JavaScript files, stylesheets, images, and videos. For this walkthrough, we will use Amazon CloudFront (CDN) in conjunction with an Amazon S3 (cloud object storage service) to store and deliver our video chat application's cloud recordings across the globe.
To learn more about content delivery networks and AWS CloudFront, click here.
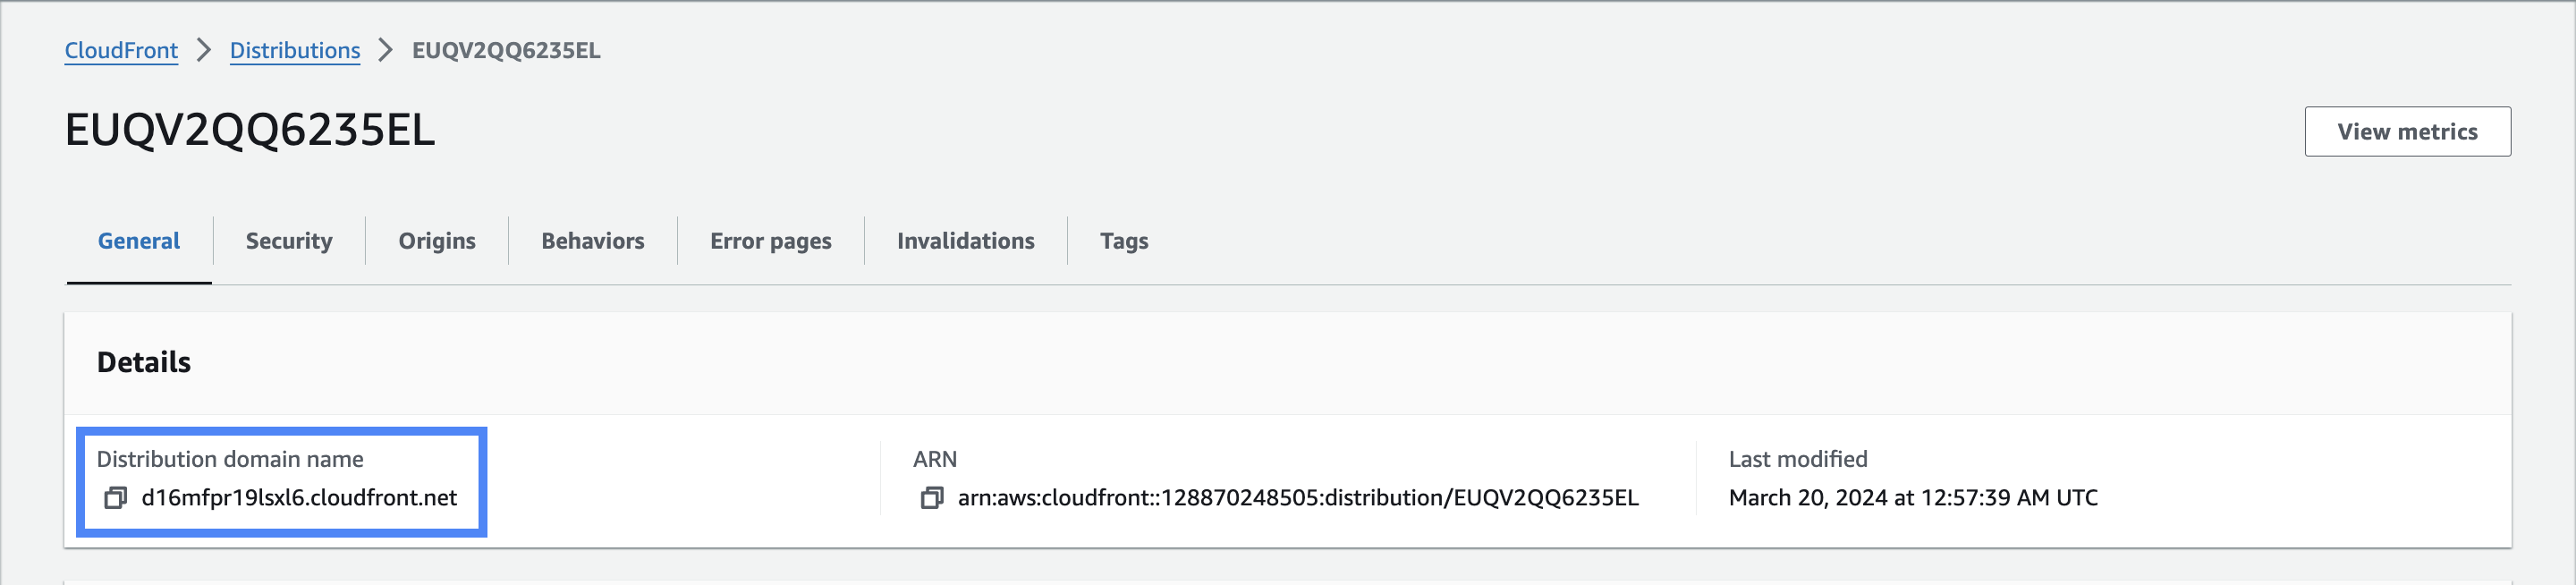
Create an Amazon CloudFront distribution
You can create an Amazon CloudFront distribution in under a few minutes. Doing so will allow us to make objects in our cloud object storage service available for streaming across the internet. Follow this tutorial for a guide to creating an S3 bucket and CloudFront distribution.
Make sure to save your distribution domain name for use later in this walkthrough.
Upload to Amazon S3
Now that we have our CloudFront distribution set up to deliver content in a S3 bucket, we must set up our server to programmatically upload the cloud recording files to the S3 bucket as they are completed. Once a session.recording_completed webhook request has been made to our server, we can download the cloud recording files and upload them to an AWS S3 bucket. We can do this easily by using the PutObject command of the AWS S3 SDK.
The Key, or video file name, will be used later on to identify the object in the S3 bucket.
import { PutObjectCommand, S3Client } from "@aws-sdk/client-s3";
const client = new S3Client({});
export const main = async () => {
    const command = new PutObjectCommand({
        Bucket: "test-bucket",
        Key: "cloud-recording.mp4",
        Body: "{FILE}",
    });
    try {
        const response = await client.send(command);
        console.log(response);
    } catch (err) {
        console.error(err);
    }
};
Embedding the video
Now that our cloud recording is able to be delivered across the internet, we are able to embed the video in a web app. We can do this by simply rendering a <video> element along with the source URL containing the distribution domain name and video file name.
For example: https://d16mfpr19lsxl6.cloudfront.net/video-sdk-cloud-recording.mp4
<html>
    <head>My CloudFront Test</head>
    <body>
        <video controls src="http://{DOMAIN_NAME}/{OBJECT_NAME}" alt="My Zoom Video SDK cloud recording">
    </body>
</html>
Conclusion
If you have reached this point, you should see how easy it is to upload and distribute Zoom Video SDK cloud recordings for playback across the internet. For more information on the Video SDK cloud recording or web hooks, visit our developer documentation.
For further community discussion and insight from Zoom Developer Advocates and other developers, please check out the Zoom Developer Forum. For prioritized assistance and troubleshooting, take advantage of Premier Developer Support plans.