Add video client to the Contact Center SDK for web
These Contact Center SDK docs are for developers who may not be Contact Center users or admins. To learn to configure campaigns, use flows, and other admin tasks, go to Zoom's user support docs.
Let users engage with agents directly through video without leaving your web page.
Embed the video client
-
Sign into the Zoom web portal as a Contact Center Admin with the privilege to add flows.
-
In the navigation panel, select Contact Center Management, then Flows.
-
To open the editor, select the name of a video flow.
-
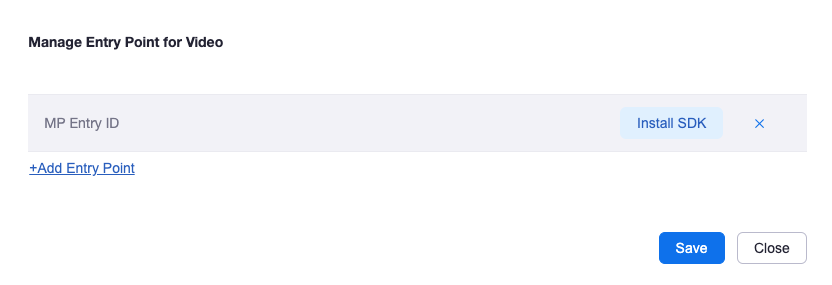
Choose the Start widget, then Manage Entry Point. (You can also choose this option from the List view option menu for your flow).
-
Select Add Entry Point and choose an entry ID for the SDK to use. See Adding entry points to a flow for details. Skip this step if you already have an entry point to use.
-
Turn off Don't Keep Activities. This prevents the Contact Center from shutting down in Chrome browser when that browser is in the background.
-
Select Install SDK to display the Contact Center JS SDK code to copy to your site.
-
Copy the code and add it to your site. A video script may look like this:
<script
    data-apikey="your_key"
    data-entry-id="entry_id_value"
    src="https://test.example.com/sample/web-sdk/video-client.js"
></script>
Reload your page to see the icon at the bottom corner to start the video or chat client. No additional code is required.
See the Contact Center documentation for instructions on how to set up your agent workflows.
Advanced video client options
Customize your video client with more advanced controls. For example, you can create your own button to start the video client and add actions to perform after the video has ended. This example shows the details.
<!DOCTYPE html>
<!-- other page elements -->
    create video
    <script src="https://test.example.com/sample/web-sdk/video-client.js">
    </script> <!-- The script source is the video client JS SDK for Contact Center.
    Get this from the code copied from the flow. -->
    <script>
      (() => {
        const dom = document.getElementById('create')
        dom.addEventListener('click', async () => {
          const entryId = "Your entry id" /* Get from the code copied from
                                          your flow */
          const videoClient = new VideoClient({
          });
          await videoClient.init({
            entryId,
            name: 'name' /* optional field, omit if not using, null value
                        not accepted */
          });
          videoClient.startVideo()
          videoClient.on('video-end', () => {
            console.log('video ended') /* Add any actions to perform when the
                                        video ends, for example, print to
                                        console log */
          })
        })
      })()
    </script>
<!-- other page elements -->
</html>
Video client API calls
The video client supports the following API calls.
Create and initialize the video client
This creates and initializes the video client for the entryId.
new VideoClient({});
await videoClient.init({
    entryId,
    name: "name" /* optional field, omit if not using, null value
              not accepted */,
});
Trigger the video flow
videoClient.startVideo();
Video client events
The video client supports these events.
| Event | Description |
|---|---|
video-start | Video started. |
video-end | Video ended. |
notification-join-call | User notified to join video. |
video-click-end | User clicked button to end video. |
video-force-end | User's video forcefully ended. |
task-created | A task was created. |
Usage example
This code shows the syntax. On video-end, use this code to add an API call to your ticketing system to log the video call.
videoClient.on("video-end", () => {
    // Do something when the video ends (such as make an API call)
});