Apply Real-Time Video Filters in Android with Zoom Video SDK
Want every participant to see a branded color grade, a privacy blur, or a fun overlay on your camera feed? The Android Video SDK's pre-processor lets you intercept raw video frames before they leave the device, run them through a GPU shader, and hand the modified pixels back to the SDK — so the effect ships to every participant, not just the local preview. In this blog, we'll wire up that hook end-to-end with a red tint shader as the worked example.
For follow-along code, check out the Android Video SDK Pre-Processor sample repo.
Prerequisites
- Android Studio
- Zoom Video SDK
Implement shaders and initialize OpenGL
To implement a red tint filter, we'll need to create a custom vertex and fragment shader and initialize OpenGL in our Android application. This will allow us to manipulate the video frames before they are displayed.
The vertex shader will map 4 vertices of a quad, defining the world space for fragment shader operation.
// OpenGLRenderer.kt
class OpenGLRenderer {
    private val VERTEX_SHADER = """
        attribute vec4 aPosition;
        attribute vec2 aTextureCoord;
        varying vec2 vTextureCoord;
        void main() {
            gl_Position = aPosition;
            vTextureCoord = aTextureCoord;
        }
    """.trimIndent()
    // Interleaved (x, y, s, t): maps image row 0 to screen bottom so glReadPixels
    // row k corresponds directly to rawData row k — no flip needed on write-back.
    private val quadBuffer: FloatBuffer = ByteBuffer.allocateDirect(64)
        .order(ByteOrder.nativeOrder()).asFloatBuffer().apply {
            put(floatArrayOf(
                -1f, -1f,  0f, 0f,
                 1f, -1f,  1f, 0f,
                -1f,  1f,  0f, 1f,
                 1f,  1f,  1f, 1f
            ))
            position(0)
        }
}
In the same buffer, we interleave the texture coordinates to be used by the fragment shader to retrieve the texture data of our raw data image. The fragment shader will then apply the red tint effect to each pixel in the quad. The raw video data we receive from Zoom is represented in YUV420 format, so the fragment shader must convert this to an RGB format to apply the red tint correctly.
// RedTintPreProcessor.kt
class RedTintPreProcessor : ZoomVideoSDKVideoSourcePreProcessor {
    private val FRAGMENT_SHADER = """
        precision mediump float;
        varying vec2 vTextureCoord;
        uniform sampler2D y_tex;
        uniform sampler2D u_tex;
        uniform sampler2D v_tex;
        void main() {
            float y = texture2D(y_tex, vTextureCoord).r;
            float u = texture2D(u_tex, vTextureCoord).r - 0.5;
            float v = texture2D(v_tex, vTextureCoord).r - 0.5;
            float r = clamp(y + 1.402 * v, 0.0, 1.0);
            float g = clamp(y - 0.344 * u - 0.714 * v, 0.0, 1.0);
            float b = clamp(y + 1.772 * u, 0.0, 1.0);
            vec3 color = mix(vec3(r, g, b), vec3(1.0, 0.0, 0.0), 0.3);
            gl_FragColor = vec4(color, 1.0);
        }
    """.trimIndent()
}
Next we initialize OpenGL in our application and set up the necessary functions that will receive YUV ByteBuffers from the RedTintPreProcessor which we will configure later. First, we setup OpenGL for off-screen rendering by creating a custom EGL context and framebuffer object. This also ensures that OpenGl runs on a render thread which is crucial for raw data processing to work properly:
// OpenGLRenderer.kt
fun initEGLContext(width: Int, height: Int) {
    val display = EGL14.eglGetDisplay(EGL14.EGL_DEFAULT_DISPLAY)
    EGL14.eglInitialize(display, IntArray(2), 0, IntArray(2), 1)
    val configAttribs = intArrayOf(
        EGL14.EGL_RENDERABLE_TYPE, EGL14.EGL_OPENGL_ES2_BIT,
        EGL14.EGL_RED_SIZE, 8, EGL14.EGL_GREEN_SIZE, 8,
        EGL14.EGL_BLUE_SIZE, 8, EGL14.EGL_ALPHA_SIZE, 8,
        EGL14.EGL_SURFACE_TYPE, EGL14.EGL_PBUFFER_BIT,
        EGL14.EGL_NONE
    )
    val configs = arrayOfNulls<android.opengl.EGLConfig>(1)
    val numConfigs = IntArray(1)
    EGL14.eglChooseConfig(display, configAttribs, 0, configs, 0, 1, numConfigs, 0)
    val contextAttribs = intArrayOf(EGL14.EGL_CONTEXT_CLIENT_VERSION, 2, EGL14.EGL_NONE)
    val context = EGL14.eglCreateContext(display, configs[0], EGL14.EGL_NO_CONTEXT, contextAttribs, 0)
    val surfaceAttribs = intArrayOf(EGL14.EGL_WIDTH, width, EGL14.EGL_HEIGHT, height, EGL14.EGL_NONE)
    val surface = EGL14.eglCreatePbufferSurface(display, configs[0], surfaceAttribs, 0)
    EGL14.eglMakeCurrent(display, surface, surface, context)
}
Now we can use OpenGL to create and bind our shaders to the program to be used by OpenGL. We also retrieve the location of attributes and uniforms for subsequent rendering operations.
fun initShaders(fragmentShaderCode: String) {
    val vShader = GLES20.glCreateShader(GLES20.GL_VERTEX_SHADER).also {
        GLES20.glShaderSource(it, VERTEX_SHADER)
        GLES20.glCompileShader(it)
    }
    val fShader = GLES20.glCreateShader(GLES20.GL_FRAGMENT_SHADER).also {
        GLES20.glShaderSource(it, fragmentShaderCode)
        GLES20.glCompileShader(it)
    }
    program = GLES20.glCreateProgram()
    GLES20.glAttachShader(program, vShader)
    GLES20.glAttachShader(program, fShader)
    GLES20.glLinkProgram(program)
    GLES20.glUseProgram(program)
    positionHandle = GLES20.glGetAttribLocation(program, "aPosition")
    texCoordHandle = GLES20.glGetAttribLocation(program, "aTextureCoord")
    GLES20.glUniform1i(GLES20.glGetUniformLocation(program, "y_tex"), 0)
    GLES20.glUniform1i(GLES20.glGetUniformLocation(program, "u_tex"), 1)
    GLES20.glUniform1i(GLES20.glGetUniformLocation(program, "v_tex"), 2)
    val texIds = IntArray(3)
    GLES20.glGenTextures(3, texIds, 0)
    yTexId = texIds[0]; uTexId = texIds[1]; vTexId = texIds[2]
}
Finally, we implement a method to initialize the framebuffer object for off-screen rendering:
fun initFBO(width: Int, height: Int) {
    val fboTex = IntArray(1)
    GLES20.glGenTextures(1, fboTex, 0)
    GLES20.glBindTexture(GLES20.GL_TEXTURE_2D, fboTex[0])
    GLES20.glTexImage2D(GLES20.GL_TEXTURE_2D, 0, GLES20.GL_RGBA, width, height, 0, GLES20.GL_RGBA, GLES20.GL_UNSIGNED_BYTE, null)
    GLES20.glTexParameteri(GLES20.GL_TEXTURE_2D, GLES20.GL_TEXTURE_MIN_FILTER, GLES20.GL_NEAREST)
    GLES20.glTexParameteri(GLES20.GL_TEXTURE_2D, GLES20.GL_TEXTURE_MAG_FILTER, GLES20.GL_NEAREST)
    val fbos = IntArray(1)
    GLES20.glGenFramebuffers(1, fbos, 0)
    fboId = fbos[0]
    GLES20.glBindFramebuffer(GLES20.GL_FRAMEBUFFER, fboId)
    GLES20.glFramebufferTexture2D(GLES20.GL_FRAMEBUFFER, GLES20.GL_COLOR_ATTACHMENT0, GLES20.GL_TEXTURE_2D, fboTex[0], 0)
}
Receive raw data from the SDK
In the RedTintPreProcessor class, we'll extend the ZoomVideoSDKVideoSourcePreProcessor class to access functions needed for raw data retrieval. To receive the data, we simply override the onPreProcessRawData method:
class RedTintPreProcessor : ZoomVideoSDKVideoSourcePreProcessor {
    override fun onPreProcessRawData(rawData: ZoomVideoSDKPreProcessRawData?) {
        Log.d("RedTintPreProcessor", "onPreProcessRawData: $rawData")
        if (rawData != null) process(rawData)
    }
    // ...rest of class
}
Then, we pass an instance of this class to the preProcessor of the ZoomVideoSDKSessionContext before we join the session:
val preProcessorSource = RedTintPreProcessor()
val joinParams: ZoomVideoSDKSessionContext = ZoomVideoSDKSessionContext().apply {
    sessionName = config.sessionName
    userName = config.userName
    sessionPassword = config.password
    token = config.jwt
    videoOption = ZoomVideoSDKVideoOption().apply { localVideoOn = false }
    audioOption = ZoomVideoSDKAudioOption().apply {
        mute = true
        connect = true
    }
    preProcessor = preProcessorSource
}
Now when the session is started, raw video data will be sent to the onPreProcessRawData function of our RedTintPreProcessor class, where we can then send it to OpenGL for processing.
Copy YUV planes into GPU buffers
Once the raw data is received, we can pass it to the process function to prepare and send the raw data as ByteBuffers to OpenGL. At a high level, we first allocate native memory for our Y, U, and V planes of the YUV420 data, then we copy the data from the ZoomVideoSDKPreProcessRawData object into these buffers. We then send these buffer to the renderYUV method for GPU processing; we'll dive into the details of that function in the next section.
private fun process(rawData: ZoomVideoSDKPreProcessRawData) {
    // EGL context must be created on the thread where GL calls are made.
    // onPreProcessRawData runs on Zoom's raw data thread, not the main thread.
    if (!glInitialized) {
        renderer.initEGLContext(16, 16)
        renderer.initShaders(FRAGMENT_SHADER)
        glInitialized = true
    }
    val width = rawData.width
    val height = rawData.height
    val chromaWidth = width / 2
    val chromaHeight = height / 2
    if (width != lastWidth || height != lastHeight) {
        renderer.initFBO(width, height)
        lastWidth = width
        lastHeight = height
    }
    // Copy into tightly-packed buffers (no stride padding) for glTexImage2D.
    val yPlane = ByteBuffer.allocateDirect(width * height).order(ByteOrder.nativeOrder())
    val uPlane = ByteBuffer.allocateDirect(chromaWidth * chromaHeight).order(ByteOrder.nativeOrder())
    val vPlane = ByteBuffer.allocateDirect(chromaWidth * chromaHeight).order(ByteOrder.nativeOrder())
    for (line in 0 until height) {
        val src = rawData.getYBuffer(line) ?: continue
        src.position(0)
        yPlane.position(line * width)
        repeat(minOf(width, src.remaining())) { yPlane.put(src.get()) }
    }
    for (line in 0 until chromaHeight) {
        rawData.getUBuffer(line)?.let { src ->
            src.position(0)
            uPlane.position(line * chromaWidth)
            repeat(minOf(chromaWidth, src.remaining())) { uPlane.put(src.get()) }
        }
        rawData.getVBuffer(line)?.let { src ->
            src.position(0)
            vPlane.position(line * chromaWidth)
            repeat(minOf(chromaWidth, src.remaining())) { vPlane.put(src.get()) }
        }
    }
    // GPU: render YUV through red-tint shader into FBO, read back as RGBA.
    val rgba: ByteBuffer = renderer.renderYUV(yPlane, uPlane, vPlane, width, height)
   /*
   ...Convert back to YUV and copy back into rawData for SDK to consume (see last section)...
   */
}
Run the red-tint shader on the GPU
Back in the OpenGLRenderer class, we implement the renderYUV method which takes in our Y, U, and V ByteBuffers and sends them to the GPU for processing. Here, we bind the YUV data to 3 textures corresponding to each plane and specify to OpenGL how to read the interleaved quadBuffer coordinates for the aPosition and aTexCoord attributes. We then call glDrawArrays to run the shaders to the framebuffer object we configured earlier. Finally, we read the processed RGBA data back into a ByteBuffer to be sent back to the process method:
fun renderYUV(y: ByteBuffer, u: ByteBuffer, v: ByteBuffer, width: Int, height: Int): ByteBuffer {
    uploadTexture(GLES20.GL_TEXTURE0, yTexId, y, width, height)
    uploadTexture(GLES20.GL_TEXTURE1, uTexId, u, width / 2, height / 2)
    uploadTexture(GLES20.GL_TEXTURE2, vTexId, v, width / 2, height / 2)
    // Tell OpenGL to render (draw on and read from) to the specified FBO instead of to the screen
    GLES20.glBindFramebuffer(GLES20.GL_FRAMEBUFFER, fboId)
    // x = 0, y = 0: Defines the lower-left corner of the viewport in pixels. width, height: Defines the size of the rectangle to draw into, usually matching the screen size
    GLES20.glViewport(0, 0, width, height)
    GLES20.glUseProgram(program)
    quadBuffer.position(0)
    GLES20.glVertexAttribPointer(positionHandle, 2, GLES20.GL_FLOAT, false, 16, quadBuffer)
    GLES20.glEnableVertexAttribArray(positionHandle)
    quadBuffer.position(2)
    GLES20.glVertexAttribPointer(texCoordHandle, 2, GLES20.GL_FLOAT, false, 16, quadBuffer)
    GLES20.glEnableVertexAttribArray(texCoordHandle)
    GLES20.glDrawArrays(GLES20.GL_TRIANGLE_STRIP, 0, 4)
    // Read the processed pixel data back into a ByteBuffer to return
    val pixels = ByteBuffer.allocateDirect(width * height * 4).order(ByteOrder.nativeOrder())
    GLES20.glReadPixels(0, 0, width, height, GLES20.GL_RGBA, GLES20.GL_UNSIGNED_BYTE, pixels)
    pixels.position(0)
    return pixels
}
Write the filtered frame back to the SDK
In the process method, we convert the processed RGBA data back to YUV I420 and copy it back into the ZoomVideoSDKPreProcessRawData object to be sent back to the SDK:
private fun process(rawData: ZoomVideoSDKPreProcessRawData) {
 /*
 ...previous code for sending to renderYUV method...
 */
 // Convert RGBA result back to YUV I420 and write into rawData.
    // The quad mapping ensures glReadPixels row k == rawData row k.
    for (row in 0 until height) {
        val dst = rawData.getYBuffer(row) ?: continue
        dst.position(0)
        for (col in 0 until width) {
            val i = (row * width + col) * 4
            val r = (rgba.get(i).toInt() and 0xFF) / 255f
            val g = (rgba.get(i + 1).toInt() and 0xFF) / 255f
            val b = (rgba.get(i + 2).toInt() and 0xFF) / 255f
            val y = 0.299f * r + 0.587f * g + 0.114f * b
            dst.put((y.coerceIn(0f, 1f) * 255f + 0.5f).toInt().toByte())
        }
    }
    for (row in 0 until chromaHeight) {
        val uDst = rawData.getUBuffer(row) ?: continue
        val vDst = rawData.getVBuffer(row) ?: continue
        uDst.position(0)
        vDst.position(0)
        for (col in 0 until chromaWidth) {
            // Sample top-left pixel of each 2x2 chroma block.
            val i = ((row * 2) * width + (col * 2)) * 4
            val r = (rgba.get(i).toInt() and 0xFF) / 255f
            val g = (rgba.get(i + 1).toInt() and 0xFF) / 255f
            val b = (rgba.get(i + 2).toInt() and 0xFF) / 255f
            val u = -0.16874f * r - 0.33126f * g + 0.5f * b + 0.5f
            val v = 0.5f * r - 0.41869f * g - 0.08131f * b + 0.5f
            uDst.put((u.coerceIn(0f, 1f) * 255f + 0.5f).toInt().toByte())
            vDst.put((v.coerceIn(0f, 1f) * 255f + 0.5f).toInt().toByte())
        }
    }
}
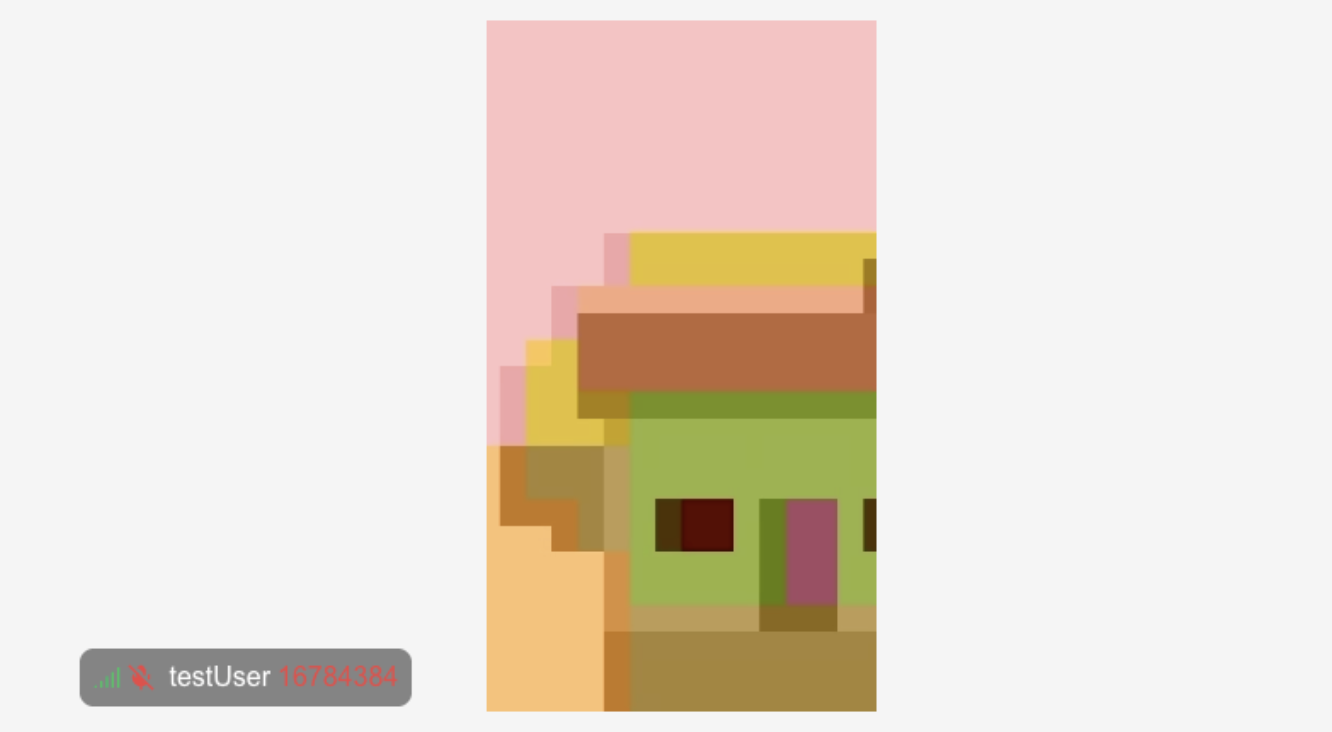
Now when the processed frames are sent to the Zoom Meeting Server, a red tint filter will be seen by all participants in the meeting.
Next steps
More information about the Raw Data API can be found in the Android Video SDK Raw Data Documentation. For iOS developers, we also have an iOS version of this red tint filter example titled Real-time video effects in iOS with Zoom Video SDK