Real-time video effects in iOS with Zoom Video SDK
The Zoom Video SDK gives you access to raw video frames, so you can modify what’s sent or rendered in real time. In this post, we’ll build a simple pipeline for applying custom effects directly to video streams using native tools like Metal shaders.
The iOS (UIKit) quickstart blog covered integrating the Zoom Video SDK with audio, video, and basic in-session controls. If you haven’t completed that guide, start there first.
This post builds on the same UIKit sample app to show how to:
- Access raw video frame data
- Process frames with Apple’s Metal framework
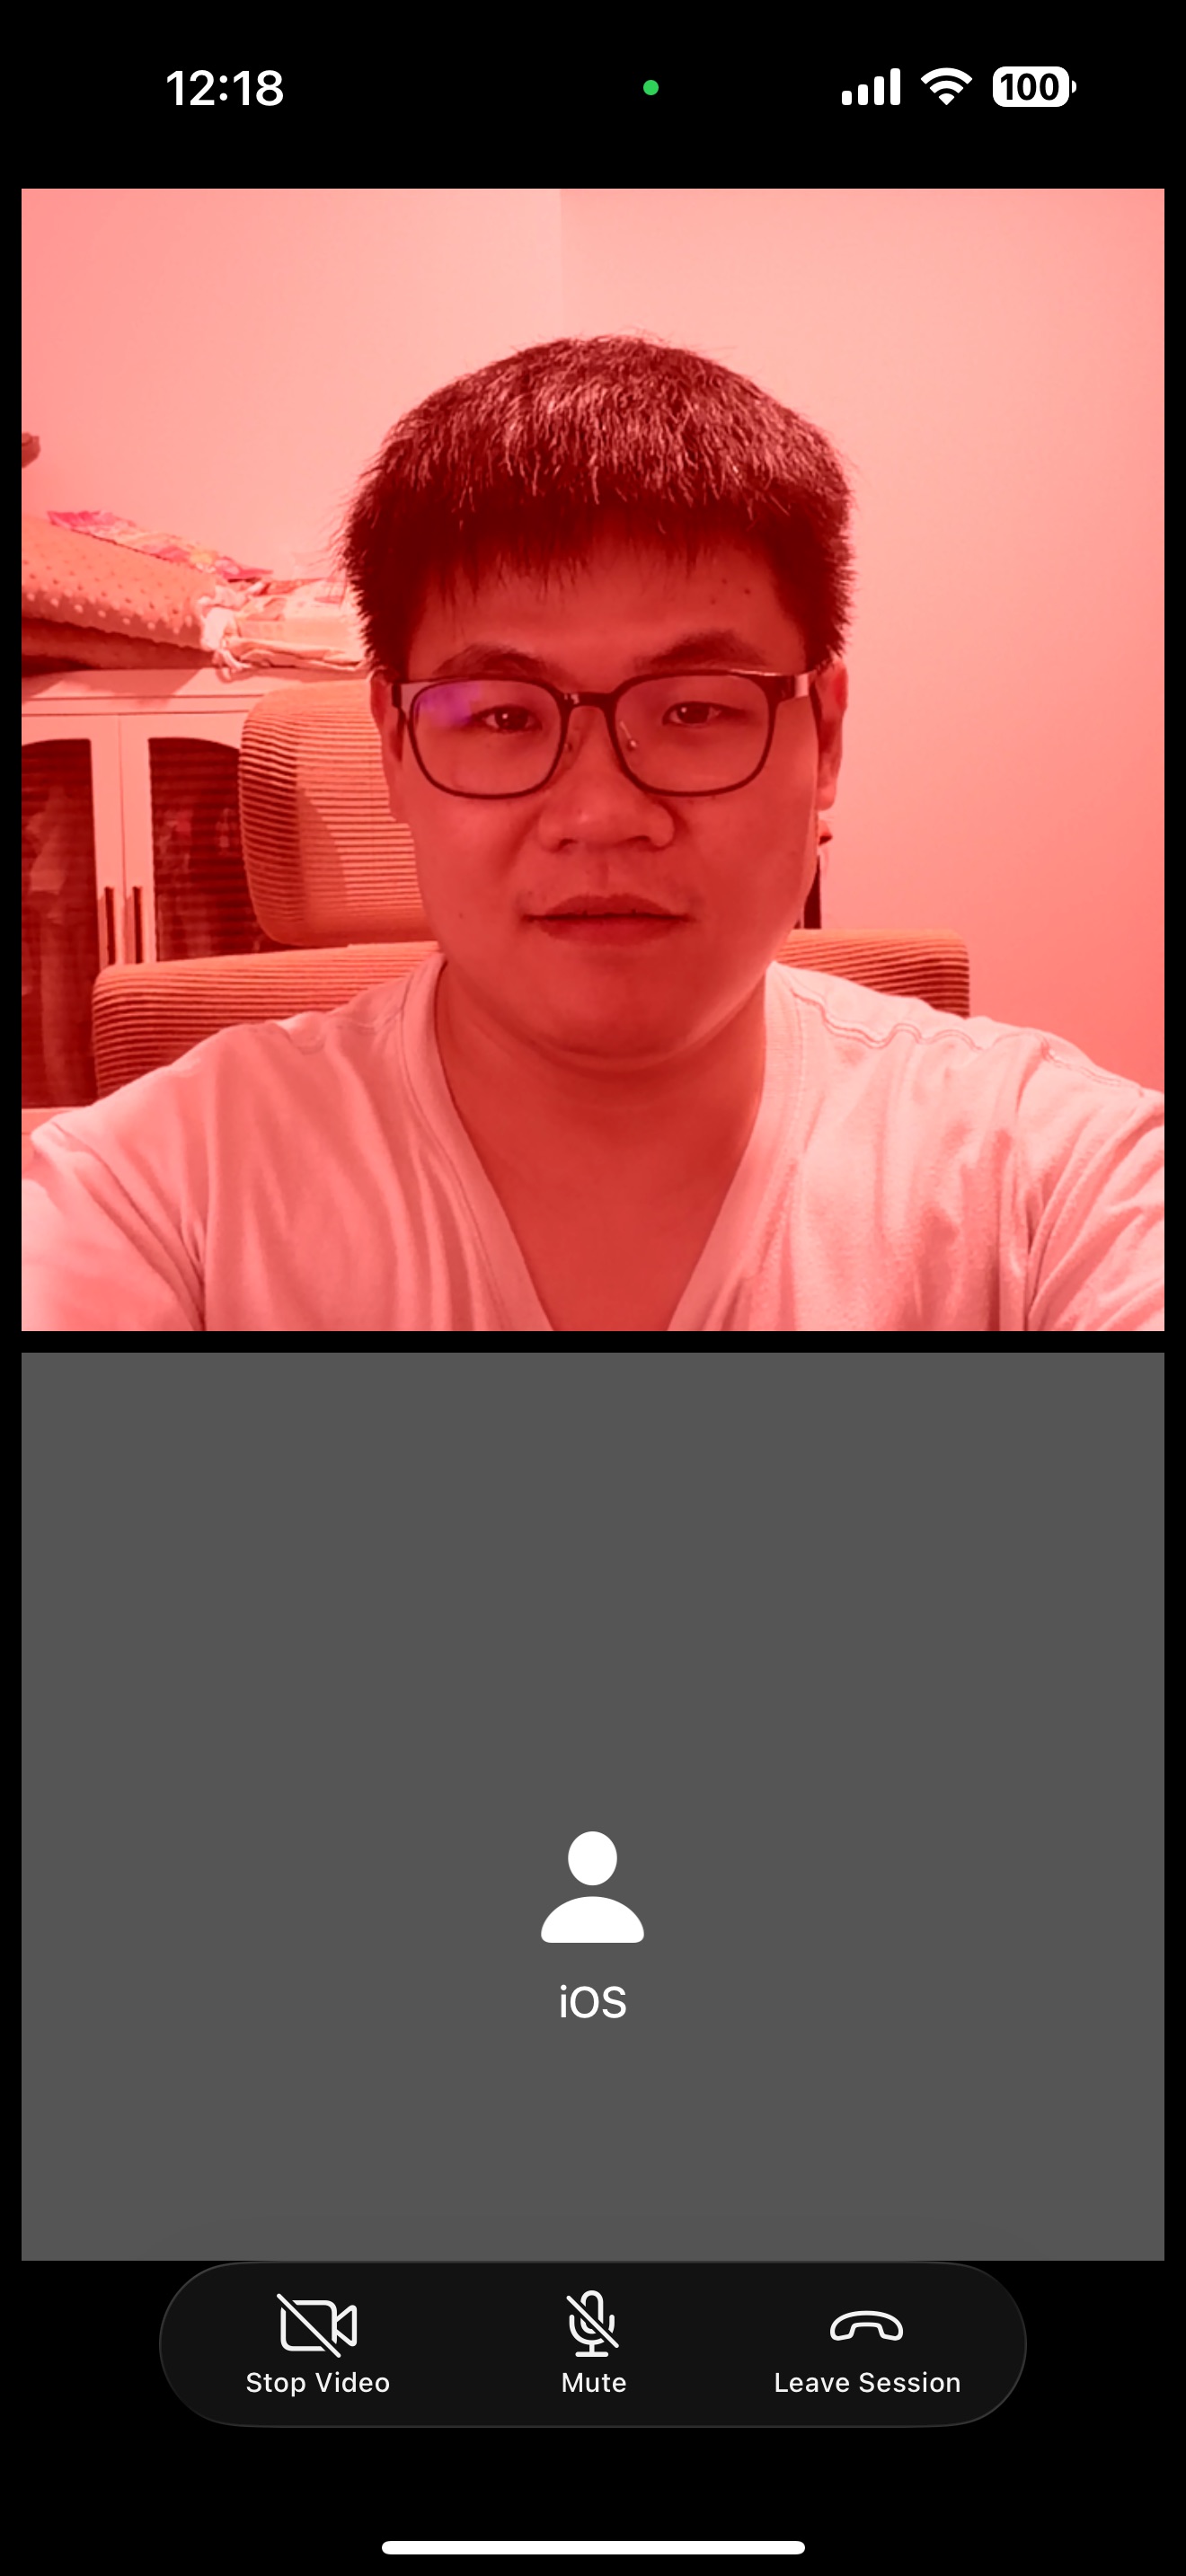
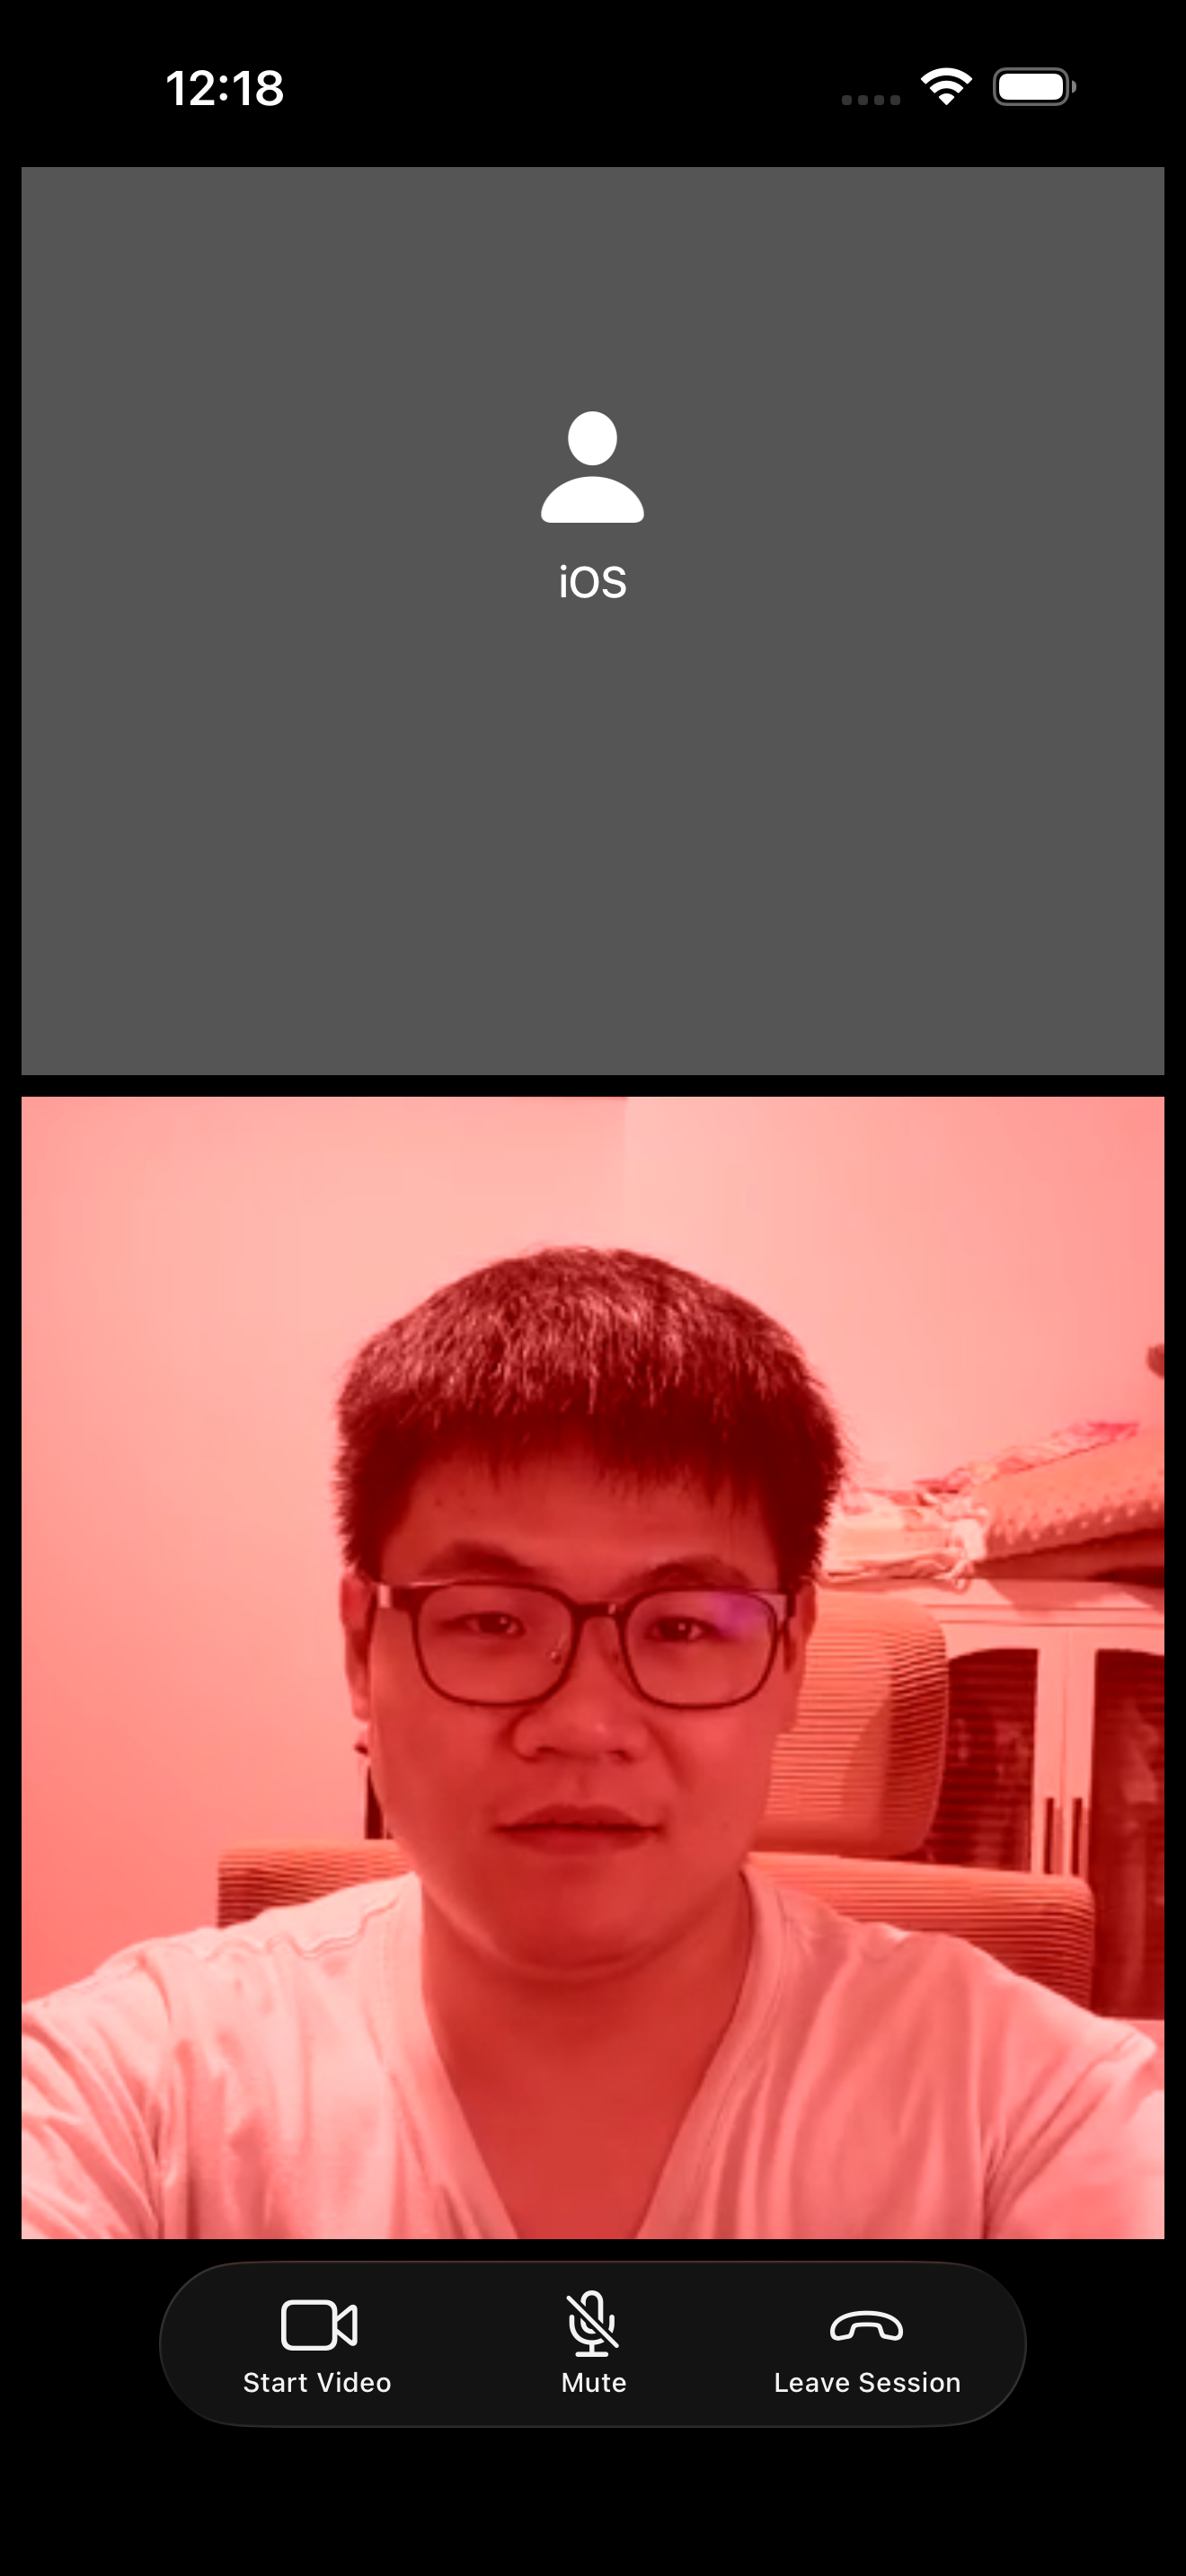
- Apply a 50% red background tint using a Metal compute shader
- Send processed frames back through the SDK’s pre-process delegate
- Bonus — Build your own video filters with LUTs
The result is a video stream with a video filter visible to all participants in the session. The completed project is available on GitHub.
SDK contents
The Zoom Video SDK for iOS includes several XCFramework bundles located under /Sample-Libs/lib. You only need to include the frameworks required for your specific use case.
Required for this tutorial:
ZoomVideoSDK.xcframeworkZoomTask.xcframework
We will use the same XCFrameworks from the UIKit quickstart sample app. No additional Zoom libraries are required for this implementation.
Metal creation and processing
First, create a Metal shader file named RedTint.metal. This compute kernel applies a red tint to YUV 4:2:0 video frames. YUV is a color space that separates brightness (luminance, the Y channel) from color information (chrominance, the U and V channels). The shader blends U and V toward red while leaving Y unchanged, preserving brightness while shifting color tone.
Start with the includes and a YUVParams struct that holds the frame dimensions, per-plane strides, a mix factor controlling tint strength, and the target U/V values for red:
#include <metal_stdlib>
using namespace metal;
struct YUVParams {
    uint  width;
    uint  height;
    uint  yStride;
    uint  uStride;
    uint  vStride;
    float mixFactor;
    float uRed;
    float vRed;
};
The kernel function tint_red_yuv receives the three YUV plane buffers plus the params struct. Each GPU thread handles one pixel, identified by gid. The Y channel is left untouched:
kernel void tint_red_yuv(
device uint8_t *yPlane [[buffer(0)]],
device uint8_t *uPlane [[buffer(1)]],
device uint8_t *vPlane [[buffer(2)]],
constant YUVParams ¶ms [[buffer(3)]],
uint2 gid [[thread_position_in_grid]]
) {
if (gid.x >= params.width || gid.y >= params.height) return;
uint x = gid.x;
uint y = gid.y;
uint yIndex = y * params.yStride + x;
(void)yPlane[yIndex];
In YUV 4:2:0, each 2x2 block of pixels shares a single U and V value. The shader only updates the chroma channels for the top-left pixel of each block (where both x and y are even). It blends the existing U/V values toward the red target using mix, then clamps the result to valid range:
    if ((x % 2u == 0u) && (y % 2u == 0u)) {
        uint uvX = x / 2u;
        uint uvY = y / 2u;
        uint uIndex = uvY * params.uStride + uvX;
        uint vIndex = uvY * params.vStride + uvX;
        float u = (float)uPlane[uIndex];
        float v = (float)vPlane[vIndex];
        float uNew = mix(u, params.uRed, params.mixFactor);
        float vNew = mix(v, params.vRed, params.mixFactor);
        uPlane[uIndex] = (uint8_t)clamp(uNew, 0.0f, 255.0f);
        vPlane[vIndex] = (uint8_t)clamp(vNew, 0.0f, 255.0f);
    }
}
Next, create MetalRedPreprocessor.swift. This class intercepts raw YUV frames from the Video SDK, sends them to the GPU via the Metal shader above, applies the 50% red tint, and writes the modified frame back.
Initialization
During init, the preprocessor creates a MTLDevice and MTLCommandQueue, loads the tint_red_yuv kernel from RedTint.metal, and builds a compute pipeline state:
import Foundation
import Metal
import CoreVideo
import ZoomVideoSDK
final class MetalRedPreprocessor: NSObject {
    private let device: MTLDevice
    private let commandQueue: MTLCommandQueue
    private let computePipeline: MTLComputePipelineState
    override init() {
        guard let device = MTLCreateSystemDefaultDevice(),
              let commandQueue = device.makeCommandQueue()
        else {
            fatalError("Metal not available")
        }
        self.device = device
        self.commandQueue = commandQueue
        let library = device.makeDefaultLibrary()
        guard let kernel = library?.makeFunction(name: "tint_red_yuv") else {
            fatalError("Failed to load tint_red_yuv shader")
        }
        self.computePipeline = try! device.makeComputePipelineState(function: kernel)
        super.init()
    }
Processing frames
The process method is the entry point called by the Video SDK every time a video frame is ready for pre-processing. It starts by extracting the frame dimensions and stride values, then allocates temporary buffers for each YUV plane. The defer block ensures these buffers are freed regardless of how the method exits:
    func process(rawData: ZoomVideoSDKPreProcessRawData) {
        let width = Int(rawData.size.width)
        let height = Int(rawData.size.height)
        let yStride = Int(rawData.yStride)
        let uStride = Int(rawData.uStride)
        let vStride = Int(rawData.vStride)
        guard let yPlane = malloc(yStride * height)?.assumingMemoryBound(to: UInt8.self),
              let uPlane = malloc(uStride * (height / 2))?.assumingMemoryBound(to: UInt8.self),
              let vPlane = malloc(vStride * (height / 2))?.assumingMemoryBound(to: UInt8.self)
        else { return }
        defer {
            free(yPlane)
            free(uPlane)
            free(vPlane)
        }
Copy the pixel data from the Video SDK's buffers into the temporary planes. The Y plane has one row per pixel height, while the U and V chroma planes are half height (due to 4:2:0 subsampling):
        for line in 0..<height {
            guard let src = rawData.getYBuffer(Int32(line)) else { continue }
            memcpy(yPlane.advanced(by: line * yStride), src, yStride)
        }
        let chromaHeight = height / 2
        for line in 0..<chromaHeight {
            if let uSrc = rawData.getUBuffer(Int32(line)) {
                memcpy(uPlane.advanced(by: line * uStride), uSrc, uStride)
            }
            if let vSrc = rawData.getVBuffer(Int32(line)) {
                memcpy(vPlane.advanced(by: line * vStride), vSrc, vStride)
            }
        }
Send the planes to the GPU for processing, then copy the modified data back into the Video SDK's buffers so the tinted frame is transmitted to other participants:
        processYUV(
            y: yPlane, u: uPlane, v: vPlane,
            width: width, height: height,
            yStride: yStride, uStride: uStride, vStride: vStride
        )
        for line in 0..<height {
            guard let dst = rawData.getYBuffer(Int32(line)) else { continue }
            memcpy(dst, yPlane.advanced(by: line * yStride), yStride)
        }
        for line in 0..<chromaHeight {
            if let uDst = rawData.getUBuffer(Int32(line)) {
                memcpy(uDst, uPlane.advanced(by: line * uStride), uStride)
            }
            if let vDst = rawData.getVBuffer(Int32(line)) {
                memcpy(vDst, vPlane.advanced(by: line * vStride), vStride)
            }
        }
    }
GPU dispatch
The processYUV method wraps the raw plane pointers in Metal buffers (using bytesNoCopy to avoid extra copies), configures the tint parameters, and dispatches the compute shader. mixFactor: 0.5 gives a 50% blend, and uRed/vRed are the YUV chroma coordinates for red. The shader runs on a 16x16 thread grid that covers the full frame:
private func processYUV(
y: UnsafeMutablePointer<UInt8>,
u: UnsafeMutablePointer<UInt8>,
v: UnsafeMutablePointer<UInt8>,
width: Int, height: Int,
yStride: Int, uStride: Int, vStride: Int
) {
guard let commandBuffer = commandQueue.makeCommandBuffer(),
let encoder = commandBuffer.makeComputeCommandEncoder()
else { return }
let yLength = yStride * height
let uLength = uStride * (height / 2)
let vLength = vStride * (height / 2)
guard let yBuffer = device.makeBuffer(bytesNoCopy: y, length: yLength, options: .storageModeShared, deallocator: nil),
let uBuffer = device.makeBuffer(bytesNoCopy: u, length: uLength, options: .storageModeShared, deallocator: nil),
let vBuffer = device.makeBuffer(bytesNoCopy: v, length: vLength, options: .storageModeShared, deallocator: nil)
else { return }
var params = YUVParamsSwift(
width: UInt32(width), height: UInt32(height),
yStride: UInt32(yStride), uStride: UInt32(uStride), vStride: UInt32(vStride),
mixFactor: 0.5,
uRed: 90.0,
vRed: 240.0
)
guard let paramsBuffer = device.makeBuffer(bytes: ¶ms, length: MemoryLayout<YUVParamsSwift>.stride, options: .storageModeShared) else { return }
encoder.setComputePipelineState(computePipeline)
encoder.setBuffer(yBuffer, offset: 0, index: 0)
encoder.setBuffer(uBuffer, offset: 0, index: 1)
encoder.setBuffer(vBuffer, offset: 0, index: 2)
encoder.setBuffer(paramsBuffer, offset: 0, index: 3)
let threadsPerThreadgroup = MTLSize(width: 16, height: 16, depth: 1)
let threadgroups = MTLSize(
width: (width + threadsPerThreadgroup.width - 1) / threadsPerThreadgroup.width,
height: (height + threadsPerThreadgroup.height - 1) / threadsPerThreadgroup.height,
depth: 1
)
encoder.dispatchThreadgroups(threadgroups, threadsPerThreadgroup: threadsPerThreadgroup)
encoder.endEncoding()
commandBuffer.commit()
commandBuffer.waitUntilCompleted()
}
}
The YUVParamsSwift struct mirrors the YUVParams layout in the Metal shader, so the GPU can read the parameters directly:
private struct YUVParamsSwift {
    var width: UInt32
    var height: UInt32
    var yStride: UInt32
    var uStride: UInt32
    var vStride: UInt32
    var mixFactor: Float
    var uRed: Float
    var vRed: Float
}
Integrate together with Video SDK's pre-processing
Now integrate MetalRedPreprocessor into SessionViewController.swift.
Add an instance of the preprocessor:
class SessionViewController: UIViewController {
    // ...
    var toggleVideoBarItem: UITabBarItem = .init(title: "Stop Video", image: UIImage(systemName: "video.slash"), tag: ControlOption.toggleVideo.rawValue)
    var toggleAudioBarItem: UITabBarItem = .init(title: "Mute", image: UIImage(systemName: "mic.slash"), tag: ControlOption.toggleAudio.rawValue)
    private let preprocessor = MetalRedPreprocessor()
    // MARK: - Lifecycle Methods
    // ...
}
Then conform SessionViewController to ZoomVideoSDKVideoSourcePreProcessor. This gives you the onPreProcessRawData callback to forward frames to the Metal preprocessor.
// MARK: - ZoomVideoSDKVideoSourcePreProcessor
extension SessionViewController: ZoomVideoSDKVideoSourcePreProcessor {
    func onPreProcessRawData(_ rawData: ZoomVideoSDKPreProcessRawData?) {
        guard let raw = rawData else { return }
        preprocessor.process(rawData: raw)
    }
}
With this in place, every outgoing video frame passes through MetalRedPreprocessor before transmission, producing a red-tinted stream visible to all participants.
That covers the core flow: access raw frames, process them on the GPU, and write them back through the Video SDK pre-process delegate.
Next, we’ll swap the red tint for a more practical effect — a color Lookup Table (LUT).
Create and apply a LUT
A LUT (Lookup Table) maps input colors to output colors and is commonly used for color grading. This section requires three files:
- ExampleLUT.cube — a
.cubefile defining a 3D color lookup table that produces a cinematic color grade. You can substitute your own.cubefile for different effects. - LUT.metal — a Metal compute shader that reads the LUT and applies it to each YUV video frame.
- MetalLUTPreprocessor.swift — wires the
.cubefile and shader together, following the same pattern asMetalRedPreprocessor.
Add all three files to your project, then swap the preprocessor in SessionViewController.swift:
// Line 35
private let preprocessor = MetalLUTPreprocessor(cubeName: "ExampleLUT") // replaces MetalRedPreprocessor()
The left image shows the LUT applied; the right is the original video.
The same pre-processing approach works for beauty filters, AR effects, smart overlays, and more. See the Add Features section in our Video SDK docs for additional capabilities.