Set up Zoom licenses, SMS, and admin
Before you can start using Zoom Phone and Zoom SMS, you need to purchase licenses, assign them to users, and configure basic settings in the Zoom Admin Portal.
This section helps you set up licenses, assign calling plans, configure SMS, and access the Zoom Phone admin portal. After setup, your users can make calls, send messages, and use all Zoom Phone features. Whether you're a Zoom admin or a developer, this guide will help you start building with Zoom Phone.
Licensing and admin setup
Purchase and assign licenses
-
Sign in to the Zoom Web Portal.
-
In the navigation menu, choose Admin - Account Management - Billing.
-
Under the Current Plans tab, choose Add Zoom Phone.
-
Choose a plan (for example, US/CA Calling, Metered, or Global) and complete the purchase.
-
After purchase, go to User Management - Users.
-
Next to the user you want, choose Edit. Then assign the Zoom Phone license.
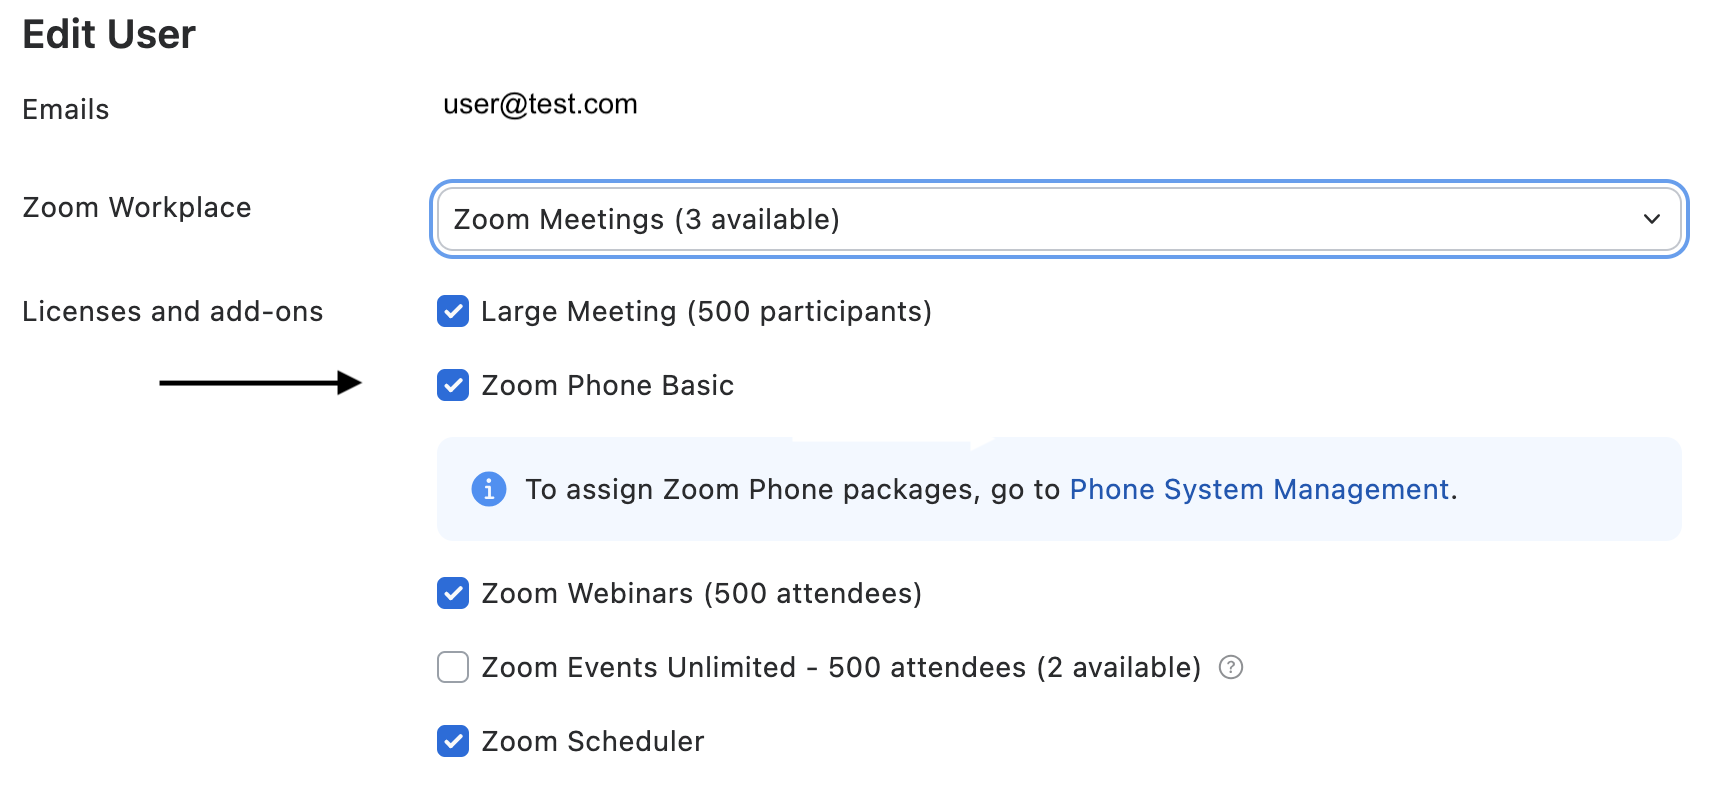
-
After assigning the license, go to Phone System Management - Users & Rooms.
-
Select the user and assign the correct calling plan under their Profile tab.
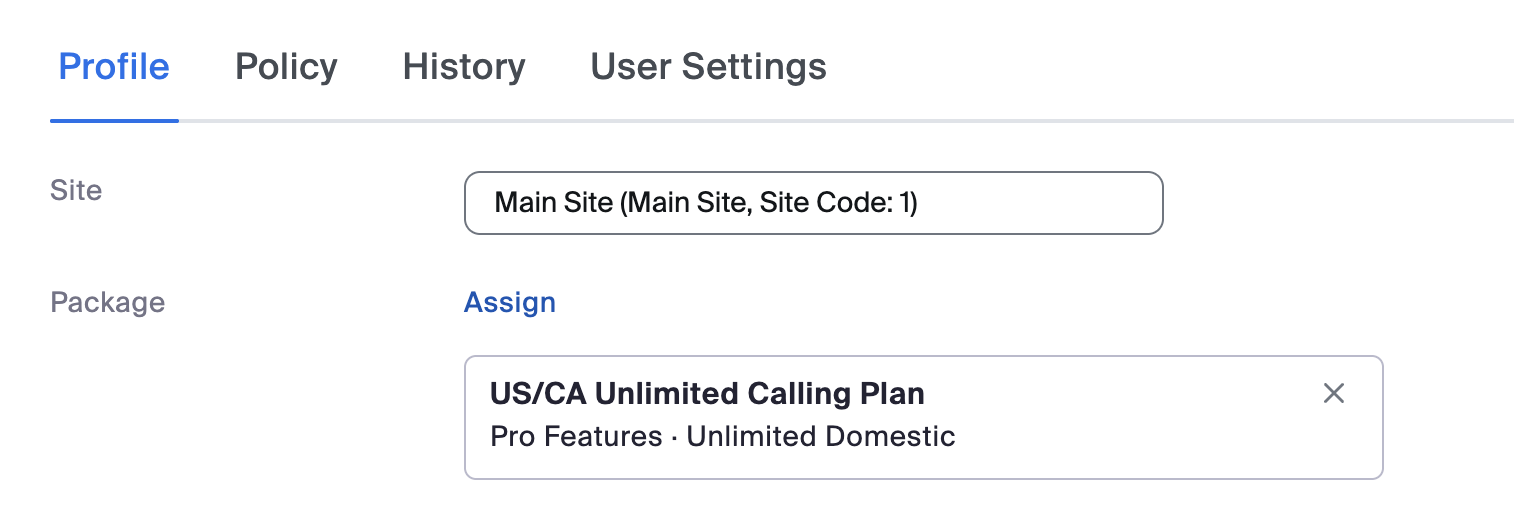
-
Add a phone number to that user.
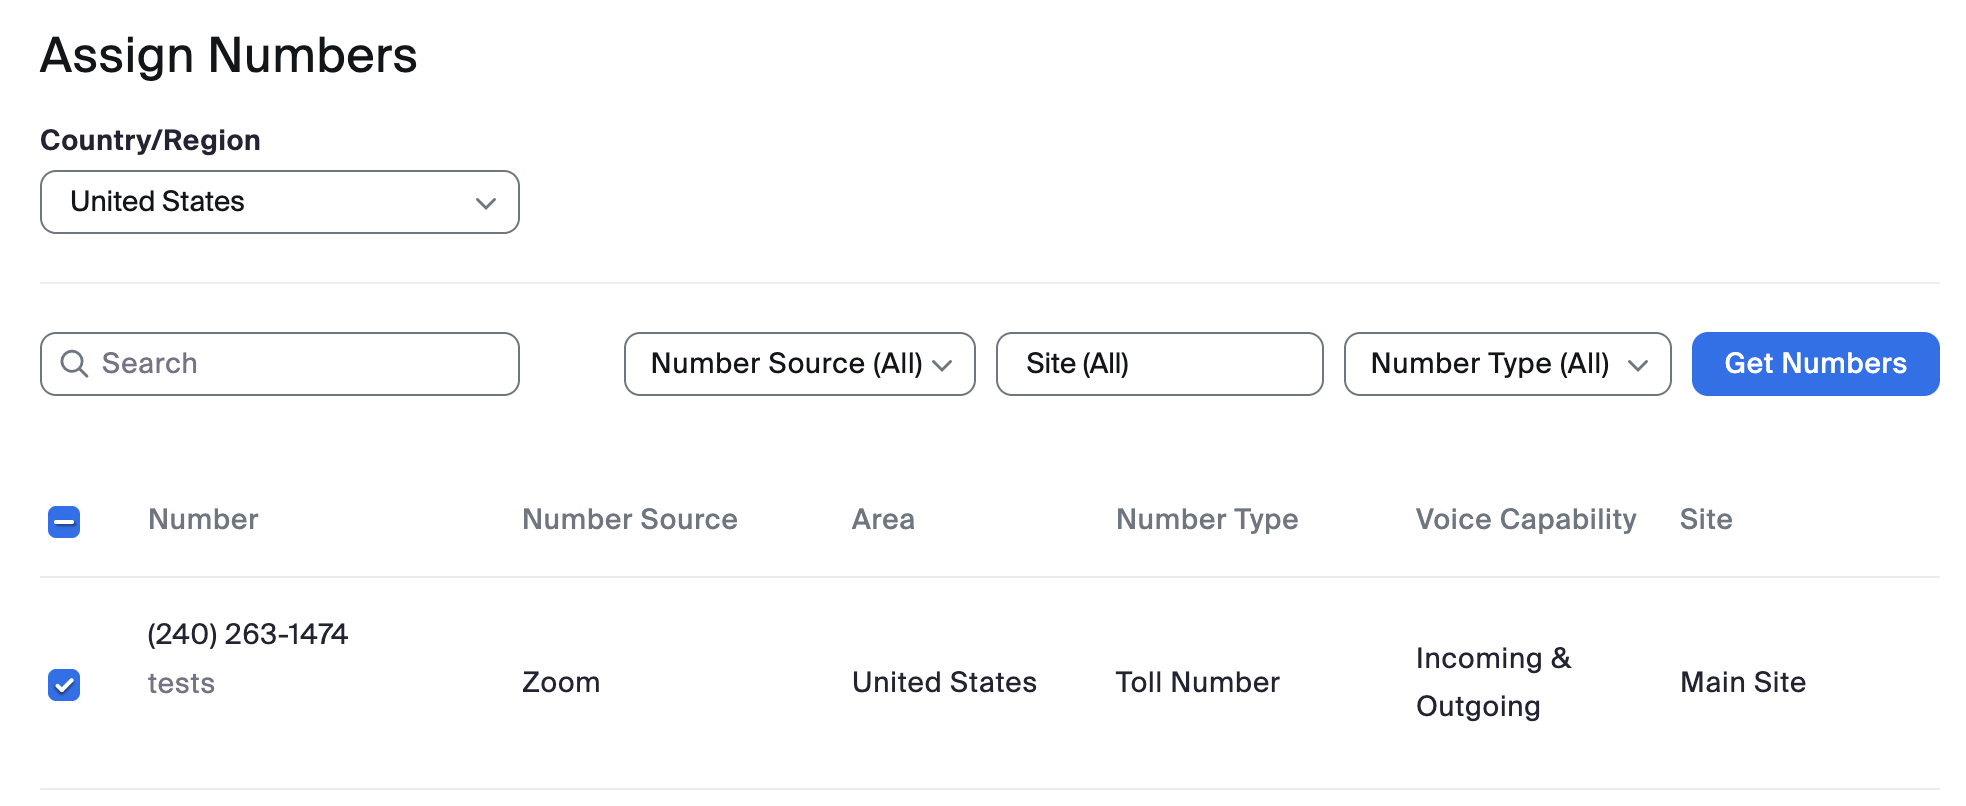
For information, see Zoom Phone Plans.
Zoom SMS setup
Zoom SMS allows users to send and receive SMS messages using their Zoom Phone numbers. Admins can also create campaigns for outreach or notifications.
- As an Admin, sign in to the Zoom Web Portal.
- Go to Number Management - SMS Campaigns.
- Review the 10DLC Campaign creation checklist and create your 10DLC Brand.
For more information about Zoom SMS campaigns, see SMS/MMS 10DLC Compliance for Zoom Phone, Zoom Contact Center, and Zoom Meetings.
Zoom Phone admin portal
-
As an Admin, sign in to zoom.us.
-
In the Admin tab, go to Phone System Management.
Now you can configure all core settings, such as Auto Receptionists, Call queues, Shared lines, and so on.
For more information, see Getting started with Zoom Phone (admin).