Try the demo app
Now that you've downloaded and set up the demo application, it's time to bring it to life.
Our demo app already has all the necessary project permissions. You just need to build it, run it, and watch it go.
Build and run the demo
- In Xcode, open
ZoomSDKSample/ZoomSDKSample.xcodeproj, and make sure an error doesn't immediately appear. - If you can open the demo app without seeing any errors, press the triangular Run button to build and launch the demo app.
Play with the app
Now let's try out the demo app. When you launch the demo app, it opens a series of screens asking for some information.
For this part, you'll need a meeting ID number and meeting passcode from a pre-created Zoom meeting.
-
On the first dialog, when asked to enter a domain, enter
https://zoom.usand press SetDomain.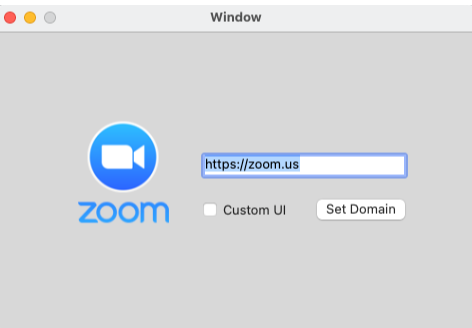
Do not use a raw IP address as the web domain. That exposes your app to vulnerability issues. To learn more, see our security practices.
-
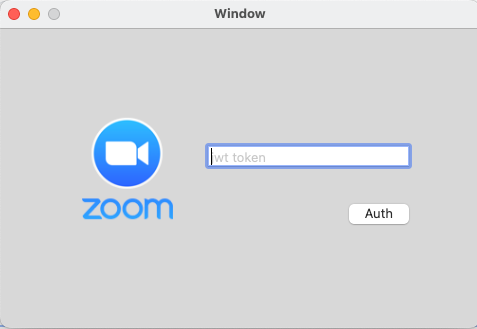
In the next screen, enter your JWT token and press Auth. Learn how to generate a JWT token.
-
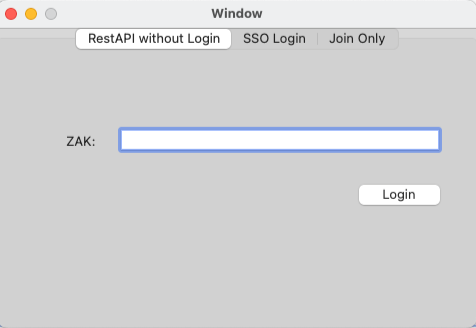
Once you've authenticated the SDK, you're taken to a new dialog where you can either log in to Zoom or join a meeting.
Note: You'd need a ZAK token only if you were planning to join a meeting without logging in, via the REST API.
For this exercise, you're going to join your pre-existing meeting.
-
Go to the Only Join tab and enter your meeting number, your display name for the meeting, and the meeting password. Then press Join.
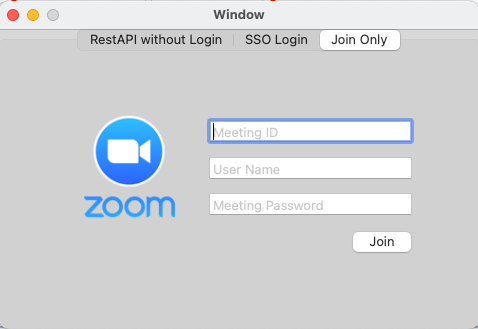
If all went well, you'll see the meeting window.
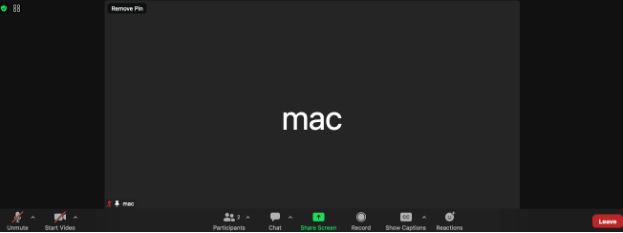
Congratulations! You have set up, built, and run the demo app and used it to join a pre-existing Zoom meeting. Explore all the features of our Meeting SDK, such as Share, Chat, Record, or Closed Caption.
This is what the Meeting SDK for macOS looks like in a macOS application.