Build a Cocoa video chat app using the Zoom Video SDK on macOS
- Update: Feb 26, 2026
The blog has been updated to support a newly added script that helps to generate the JWT token.
Introduction
At Zoom, we strive to provide the best video conferencing experience possible. SDK libraries empower the creation of third party apps powered by our world-class video technology platform. With Zoom Video SDK, developers can build fully-customizable self-branded apps with nearly all of the features of the desktop client Zoom experience, from video calling to screen sharing.
In this guide we will build a macOS Cocoa app with the Video SDK. We’ll cover:
- Introduction
- Prerequisites
- Getting the SDK
- Quickstart app contents
- JWT authentication
- JWT authentication
- Integrating the SDK
- Initializing the SDK
- Joining a session
- Set up delegate callbacks
- Video
- Audio
- Responding to user events
- Leaving a session
Tha app lets two or more users have a conversation with each other over. Both video and audio-only communication is supported. For this project, we'll use Swift and Cocoa.
Prerequisites
To build this app, you should have:
- Xcode version 16.1 or later
- A macOS device running 10.13 or newer
- A Zoom Video SDK account with Video SDK credentials
- A valid provisioning profile certificate
Getting the SDK
To add framework files manually via the Zoom Marketplace, see the documentation. Pay close attention to the entire Import the SDK library section.
Quickstart app contents
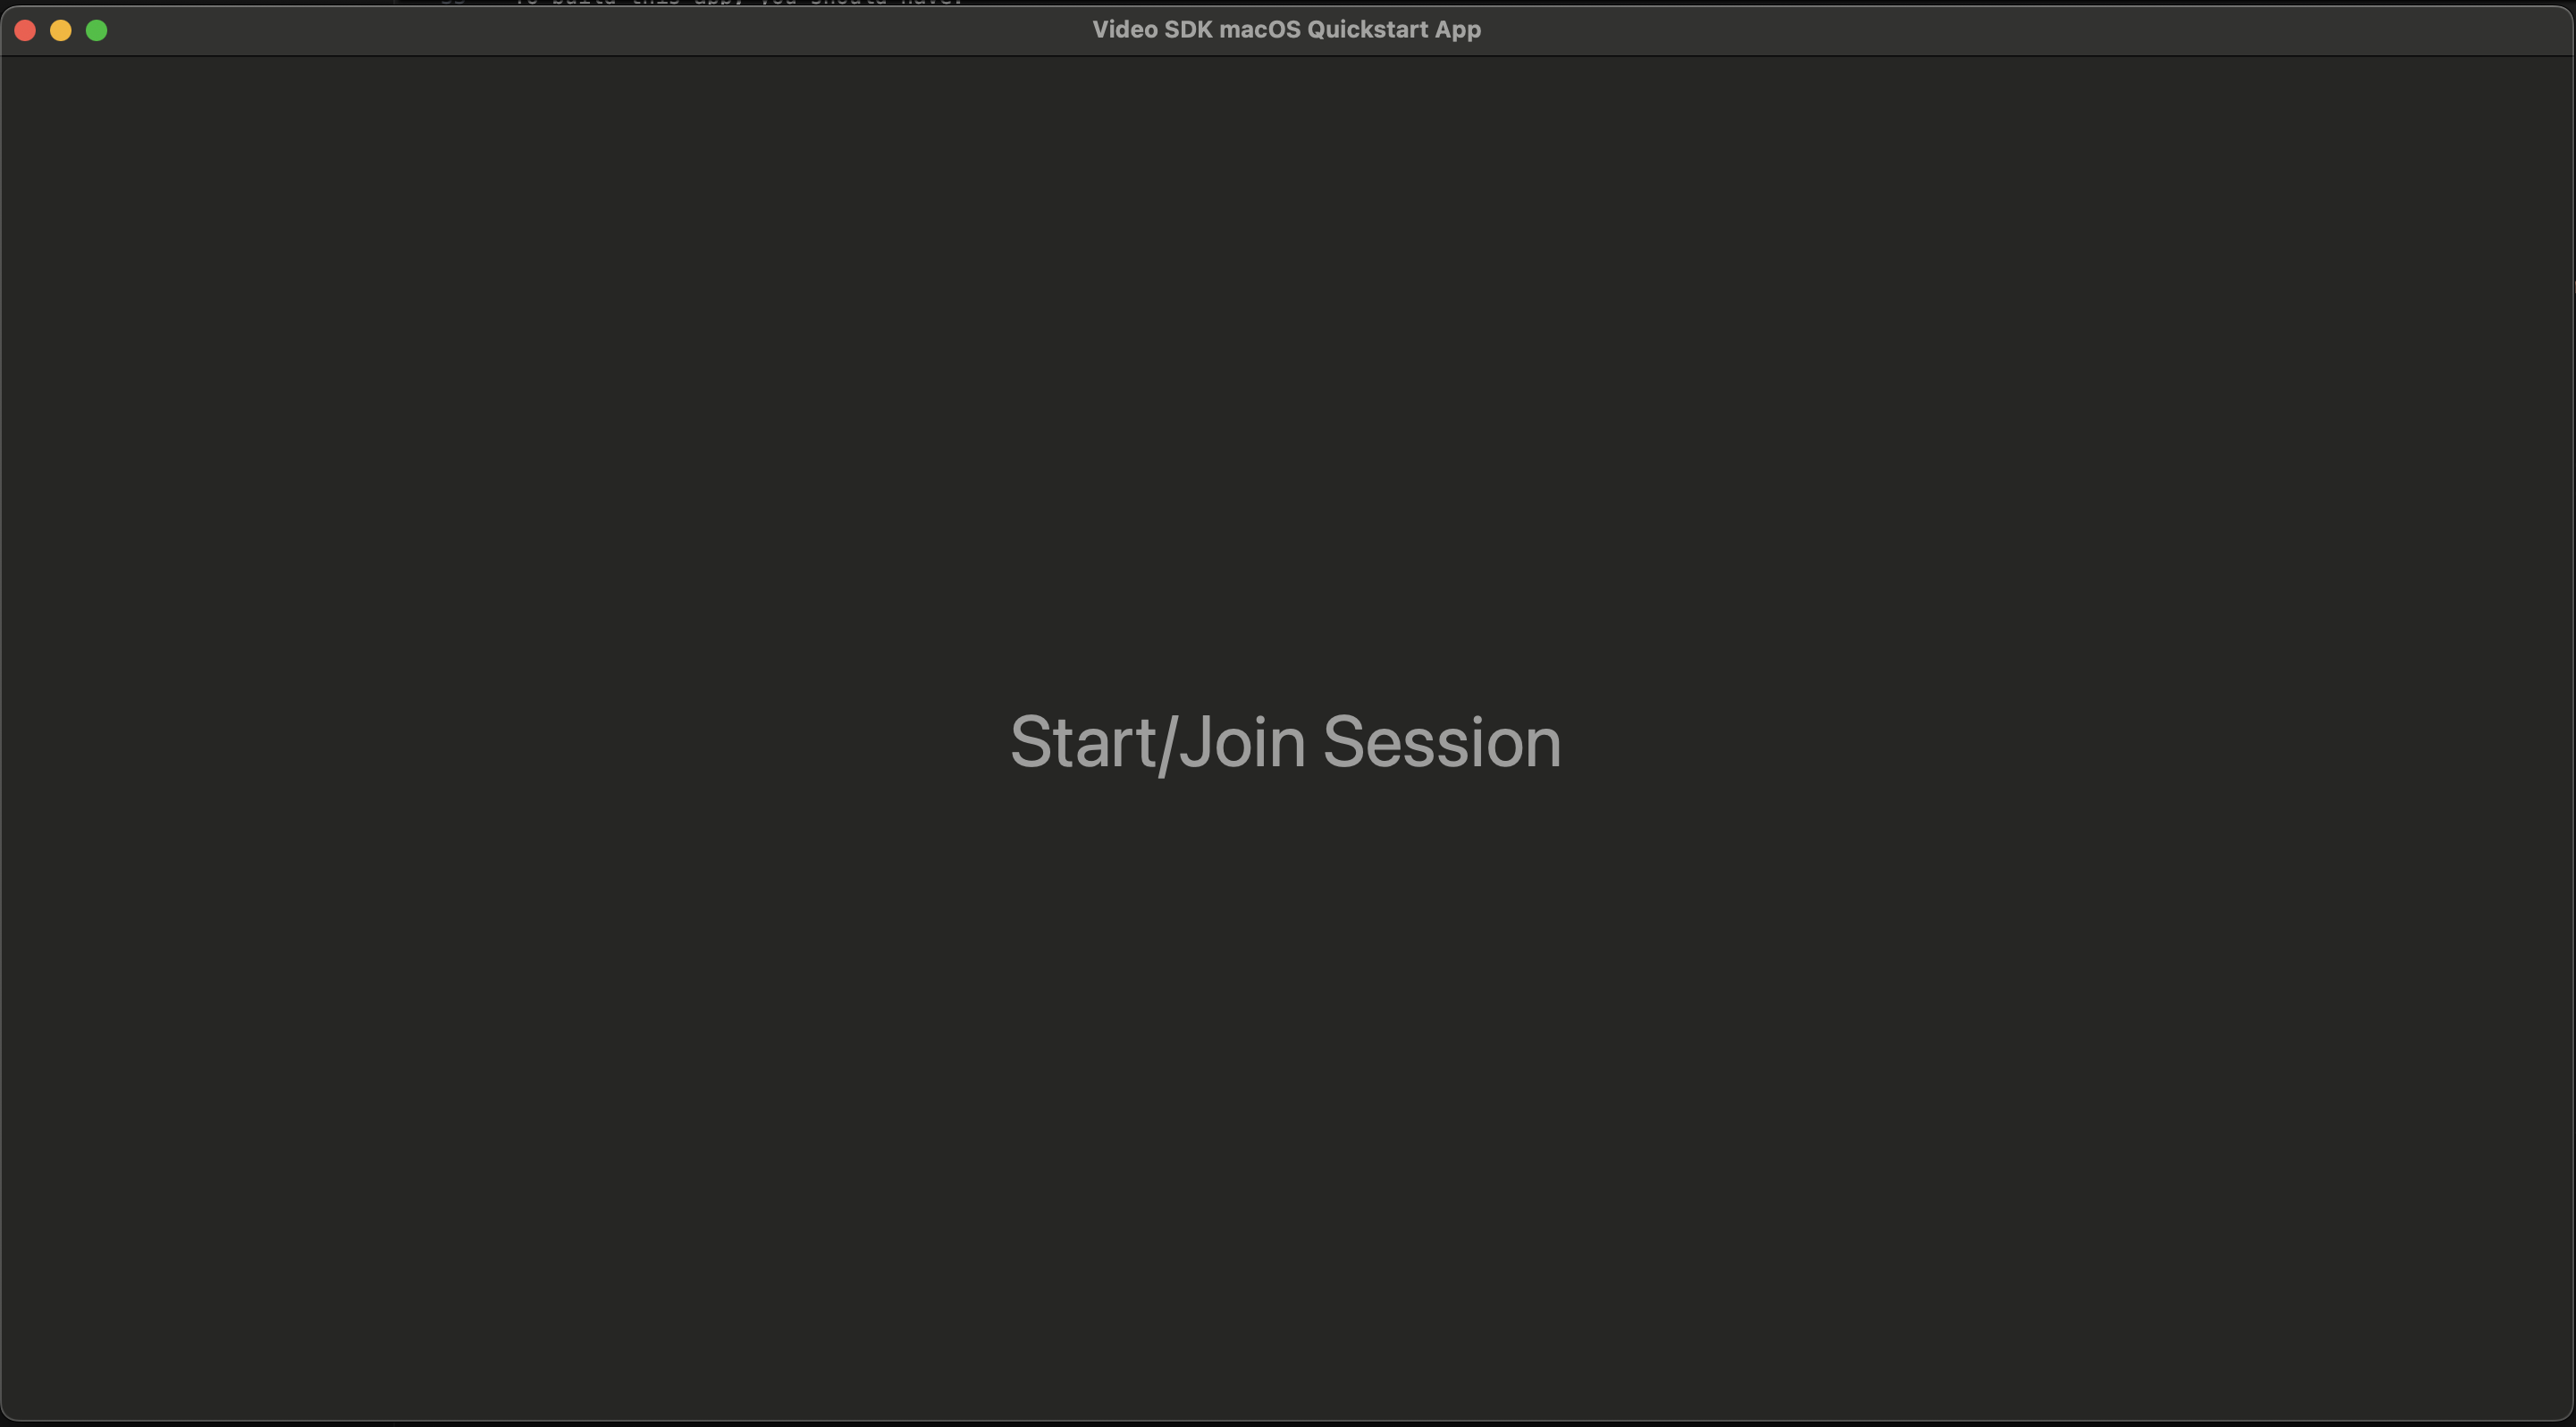
MyVideoSDKApp is a simple two-view navigation app.
StartViewController is the entry point for the app where the Video SDK is initialized.
SessionViewController contains the following views:
-
A loading view using
NSViewwith a progress indicator to shows the local user waiting to join into the session, -
A
NSStackViewat the top containing all the remote users, -
A
NSViewtaking most of the space showing the local user, -
A
NSStackViewwhich holds the controls (a customImageAboveTextButton) for toggling the user’s video, toggling audio and ending the Zoom session.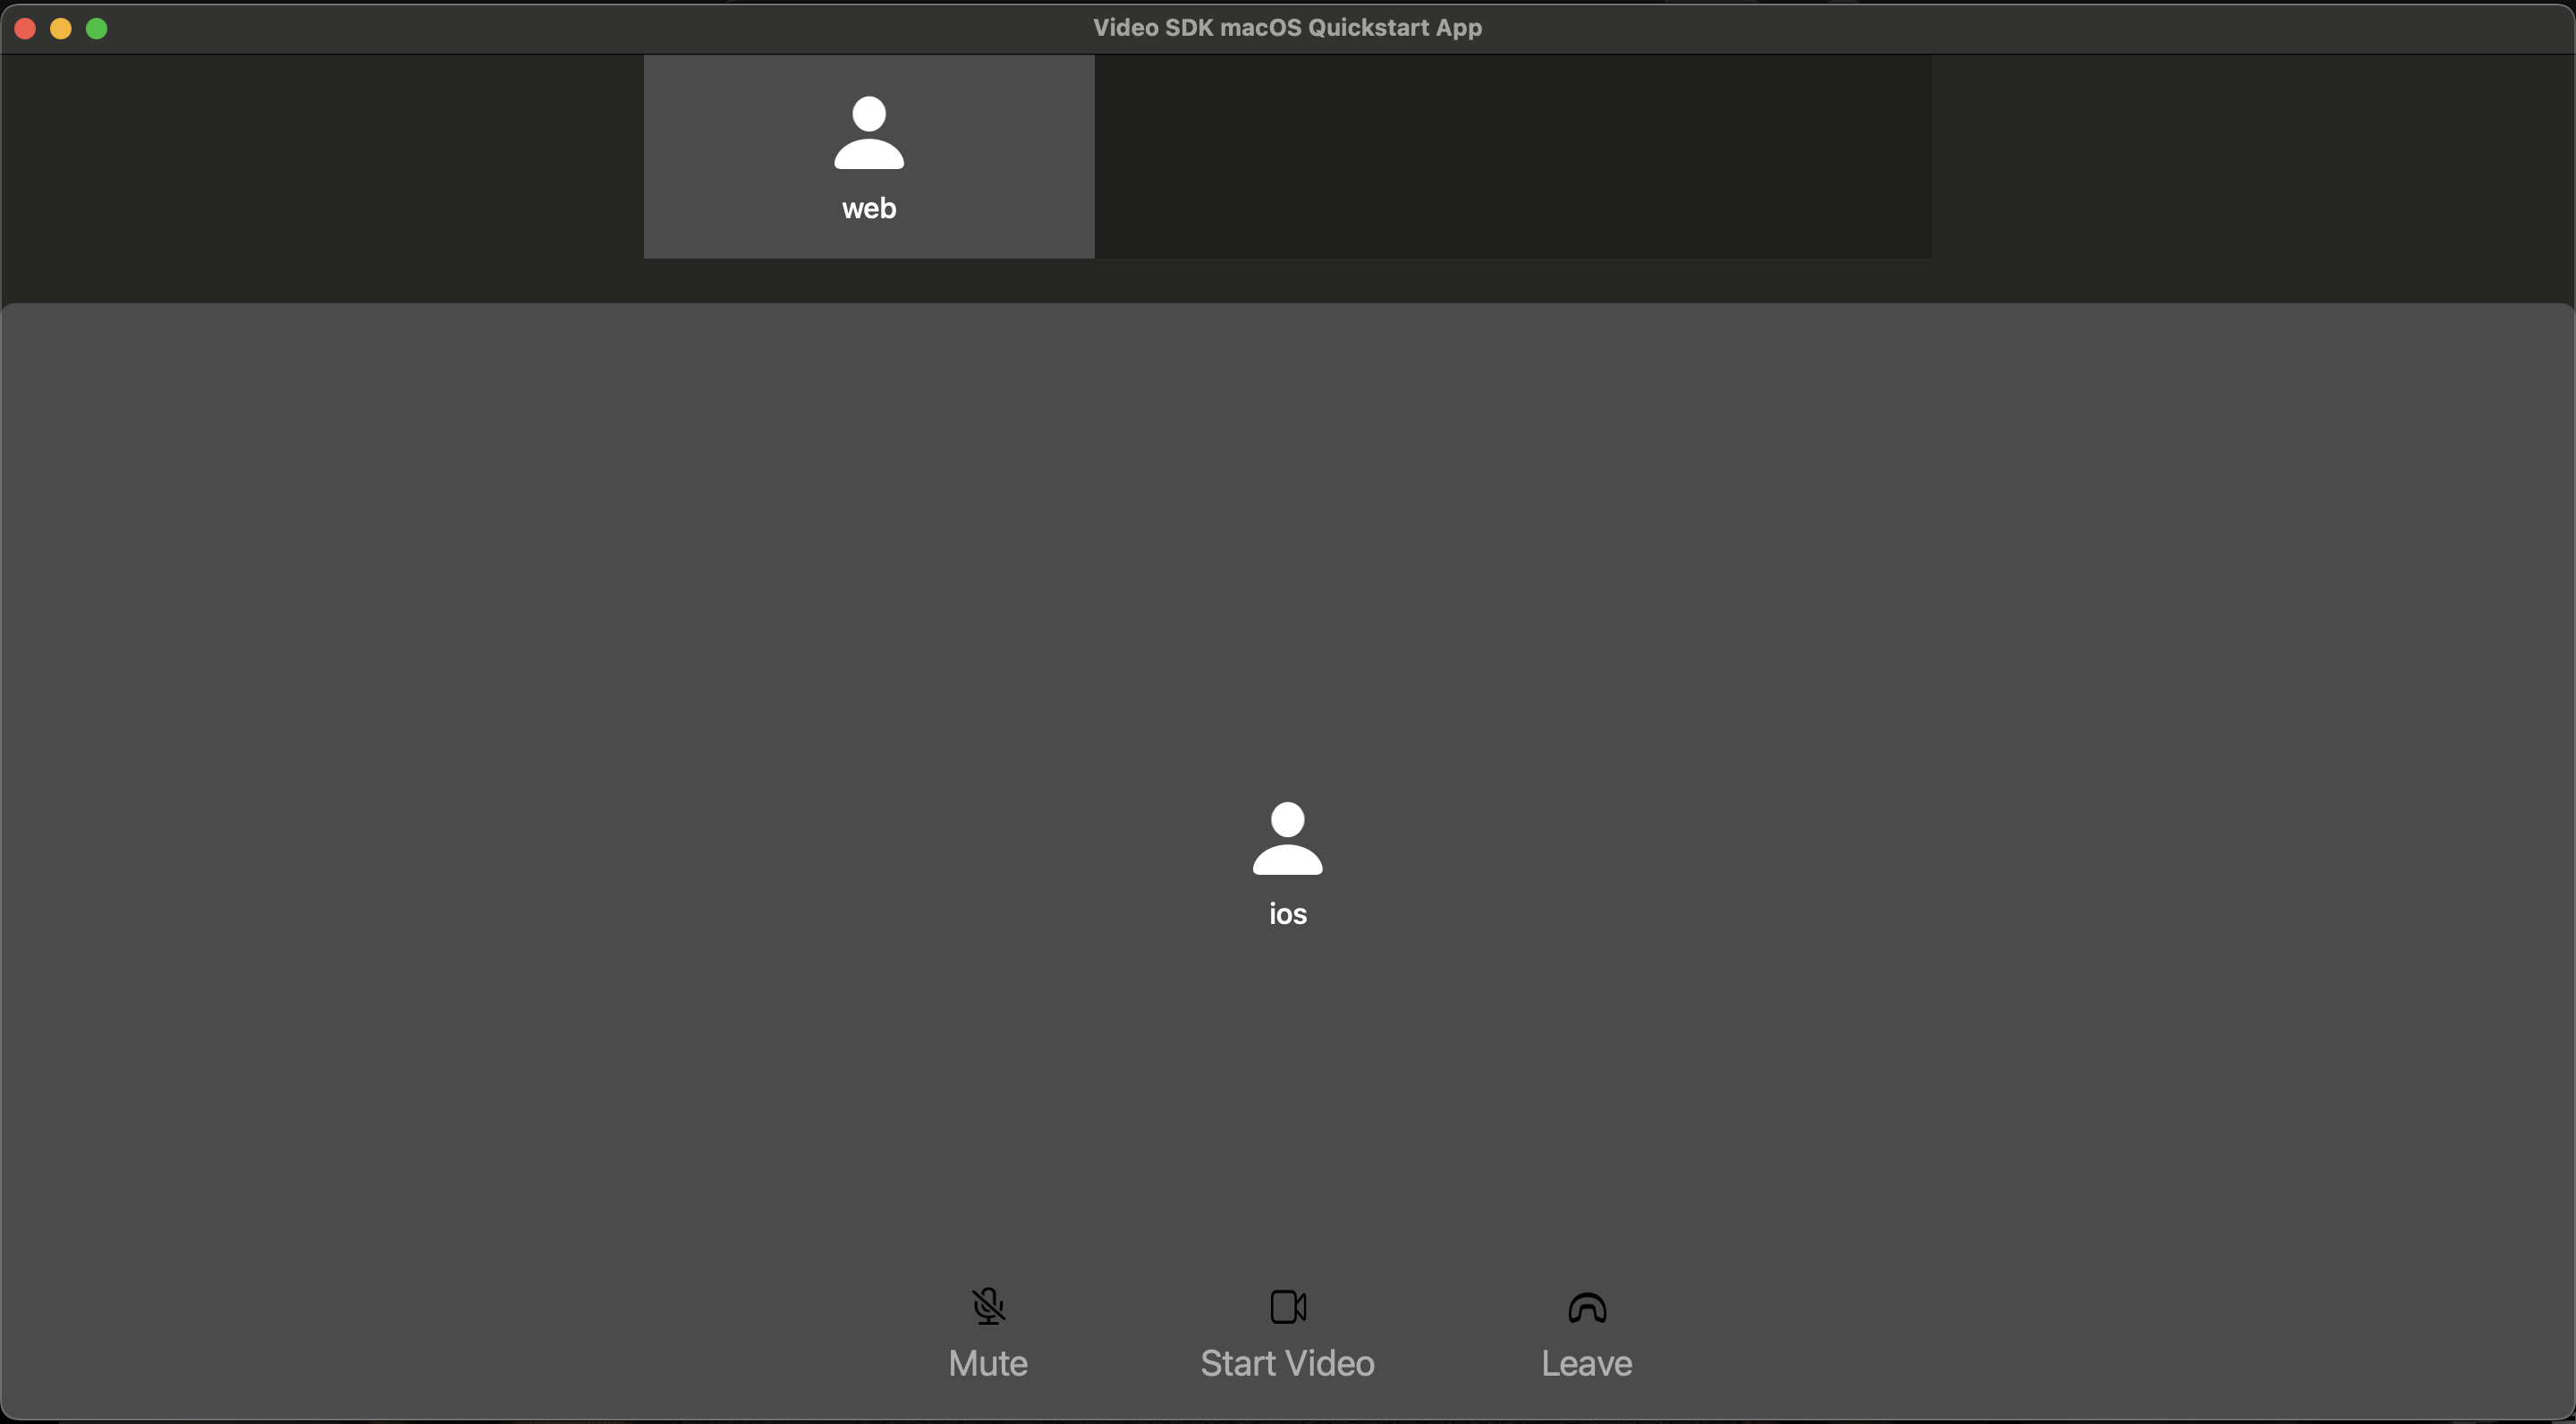

@objc public func toggleVideo() {
    guard let isVideoOn = ZMVideoSDK.shared().getSessionInfo().getMySelf()?.getVideoPipe()?.getVideoStatus()?.isOn else { return }
    let videoHelper = ZMVideoSDK.shared().getVideoHelper()
    DispatchQueue.main.async {
        let _ = isVideoOn ? videoHelper.stopVideo() : videoHelper.startVideo()
        self.setupVideoBtn(isVideoOn: !isVideoOn)
        self.localPlaceholderView?.isHidden = !isVideoOn
    }
}
JWT authentication
JWT authentication
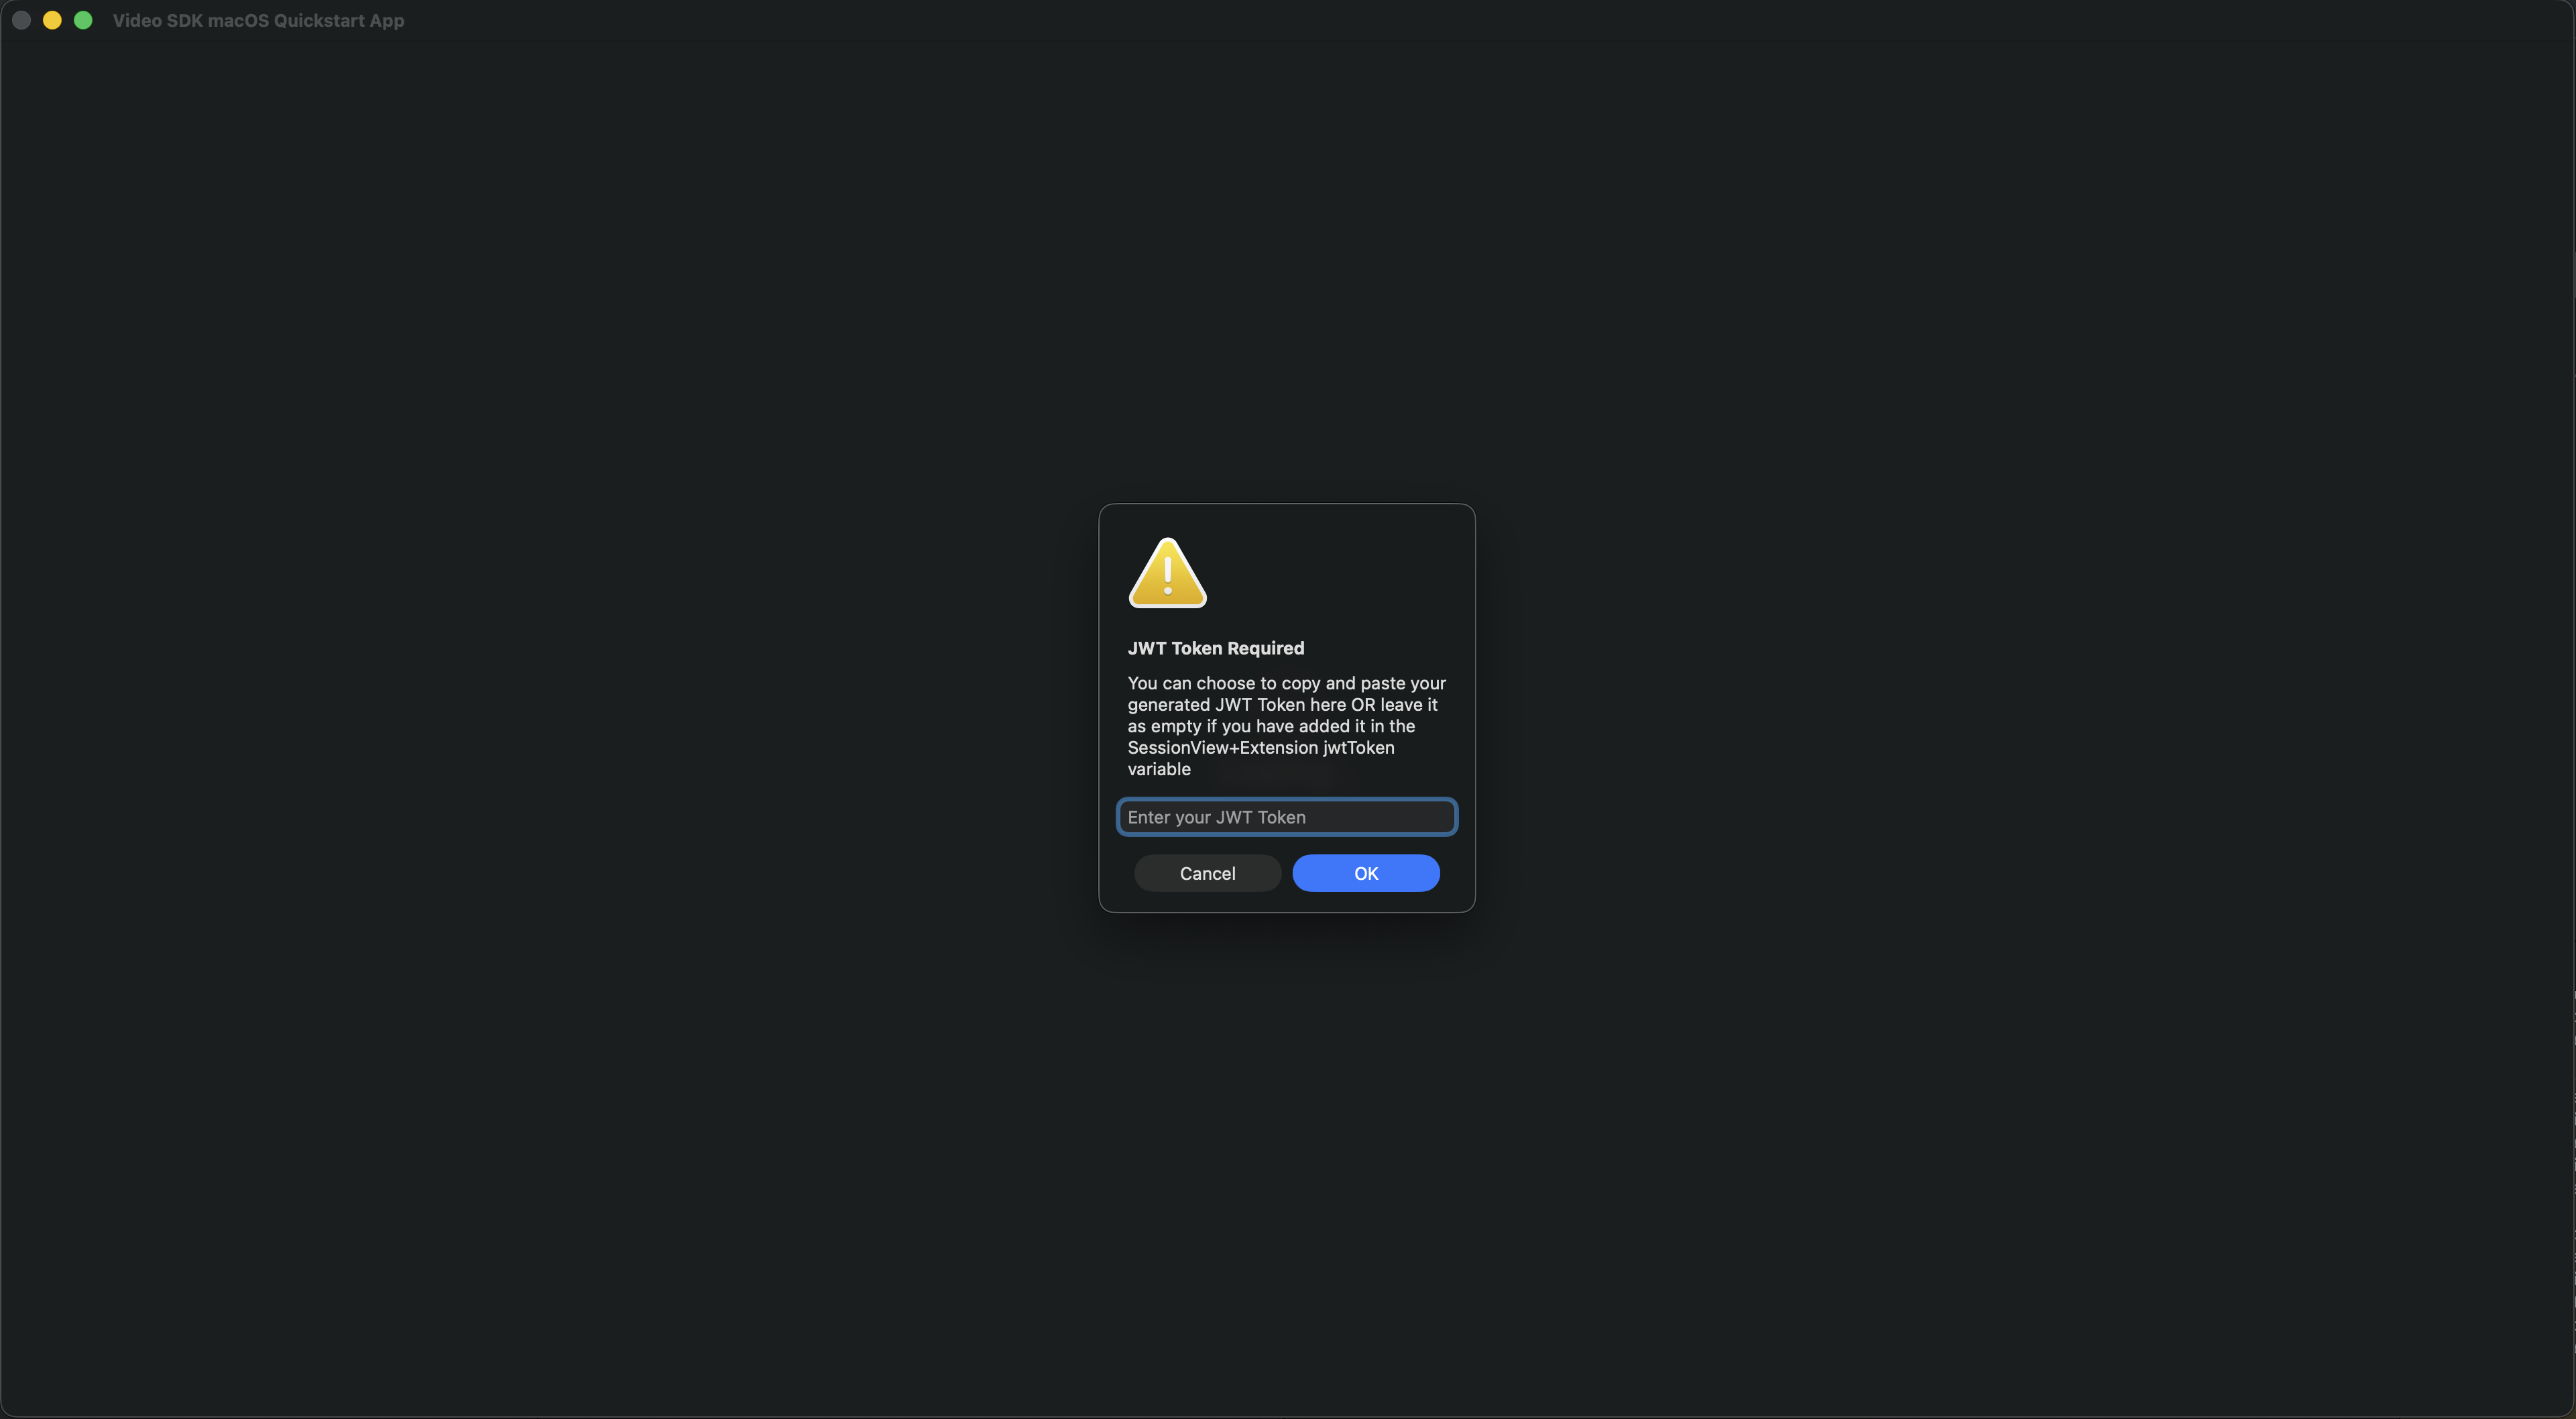
JSON Web Tokens are used to authorize Zoom Video SDK apps. They are always required for starting and joining sessions. Ideally you should be generating the JWT on the server side to ensure safekeeping of your Video SDK credentials. However, as reference, we have added a script in the /Scripts folder using .swift to easily generate the JWT token needed in this demo.
Follow the README in the /Scripts folder to understand how to use the script.
// MARK: Session Information
/*
TODO: Enter the following variables needed to initialize the VSDK and to start/join a session
You should sign your JWT with a backend service in a production use-case. For faster JWT generation, you can navigate checkout the JWTGenerator.swift under Script folder and its README for more details on how to consume it.
Once you got the token, you can simple copy and paste it below.
Ensure that the sessionName matches the session name used to generate the JWT Token.
*/
let jwtToken = "" // Leave this as empty if you choose to copy and paste your generated JWT token directly in the sample app's alert box after clicking on "Join Session"
let sessionName = "" // Also known as tpc in JWT
let userName = "" // Display name
Integrating the SDK
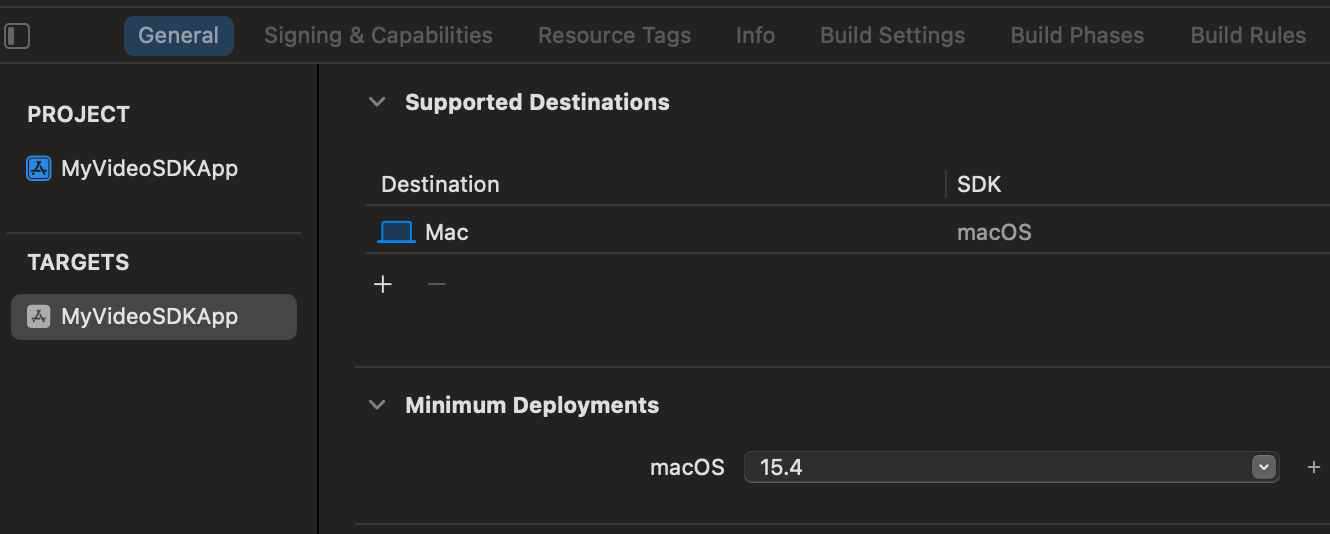
Ensure your app's General > Minimum Deployments target is set to at least macOS 10.13 or later.
To add framework files manually via the Zoom Marketplace, see the documentation. Pay close attention to the entire Import the SDK library section.
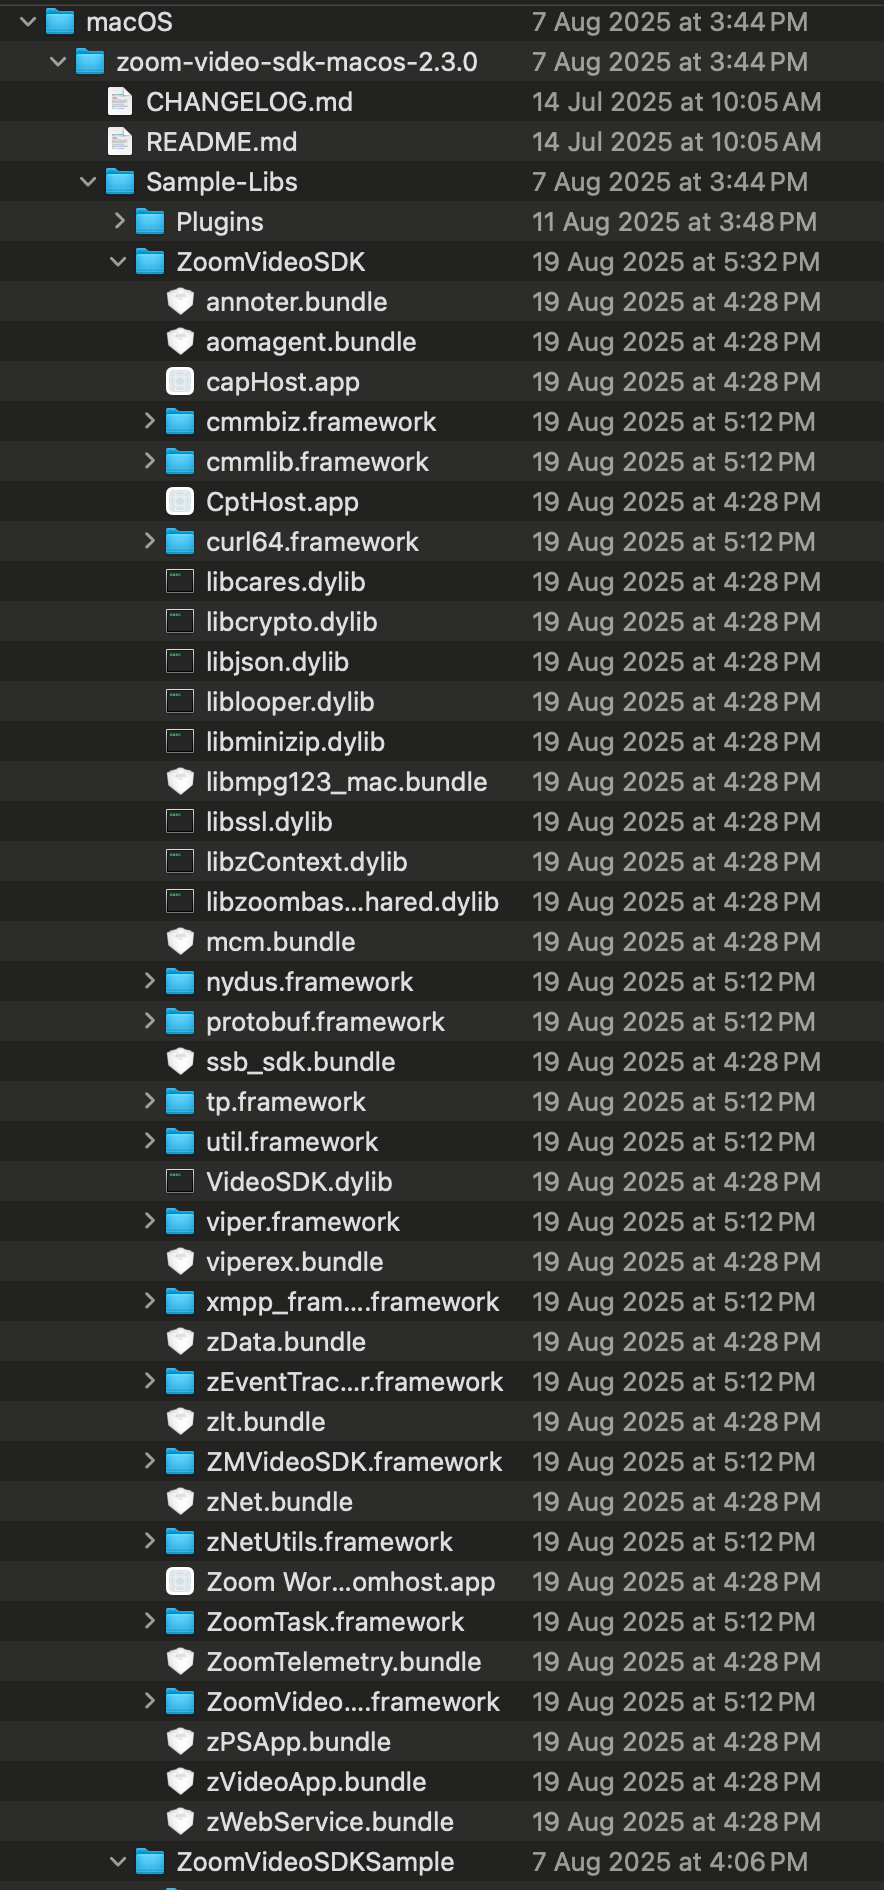
In the Video SDK package that was downloaded from the Zoom Marketplace, navigate to /Sample-Libs/lib.
If you are following the Import the SDK library section correctly, navigate to your app's target and then General > Frameworks, Libraries, and Embedded Content. It should look similar to the screenshot below and you can ignore the JWTKit as this sample app is using this library to generate the JWT token required for quicker demo purposes.

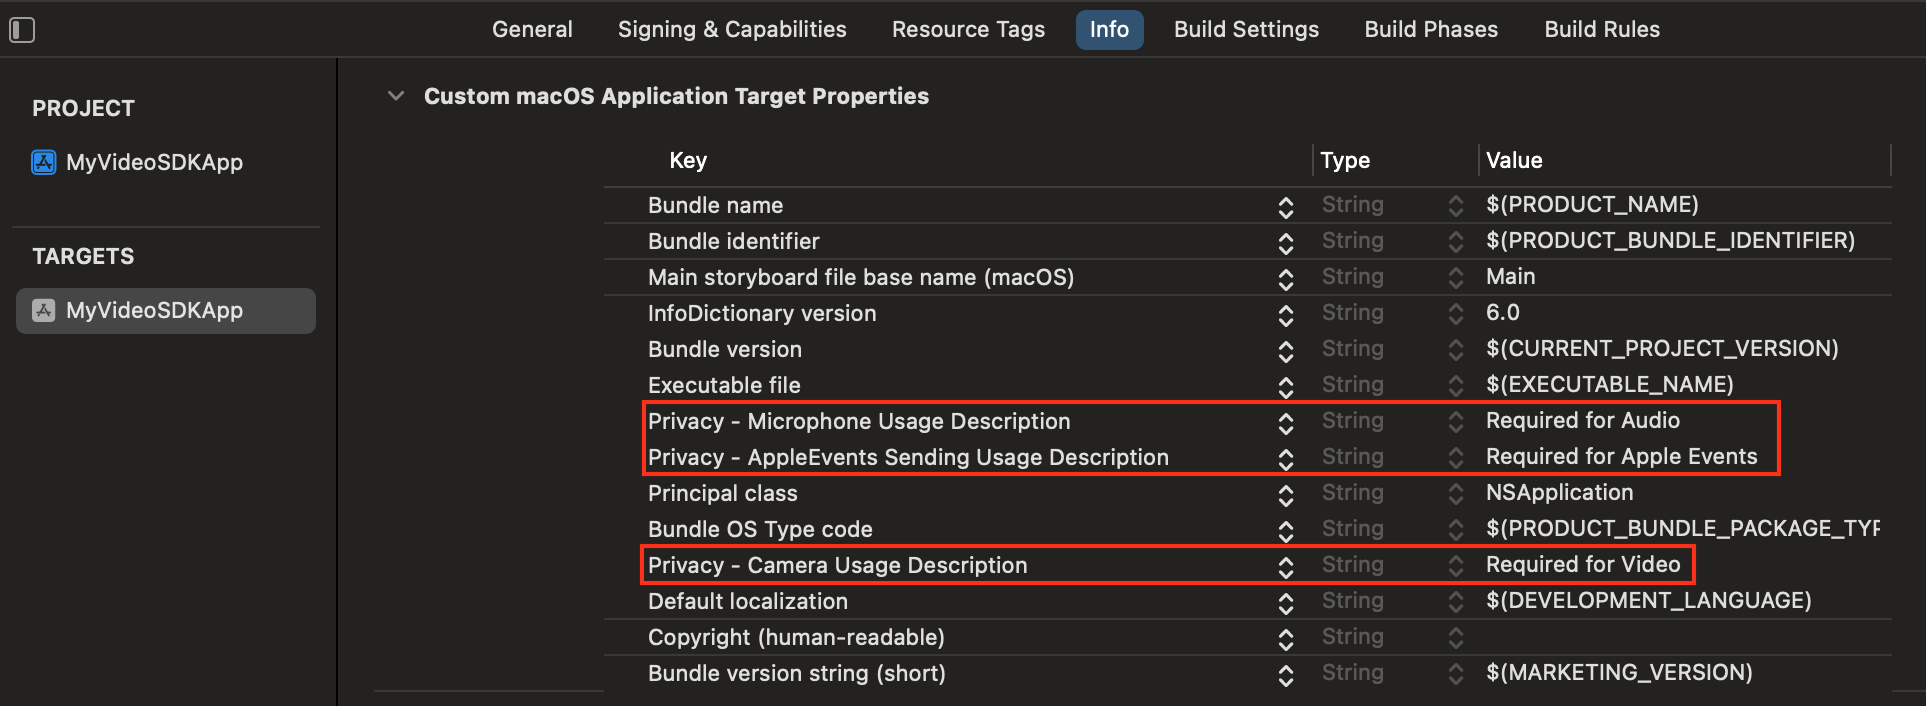
Finally from the same app's target page, navigate to Info add the required project permissions ("Privacy - * Usage Description") for Camera, Microphone, Bluetooth, and optionally Photo Library. The user will then explicitly grant these permissions to the app during runtime. More information on media permissions see here.
Initializing the SDK
Let’s get started by initializing the SDK so we have access to its functionality. For now, we’ll work in the StartViewController, where we first import ZMVideoSDK to have the module.
In the setupSDK function, we’ll create an instance of the ZMVideoSDKInitParams object and set the domain of the context to https://zoom.us. Then call the initialize function on the Video SDK from the main thread and verify it was correctly initialized.
let initParams = ZMVideoSDKInitParams()
initParams.domain = "https://zoom.us"
initParams.logFilePrefix = "ZoomSDK"
initParams.enableLog = true
let sdkInitReturnStatus = ZMVideoSDK.shared().initialize(initParams)
switch sdkInitReturnStatus {
case ZMVideoSDKErrors_Success:
    print("SDK initialized successfully")
    isSDKInitizlied = true
default:
    print("SDK failed to initialize: \(sdkInitReturnStatus)")
}
Joining a session
For the remainder of the app we'll be focusing on the SessionViewController.swift for the necessary Video SDK related code, while the SessionViewController+Extension.swift is mainly only for non Video SDK related code - mainly on UI. Import the Zoom Video SDK here as well.
To create or to join a session, you need to instantiate an ZMVideoSDKSessionContext object and provide the following required properties:
token: JSON Web Token (JWT) created from Video SDK credentials during Authentication.sessionName: The session’s unique identifier, which must match thetpcfield in the JWT. If the name is for a currently active session, then the SDK will join the session if all required parameters have been provided. If no active session exists with the name, then the SDK will create a new session for you.userName: Display name of the user shown in the session. Default value is "null".
Optional additional properties:
sessionPassword: You may optionally specify a password for the session that attendees must enter.audioOption: Audio settings configurable inZMVideoSDKAudioOptions.videoOption: Video settings configurable inZMVideoSDKVideoOptions.
We will create the session context in the view controller's viewDidAppear callback using the data that you previously input. Once again, in a production app, you should not hardcode in the JWT or other credentials, which should be passed from the server.
// MARK: Session Information
// TODO: Ensure that you do not hard code JWT or any other confidential credentials in your production app.
// Details: https://developers.zoom.us/docs/video-sdk/macos/sessions/#create-and-join-a-session
let sdkKey = "SDKKey"
let sdkSecret = "SDKSecret"
let sessionName = "SessionName"
let userName = "UserName" // Display Name
override func viewDidAppear() {
    super.viewDidAppear()
    Task {
        await joinSession()
    }
}
private func joinSession() async {
    let sessionContext = ZMVideoSDKSessionContext()
    do {
        let token = try await generateSignature(sessionName: sessionName, role: 1, sdkKey: sdkKey, sdkSecret: sdkSecret)
        sessionContext.token = token
        sessionContext.sessionName = sessionName
        sessionContext.userName = userName
        if ZMVideoSDK.shared().joinSession(sessionContext) == nil {
            showError(message: "Failed to join session")
            navigateBackToStartVC()
            return
        }
    } catch {
        showError(message: "Failed to generate session token: \(error.localizedDescription)")
        return
    }
}
In the SessionViewController+Extension.swift, we have the view logic to display two different views based on if the user is in a session as well as showing any error in a NSAlert.
public func showError(message: String) {
    if let window = NSApplication.shared.mainWindow {
        let alert = NSAlert()
        alert.messageText = "Error!"
        alert.informativeText = "An error has occured: \(message)"
        alert.alertStyle = .critical
        alert.addButton(withTitle: "OK")
    }
}
public func showLoadingView(visible: Bool) {
    loadingView.isHidden = !visible
    allUsersView.isHidden = visible
}
Set up delegate callbacks
One of the powerful features of the Video SDK is the ability to receive notification status updates, such as operation results or failures, via delegate callbacks. Listen in by conforming to ZMVideoSDKDelegate to receive all available session callbacks. We do so by creating an extension to conform to the protocol, and making sure that the delegate is set in the main implementation.
class SessionViewController: NSViewController {
    // ...
    override func viewDidLoad() {
        super.viewDidLoad()
        setupUI()
        ZMVideoSDK.shared().addListener(self)
    }
    override func viewWillDisappear() {
        ZMVideoSDK.shared().removeListener(self)
    }
}
// MARK: - ZMVideoSDKDelegate
extension SessionViewController: ZMVideoSDKDelegate {
}
Video
Our Video SDK app will include basic video, audio, and leave session controls. Let's go over each feature individually.
To display a user's video stream, first retrieve their corresponding ZMVideoSDKUser object, then obtain a canvas. To render the video canvas' video stream, call the subscribe function, passing the view you would like to display its stream on, the stream's aspect mode, and its resolution. This must be done on the main thread. As the local user, we do this in the onSessionJoin callback that is called as soon as we enter the session.
func onSessionJoin() {
    guard let myUser = ZMVideoSDK.shared().getSessionInfo().getMySelf(),
          let myUserVideoCanvas = myUser.getVideoCanvas() else { return }
    showLoadingView(visible: false)
    let videoHelper = ZMVideoSDK.shared().getVideoHelper()
    // Ensure video is started
    if !(myUser.getVideoPipe()?.getVideoStatus()?.isOn ?? false)
    {
        _ = videoHelper.startVideo()
    }
    myUserVideoCanvas.subscribe(with: self.localUserView, aspectMode: ZMVideoSDKVideoAspect_PanAndScan, resolution: ZMVideoSDKResolution_Auto)
    // Update UI to reflect video state
    addLocalViewToGrid()
    self.localPlaceholderView?.isHidden = true
    setupVideoBtn(isVideoOn: true)
}
To start and stop displaying a user’s video, call the corresponding function with the video helper. Note that both return a ZMVideoSDKErrors object. If the operation succeeds, a ZMVideoSDKErrors with the value of ZMVideoSDKErrors_Success is returned. It’s best to check the video canvas’ current status via videoStatus to determine which function to call. Starting and stopping video must be done on the main thread.
In the quickstart app, we place the logic for controlling video under the toggleVideo method.
// Local user - toggle video on/off
@objc public func toggleVideo() {
    guard let isVideoOn = ZMVideoSDK.shared().getSessionInfo().getMySelf()?.getVideoPipe()?.getVideoStatus()?.isOn else { return }
    let videoHelper = ZMVideoSDK.shared().getVideoHelper()
    DispatchQueue.main.async {
        let _ = isVideoOn ? videoHelper.stopVideo() : videoHelper.startVideo()
        self.setupVideoBtn(isVideoOn: !isVideoOn)
        self.localPlaceholderView?.isHidden = !isVideoOn
    }
}
Audio
To control audio, we first confirm if the user is connected by fetching their ZMVideoSDKAudioType. If they are not connected, then they must be connected before their audio can be controlled. In the quickstart app, we place the logic for controlling audio under the toggleAudio method.
// Local user - toggle audio mic unmute/mute
@objc public func toggleAudio() {
    guard let myUser = ZMVideoSDK.shared().getSessionInfo().getMySelf(),
            let audioStatus = myUser.getAudioStatus() else { return }
    let audioHelper = ZMVideoSDK.shared().getAudioHelper()
    if audioStatus.audioType == .none {
        audioHelper.startAudio()
    } else {
        let _ = audioStatus.isMuted ? audioHelper.unMuteAudio(myUser) : audioHelper.muteAudio(myUser)
        setupAudioBtn(isMuted: audioStatus.isMuted)
    }
}
Responding to user events
We now know how to show the video of the local user. Next we will do the same for the remote user, making use of the callbacks that detect changes in user status.
To stream the other user's video, we get a reference to their user object in the onUserJoin callback once they enter the session, and then call subscribe on their video canvas accordingly.
func onUserJoin(_ userHelper: ZMVideoSDKUserHelper, userList userArray: [ZMVideoSDKUser]?) {
    guard let users = userArray, let myUser = ZMVideoSDK.shared().getSessionInfo().getMySelf() else { return }
    for user in users where user.getID() != myUser.getID() {
        if let currentUserID = user.getID(), let remoteUserVideoCanvas = user.getVideoCanvas() {
            let view = addRemoteUserView(for: user)
            remoteUserViews[currentUserID] = view
        }
    }
}
The local/remote user can turn their video off/on. When the video has the off status, we update the UI accordingly to show the placeholder instead of a blank view. When the video toggles back to on status we can hide the placeholder. We do this in the callback that keeps track of when a user's video status has changed. For the local user it is done with the videoOn variable and for remote user it's based on their index in the remoteUserViews array.
func onUserVideoStatusChanged(_ videoHelper: ZMVideoSDKVideoHelper, userList userArray: [ZMVideoSDKUser]?) {
    guard let users = userArray, let myUser = ZMVideoSDK.shared().getSessionInfo().getMySelf() else { return }
    for user in users where user.getID() != myUser.getID() {
        if let currentUserID = user.getID(), let view = remoteUserViews[currentUserID], let isVideoOn = user.getVideoPipe()?.getVideoStatus()?.isOn, let remoteUserVideoCanvas = user.getVideoCanvas() {
            if isVideoOn {
                remoteUserVideoCanvas.subscribe(with: view.userView, aspectMode: ZMVideoSDKVideoAspect_PanAndScan, resolution: ZMVideoSDKResolution_Auto)
            } else {
                remoteUserVideoCanvas.unSubscribe(with: view.userView)
            }
            view.placeholder.isHidden = isVideoOn
        }
    }
}
Finally, we need to clean up when a remote user leaves. In the onUserLeave callback, we can remove a user by its index in the remoteUserViews list.
func onUserLeave(_ userHelper: ZMVideoSDKUserHelper, userList userArray: [ZMVideoSDKUser]?) {
    guard let users = userArray, let myUser = ZMVideoSDK.shared().getSessionInfo().getMySelf() else { return }
    for user in users where user.getID() != myUser.getID() {
        if let currentUserID = user.getID(), let view = remoteUserViews[currentUserID], let remoteUserVideoCanvas = user.getVideoCanvas() {
            Task(priority: .background) {
                remoteUserVideoCanvas.unSubscribe(with: view.userView)
                if let container = view.userView.superview {
                    container.removeFromSuperview()
                }
            }
            remoteUserViews.removeValue(forKey: currentUserID)
        }
    }
}
Leaving a session
When the last participant leaves a session. Leave by calling leaveSession.
@objc public func leaveSession() {
    showLoadingView(visible: true)
    ZMVideoSDK.shared().leaveSession(true) // If the local user is the last user to leave, a true here will end the entire session and a false is simply just to keep the session and leave it.
}
The callback onSessionLeave is triggered when the current user leaves the session.
func onSessionLeave() {
    leftSession = true
}
That’s how to make your first Video SDK app with Cocoa! Thank you for following along and using Zoom Video SDK for macOS. You can build other features like screen sharing, chat, cloud recording, and more. You can find more information under the Add Features section in our Video SDK docs.