# Build a video conferencing app with the Zoom Video SDK & Solid.js
The [Zoom Video SDK](/docs/video-sdk/) provides video, audio, screen sharing, chat, and more with an easy to use SDK. In this blog we'll showcase adding video chat to a [Solid.js](https://www.solidjs.com/) web application.
This blog will cover both generating JSON Web Tokens (JWTs) on the server-side to authenticate a video session and building the video chat interface using the Zoom Video SDK.
We'll use [SolidStart](https://start.solidjs.com/) as the fullstack framework for this blog, if you're using Solid.js with a different backend you can skip to the [Build the videocall component](#step-5-build-the-videocall-component) section, and use your own backend logic to generate JWTs. You can find the code for the complete project on [GitHub](https://github.com/zoom/VideoSDK-Solidjs-Quickstart/).
## Prerequisites:
- Node LTS & NPM
- A Zoom [Video SDK Account](/docs/video-sdk/get-credentials/)
## Step 1: Scaffold the application
If you already have a SolidStart project, you can skip this step.
To scaffold the application we'll use the [SolidStart starter](https://docs.solidjs.com/solid-start/getting-started):
Open a terminal and execute:
```bash
$ npm init solid@latest
```
Select the config based on your preferences, here are the options we chose:
```bash
┌
Create-Solid v0.5.12
│
◇ Project Name
│ solid-project
│
◇ Is this a Solid-Start project?
│ Yes
│
◇ Which template would you like to use?
│ with-tailwindcss
│
◇ Use Typescript?
│ Yes
```
## Step 2: Configuring the project
### Install the dependencies
We'll install the [Zoom Video SDK](https://www.npmjs.com/package/@zoom/videosdk) & [jsrsasign](https://www.npmjs.com/package/jsrsasign) a library to generate JWTs. You can use the following command for installation:
```bash
$ npm install @zoom/videosdk jsrsasign
```
We're using `v1.11.10` of the Zoom Video SDK for Web.
### Script to enable shared array buffers
To leverage the full power of the Zoom Video SDK including features like rendering multiple videos, virtual background, & background noise suppression, we need to enable support for Shared Array Buffers (SAB).
Simply, download this [file](https://github.com/gzuidhof/coi-serviceworker/blob/master/coi-serviceworker.js) and place it in the `public` folder of your project as `public/coi-serviceworker.js`. Later we'll import this file to enable SAB support. You can read more about SAB [in our documentation](/docs/video-sdk/web/sharedarraybuffer/).
### Add environment variables
To complete the setup, create a `.env` file in the root of our project and add the Zoom Video SDK Key and Secret to it. You can find your SDK Key and Secret in the [Video SDK Dashboard](https://marketplace.zoom.us), by clicking on the _Develop_ button and selecting _Build Video SDK_. Make sure you're logged in to your Video SDK account.
```bash
ZOOM_SDK_KEY="Your Zoom SDK Key"
ZOOM_SDK_SECRET="Your Zoom SDK Secret"
```
You can find detailed instructions in our [docs](/docs/video-sdk/get-credentials/).
## Step 3: Dynamic route for video chat
SolidStart has file-based routing, we can create a [dynamic route](https://docs.solidjs.com/solid-start/building-your-application/routing#dynamic-routes) for `example.com/call/:slug` by creating a new file at `/routes/call/[slug].tsx`. This will set up a link for each session based on the user input. Users on the same link will be able to join the same session.
Let's create a `Call` component in this file, we can import a placeholder `Videocall` component that will contain the video chat logic using the Zoom Video SDK. Since the Zoom Video SDK is a client-side SDK and needs access to the browser APIs, we'll use `clientOnly` to import the `Videocall` component and disable server-side rendering for this component. This will ensure that the component is only rendered on the client-side.
```js
import { clientOnly } from "@solidjs/start";
const Videocall = clientOnly(() => import("~/components/Videocall"));
export default function Call() {
return (
<>
);
}
```
We'll add a `script` tag and import the `coi-serviceworker.js` file we added earlier. We can also use the `useParams` hook to get the `slug` from the URL and pass it to the `Videocall` component. The `Videocall` component will also need a JWT prop to authenticate a session, we'll generate that next.
```js
import { useParams } from "@solidjs/router";
import { clientOnly } from "@solidjs/start";
const Videocall = clientOnly(() => import("~/components/Videocall"));
export default function Call() {
const params = useParams();
return (
<>
);
}
```
## Step 4: Authenticate the session
The Zoom Video SDK uses JWTs to authenticate a session. Creating a JWT requires the SDK Key and Secret. We'll execute this function only on the server to keep our SDK credentials secure. Let's create a new function `generateSignature` in the same file to generate the JWT and mark it with the ["use server"](https://docs.solidjs.com/solid-start/building-your-application/data-loading#data-loading-always-on-the-server) comment. Through the `"use server"` comment you can tell the bundler to create an RPC and not include the code in the clients bundle.
```js
...
import { KJUR } from "jsrsasign";
export default function Call() {
...
}
const generateSignature = async (sessionName: string) => {
"use server";
const sdkKey = process.env.ZOOM_SDK_KEY;
const sdkSecret = process.env.ZOOM_SDK_SECRET;
if (!sdkKey || !sdkSecret) {
throw new Error("Missing ZOOM_SDK_KEY or ZOOM_SDK_SECRET");
}
const iat = Math.round(new Date().getTime() / 1000) - 30;
const exp = iat + 60 * 60 * 2;
const oHeader = { alg: "HS256", typ: "JWT" };
const oPayload = {
app_key: sdkKey,
tpc: sessionName,
role_type: 1,
version: 1,
iat: iat,
exp: exp,
};
const sHeader = JSON.stringify(oHeader);
const sPayload = JSON.stringify(oPayload);
const sdkJWT = KJUR.jws.JWS.sign("HS256", sHeader, sPayload, sdkSecret);
return sdkJWT;
};
```
We use the `jsrsasign` library to generate the JWT setting the required values, you can learn more in our [docs](/docs/video-sdk/auth/).
We can then call this function in the `Call` component to generate the JWT and pass it to the `Videocall` component using the `createResource` function. This function creates a signal that returns the result of an async request. We can use the `Show` component to render the `Videocall` component after the token is available. We'll render a loading text while the JWT is being fetched.
```js
...
import { Show, createResource } from "solid-js";
export default function Call() {
const params = useParams();
const [jwt] = createResource(params.slug, generateSignature);
return (
<>
);
}
const generateSignature = async (sessionName: string) => {
...
};
```
## Step 5: Build the videocall component
The `Videocall` component will be responsible for rendering the video and audio elements. After adding the necessary imports, we'll define the component, it'll take the session name (slug) and `JWT` as props.
```js
import ZoomVideo, { VideoQuality, type VideoPlayer } from "@zoom/videosdk";
import { createSignal } from "solid-js";
import { MicButton, CameraButton } from "./MuteButtons";
import { PhoneOff } from "lucide-solid";
import "./Videocall.css";
const Videocall = (props: { slug: string; JWT: string }) => {
const session = props.slug;
const jwt = props.JWT;
```
Next, we'll define three singals `inSession`, `isVideoMuted` and `isAudioMuted` to track the state of the session, video and audio. We'll create a variable `client`to hold the `VideoClient` instance and `videoContainerRef` to reference the video container element in the DOM that will render the user videos.
```js
const Videocall = (props: { slug: string; JWT: string }) => {
...
const [inSession, setInSession] = createSignal(false);
const [isVideoMuted, setIsVideoMuted] = createSignal(!client.getCurrentUserInfo()?.bVideoOn);
const [isAudioMuted, setIsAudioMuted] = createSignal(client.getCurrentUserInfo()?.muted ?? true);
const client = ZoomVideo.createClient();
let videoContainerRef: HTMLDivElement | undefined;
```
### Joining a session
We'll create a `joinSession` function to start/join the session. It'll initialize the video SDK client and add an event listener to the `peer-video-state-change` event. When a participant's video state changes, we'll call the `renderVideo` function to update the video, we'll define this function later. We'll call the `join` method on the `client` with the session name, JWT and a username to start/join the session. Once the session is joined, we'll update the `inSession` signal to `true`.
```js
const Videocall = (props: { slug: string; JWT: string }) => {
...
const joinSession = async () => {
await client.init("en-US", "Global", { patchJsMedia: true });
client.on("peer-video-state-change", (payload) => void renderVideo(payload));
const userName = `User-${new Date().getTime().toString().slice(8)}`;
await client.join(session, jwt, userName)
setInSession(true);
...
```
Continuing with the `joinSession` function, we can access the `mediaStream` from the client instance and start the video and audio by calling the `startAudio` and `startVideo` methods. We'll update the local user state by setting the `isVideoMuted` and `isAudioMuted` signals to the current user's video and audio state. Once again we call the `renderVideo` function to update the videos on screen. We'll define the `renderVideo` function next.
```js
const Videocall = (props: { slug: string; JWT: string }) => {
...
const joinSession = async () => {
...
const mediaStream = client.getMediaStream();
await mediaStream.startAudio();
await mediaStream.startVideo();
setIsAudioMuted(mediaStream.isAudioMuted());
setIsVideoMuted(!mediaStream.isCapturingVideo());
await renderVideo({ action: "Start", userId: client.getCurrentUserInfo().userId });
};
```
### Rendering videos
We model the `renderVideo` function to take the `event` data from the `peer-video-state-change` event. It'll update the videos in the DOM based on the `action` from the event. We can remove the video element by calling the `detachVideo` method and then removing the element from the DOM using the `remove` method on the element. If the action is `Start`, we'll add the video to the DOM by first calling the `attachVideo` method and adding it to the DOM using the `appendChild` method on the `videoContainerRef` element.
```js
const Videocall = (props: { slug: string; JWT: string }) => {
...
const renderVideo = async (event: { action: "Start" | "Stop"; userId: number }) => {
const mediaStream = client.getMediaStream();
if (event.action === "Stop") {
const element = await mediaStream.detachVideo(event.userId);
Array.isArray(element) ? element.forEach((el) => el.remove()) : element.remove();
} else {
const userVideo = await mediaStream.attachVideo(event.userId, VideoQuality.Video_360P);
videoContainerRef?.appendChild(userVideo);
}
};
```
### Leaving the session
Finally, we'll create a function `leaveSession` to leave the call. We'll remove the event listener and call the `leave` method to leave the session. We can then navigate to the home page by calling `navigate` from the `useNavigate` hook.
```js
const Videocall = (props: { slug: string; JWT: string }) => {
...
const navigate = useNavigate();
const leaveSession = async () => {
client.off(
"peer-video-state-change",
(payload: { action: "Start" | "Stop"; userId: number }) => void renderVideo(payload)
);
await client.leave().catch((e) => console.log("leave error", e));
navigate("/");
};
```
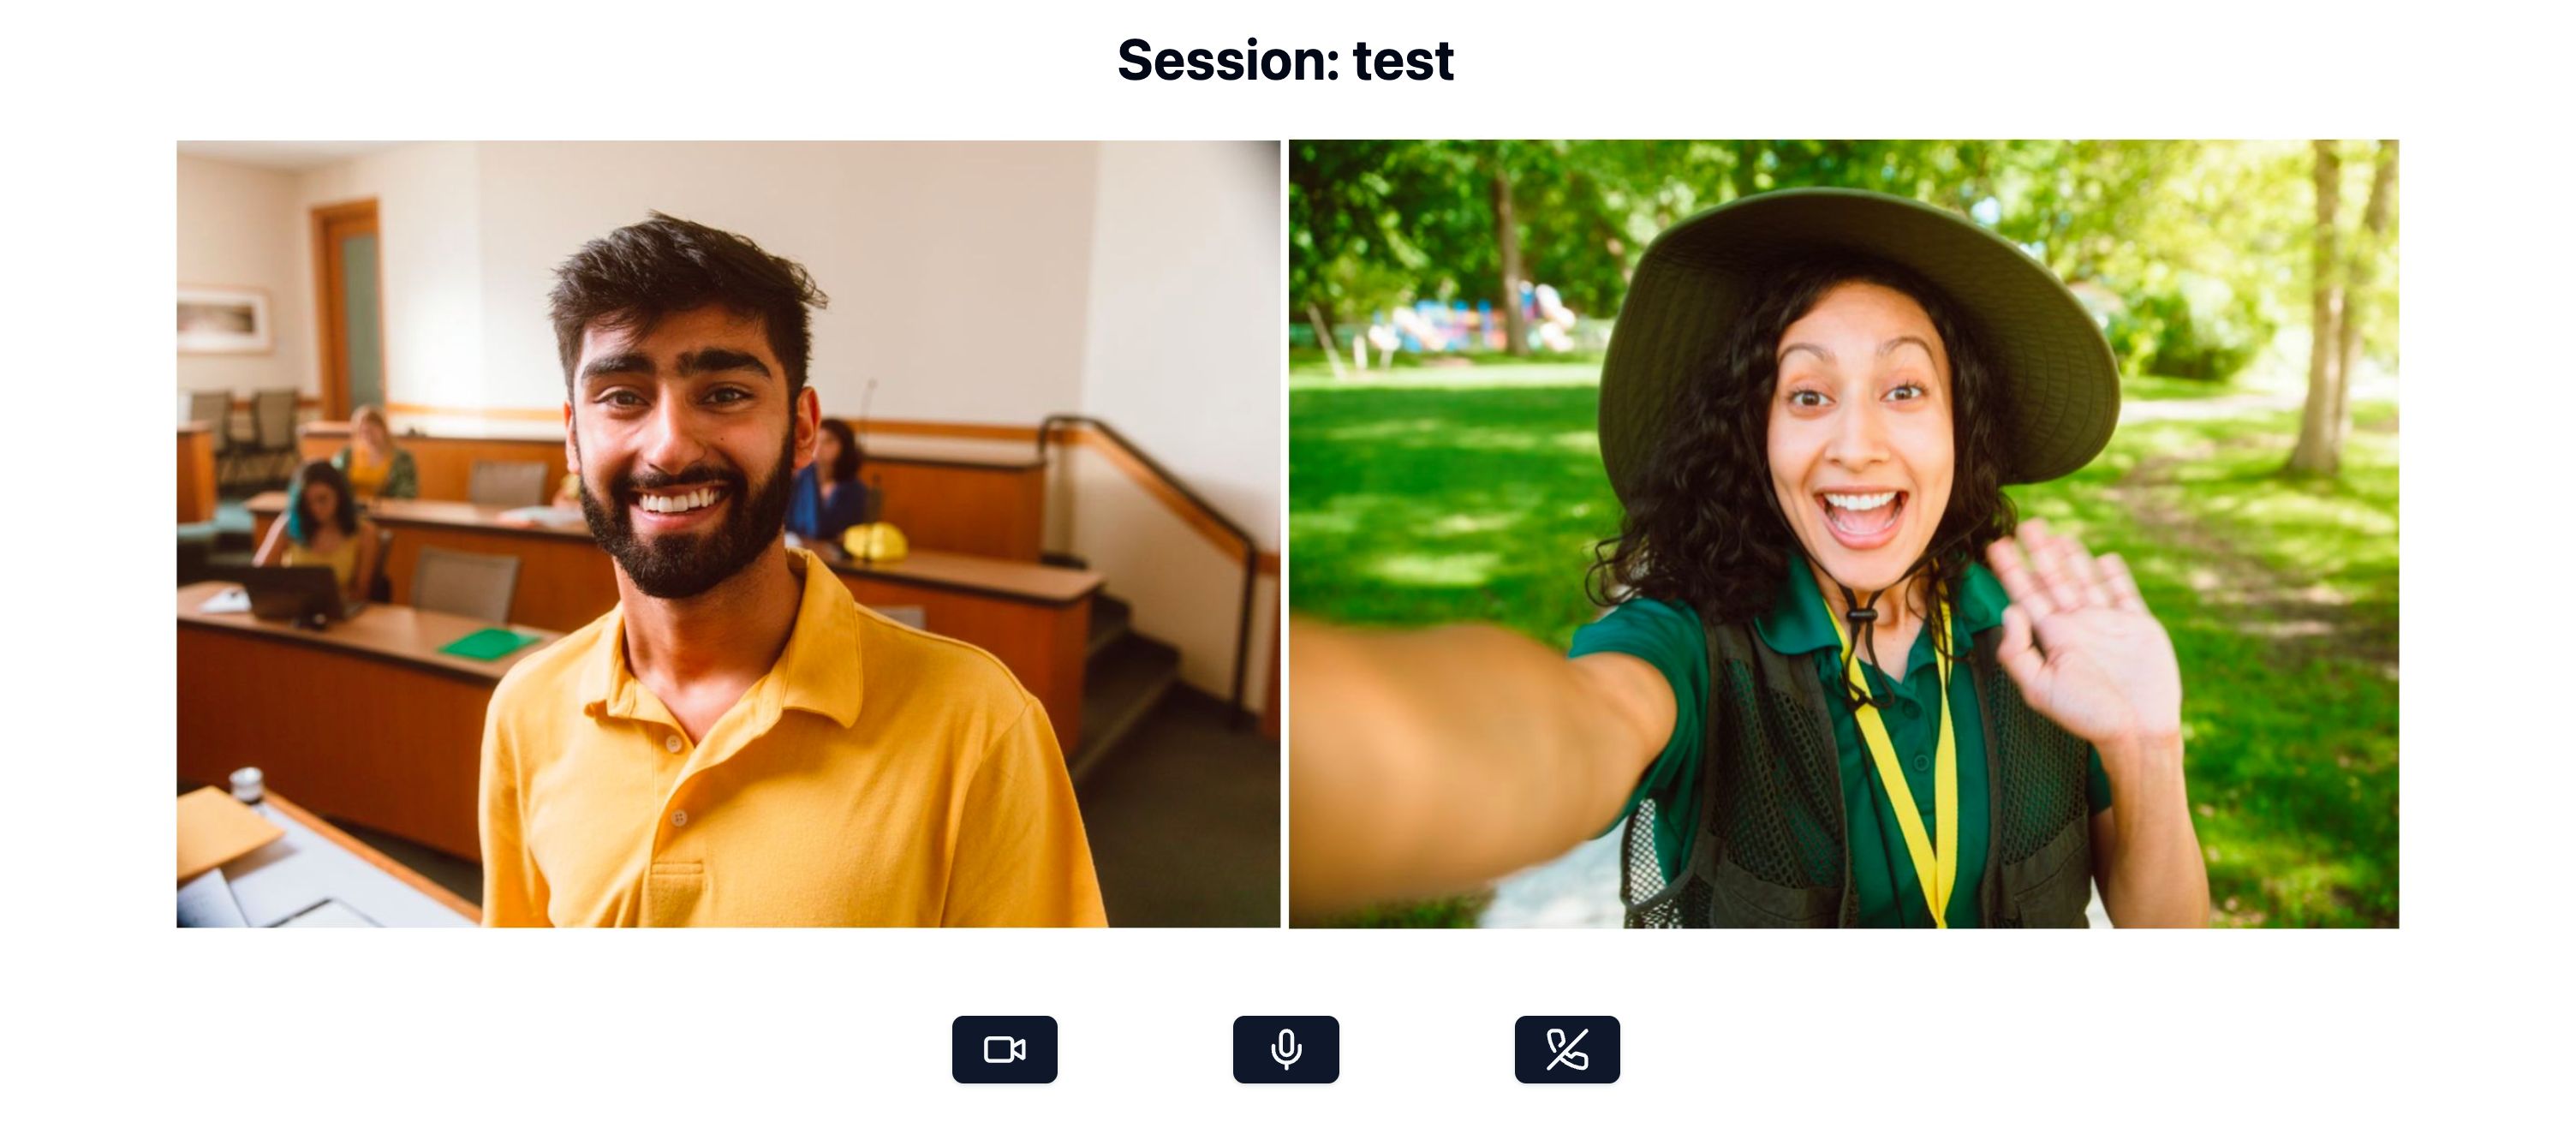
### Define the UI
We're omitting the styling to make the code more readable, you can check out the styling on [GitHub](https://github.com/zoom/VideoSDK-Solidjs-Quickstart/blob/main/src/components/Videocall.tsx).
In our "markup" we'll add the `` element. This is a web-component that renders the video elements, we'll bind the `ref` to the `videoContainerRef` element to access it in the component. We'll also display a button to start/join the session based on the `inSession` state.
```js
const Videocall = (props: { slug: string; JWT: string }) => {
...
return (
Session: {session}
{!inSession() ? (
) : (
...
```
Once we're in the session, we'll display the `CameraButton` and `MicButton` components to enable/disable the camera and microphone, we'll define these next. We'll also display a button to leave the session.
```js
...
)}
);
};
export default Videocall;
```
## Step 6: Adding mute buttons
The `MicButton` component will render the microphone button and handle the mute/unmute logic using the `muteAudio` and `unmuteAudio` methods on the `mediaStream` based on the `isAudioMuted` state.
```js
import type { VideoClient } from "@zoom/videosdk";
import { Mic, MicOff, Video, VideoOff } from "lucide-solid";
import { Accessor, Setter, Show } from "solid-js";
const MicButton = (props: {
client: typeof VideoClient;
isAudioMuted: Accessor;
setIsAudioMuted: Setter;
}) => {
const { client, isAudioMuted, setIsAudioMuted } = props;
const onMicrophoneClick = async () => {
const mediaStream = client.getMediaStream();
isAudioMuted() ? await mediaStream?.unmuteAudio() : await mediaStream?.muteAudio();
setIsAudioMuted(client.getCurrentUserInfo().muted ?? true);
};
return (
);
};
```
The `CameraButton` component will render the camera button and handle the mute/unmute logic using the `startVideo` and `stopVideo` methods on the `mediaStream` based on the `isVideoMuted` state. We call the renderVideo function to update the videos in the DOM.
```js
const CameraButton = (props: {
client: typeof VideoClient;
isVideoMuted: Accessor;
setIsVideoMuted: Setter;
renderVideo: (event: { action: "Start" | "Stop"; userId: number }) => Promise;
}) => {
const { client, isVideoMuted, setIsVideoMuted, renderVideo } = props;
const onCameraClick = async () => {
const mediaStream = client.getMediaStream();
if (isVideoMuted()) {
await mediaStream.startVideo();
setIsVideoMuted(false);
await renderVideo({ action: "Start", userId: client.getCurrentUserInfo().userId });
} else {
await mediaStream.stopVideo();
setIsVideoMuted(true);
await renderVideo({ action: "Stop", userId: client.getCurrentUserInfo().userId });
}
};
return (
);
};
```
That's all the code we need to build a video conferencing app using the Zoom Video SDK. You can launch the Solid.js app by running `npm run dev` in the root directory. The app will be available at `http://localhost:3000/`.
## Conclusion
We hope this quick guide has given you a good starting point to build your own video conferencing app using the Zoom Video SDK with Solid & SolidStart. We've covered the basics of setting up the project, configuring the app, and building the video conferencing features. You can visit our [docs](/docs/video-sdk/web/) to learn more about the Zoom Video SDK and add other features to you app like screen sharing, virtual background, background noise suppression, and more.
You can also read our blog for the same project built with [React & Next.js](/blog/nextjs-video-conferencing-app-using-the-zoom-video-sdk/), [Vue & Nuxt](/blog/vue-nuxt-video-conferencing-app-using-the-zoom-video-sdk/) and [SvelteKit](/blog/sveltekit-video-conferencing-app-using-the-zoom-video-sdk/). We'll be posting more guides for creating video chat apps with the Zoom Video SDK for different web technologies in the future. Stay tuned for more updates on our blog!
---
_For further community discussion and insight from Zoom Developer Advocates and other developers, please check out the [Zoom Developer Forum](https://devforum.zoom.us/). For prioritized assistance and troubleshooting, take advantage of [Premier Developer Support](https://explore.zoom.us/en/support-plans/developer/) and [submit a ticket](https://support.zoom.com/hc/en/new-request?id=new_request&sys_id=7a69170f87cee15089a37408dabb3591)._