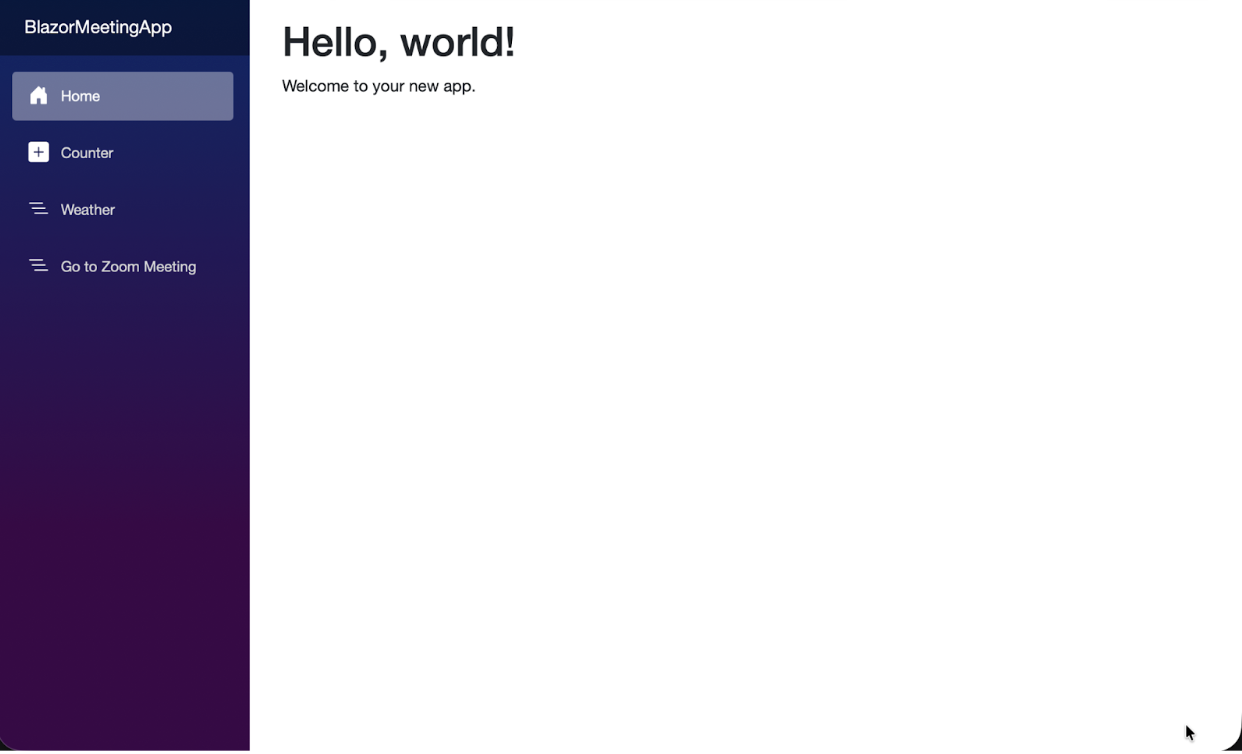
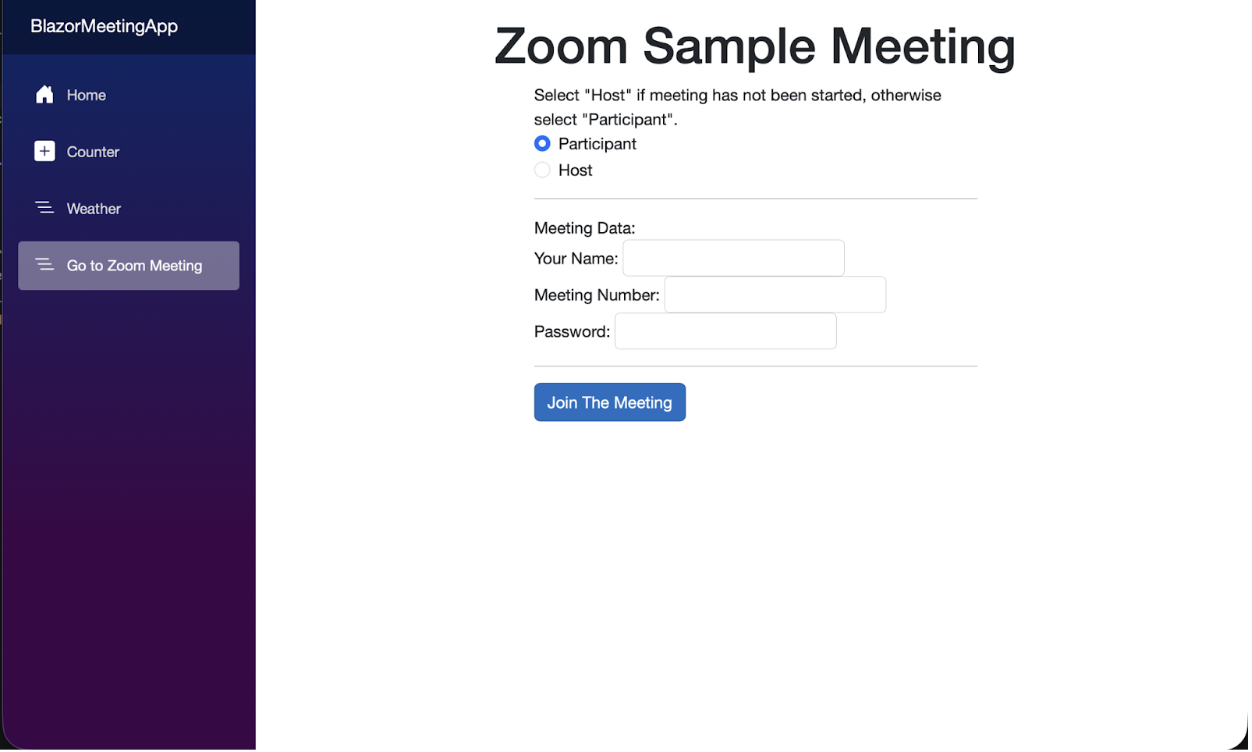
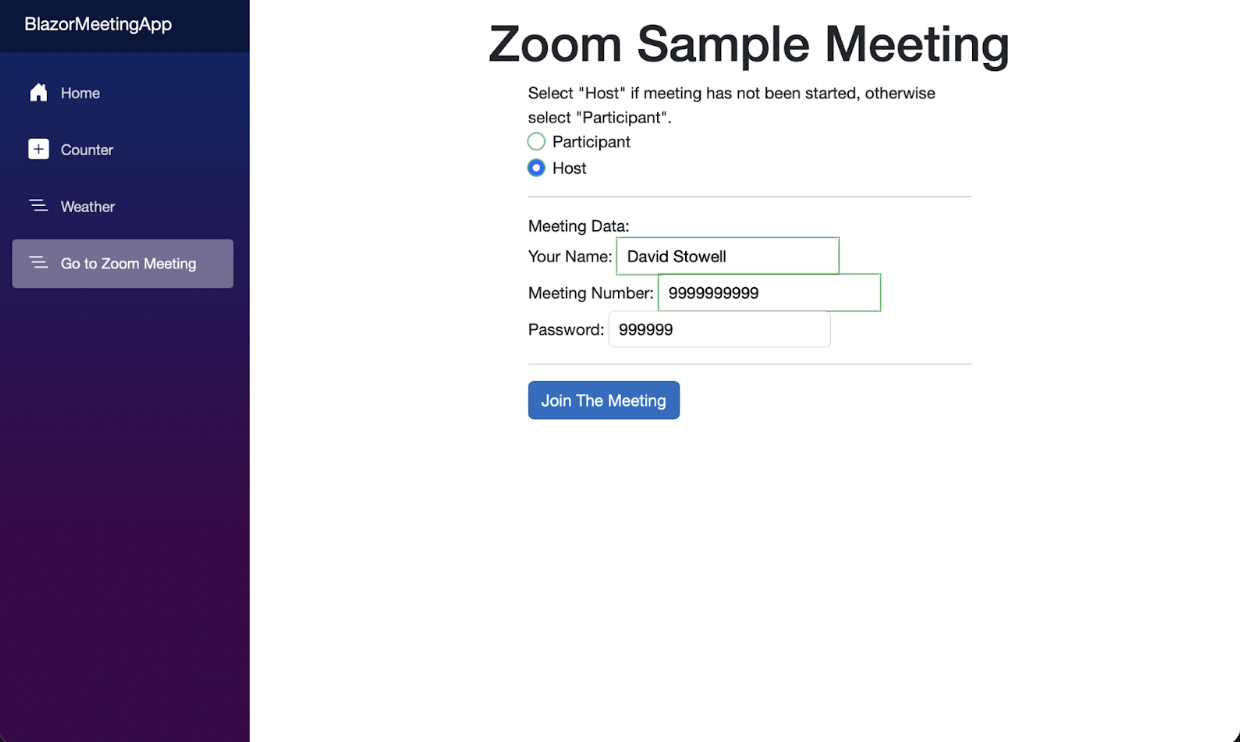
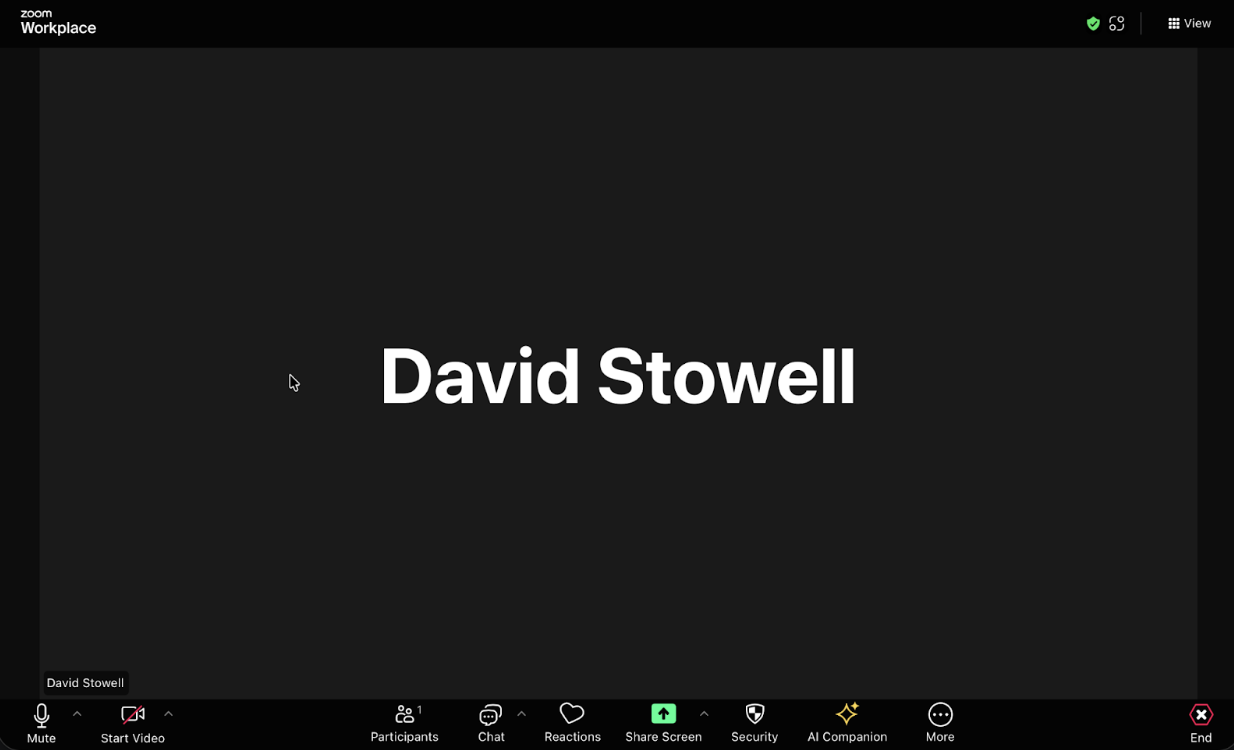
# Integrating Zoom Meeting SDK into Blazor ## Introduction This blog demonstrates how to embed an instance of Zoom's Meeting SDK Client View in a [Blazor project](https://dotnet.microsoft.com/en-us/apps/aspnet/web-apps/blazor). A similar approach can be used to embed Component View, but for simplicity, this guide focuses on Client View. It also highlights several useful configuration options, such as hiding meeting information. This blog is intended for developers with a basic understanding of modern C# practices, including building a simple Blazor project. ### Prerequisites In order to build the sample project, you will need the following: - A Zoom Developer Account, with credentials - A .NET-compatible IDE (Visual Studio, VS Code, or Jetbrains Rider) - .NET SDK 10 - available from https://dotnet.microsoft.com/en-us/download Please note the most current Meeting SDK - you will not need to download it, though. Also note that you may develop on Windows, macOS, or Linux. My original use case was developed using Rider on macOS and deployed on Linux. ## Development ### Create Project To begin, start your IDE (I am using Rider) and follow its instructions for creating a Blazor Web App in .NET 10. Name the project "BlazorMeetingApp" and take the defaults, including creating sample pages. Once done, run the project. Your browser should open, displaying something like this: ![BlazorMeetingApp](/img/blog/elisalevet/Blazormeetingapp.png) There are three pages on this app: - Home page - Counter page (with a button that increments a value) - Weather page (with random data). We are going to add another page, containing the Zoom meeting. ### Add Credentials Create a directory under the project directory called "Data". Within that directory, create a static class called `AppConstants` and add two static string properties, `ZoomClientID` and `ZoomClientSecret`. It should look like this: ```csharp namespace BlazorMeetingApp.Data; public static class AppConstants { public static string? ZoomClientId { get; set; } public static string? ZoomClientSecret { get; set; } } ``` We are going to place the `ClientID` and the `ClientSecret` in `appsettings.json` - not the most secure place to put credentials, to be sure, but this is a sample project. Open `appsettings.json` and insert them like this: ```json "Authentication" : { "Zoom" : { "ClientID" : "your_client_ID", "ClientSecret" : "your_client_secret" } }, ``` Now open `program.cs` and add the following code before `app = builder.Build();` - don't forget to reference `AppConstants`: ```javascript var config = builder.Configuration; var zoomAuthSection = config.GetSection("Authentication:Zoom"); AppConstants.ZoomClientId = zoomAuthSection["ClientID"]; AppConstants.ZoomClientSecret = zoomAuthSection["ClientSecret"]; ``` ### Obtaining the Zoom SDK Open App.razor and insert the following into the `` section of the file, before the `` tag: ```html ``` Consult the Zoom Developer documentation for the most recent versions. We will be writing `client-view.js` in the next section. ### Adding the JavaScript component The Blazor integration uses the Web platform, rather than the Windows platform, in its integration. To do so, it uses its JS Interop capability to call JavaScript code to start and join the Zoom meeting. The code used is a customized version of the code found in the sample Web app on the Zoom repository and reads like the following: ```javascript sign(); ZoomMtg.preLoadWasm(); ZoomMtg.prepareWebSDK(); var leaveUrl = "https://zoom.us"; function sign( clientId, clientSecret, userName, meetingNumber, passWord, isHost, ) { const iat = Math.round(new Date().getTime() / 1000) - 30; const exp = iat + 60 * 60 * 2; const oHeader = { alg: "HS256", typ: "JWT" }; const oPayload = { appKey: clientId, mn: meetingNumber, role: isHost, iat: iat, exp: exp, tokenExp: exp, video_webrtc_mode: 1, }; const sHeader = JSON.stringify(oHeader); const sPayload = JSON.stringify(oPayload); const meetingJwt = KJUR.jws.JWS.sign( "HS256", sHeader, sPayload, clientSecret, ); startMeeting(meetingJwt, userName, meetingNumber, passWord); } ``` The `sign()` function will be called when we want to enter a meeting. It creates a JWT (JSON Web Token), which is passed on to the `startMeeting()` function. Of note in the parameters is isHost: a 1 in this variable indicates that this person is the host, while a 0 in this variable indicates a Participant. `Video_webrtc_mode` is optional but highly encouraged - this mode will help facilitate the various View modes (Gallery, Speaker, Multi-Speaker). Also, note that email address is not among the parameters. Including email will add Zoom authentication to the user's experience. Excluding email will omit Zoom authentication, but will force all Participants to go through the Waiting Room. ```javascript startMeeting(); function startMeeting(signature, userName, meetingNumber, passWord) { document.getElementById("zmmtg-root"); ZoomMtg.init({ leaveUrl: leaveUrl, patchJsMedia: true, defaultView: "gallery", leaveOnPageUnload: true, showMeetingHeader: false, disableInvite: true, meetingInfo: [""], success: (success) => { ZoomMtg.join({ signature: signature, meetingNumber: meetingNumber, passWord: passWord, userName: userName, success: (success) => { console.log(success); ZoomMtg.showInviteFunction({ show: false }); }, error: (error) => { console.log(error); }, }); }, error: (error) => { console.log(error); }, }); } ``` The `startMeeting()` function takes the previously generated JWT, username, meeting number, and password as parameters and starts (or joins) the requested meeting. There are several optional settings in this use case. Of note are: 1. disableInvite: if true, removes the invite link 2. meetingInfo: if passed an empty array ([""]), all meeting information, including meeting number and password is removed 3. `ZoomMtg.showInviteFunction`: when set to `{show: false}`, the Invite button in the Participants list is not shown. These optional settings are important if your use case includes only making the meeting accessible from the web page. Otherwise, the meeting can easily be accessed from an external Zoom client. This JavaScript code is to reside in one file, in this case called client-view.js, and should be placed in the wwwroot directory of the project. Because the file is named in a script tag in App.razor, it will be read at the beginning of program execution. ### Adding the .razor page Now we are ready to create the page that will contain the meeting itself. In your IDE, go to the Pages folder, and create a file within it called Meeting.razor. We are going to place several controls in this file to make this project more useful and flexible. The header of the markup section of the file should look like this: ````razor @page "/meeting" @rendermode InteractiveServer @using System.ComponentModel.DataAnnotations @using BlazorMeetingApp.Data; @inject IJSRuntime JsRuntime Zoom Sample Meeting The rest of the markup section reads like this:

Zoom Sample Meeting


The only parts of this markup that are required are the button and the two tags at the bottom. The button triggers the Zoom code and the two
tags connect the Zoom window to the page. The code section of the file looks like this: ```razor @code { private readonly MeetingData _mtgData = new(); private async Task Click() { await JsRuntime.InvokeVoidAsync("sign", AppConstants.ZoomClientId, AppConstants.ZoomClientSecret, _mtgData.UserName, _mtgData.MeetingNumber, _mtgData.Password, _mtgData.UserType); } public class MeetingData { [Range(0,1)] public int UserType { get; set; } [Required(ErrorMessage = "Name is required")] public string? UserName { get; set; } [Required(ErrorMessage = "Meeting Number is required")] [RegularExpression(@"^\d{10}$", ErrorMessage = "Meeting Number must be exactly 10 digits")] public string? MeetingNumber { get; set; } [Required(ErrorMessage = "Password is required")] [RegularExpression(@"^\d+$", ErrorMessage = "Password must be all digits")] public string? Password { get; set; } } } ```` The class definition is part of the form created in the markup above - if you use a different mechanism to set these values, you don't need it. The `Click()` method is fired when the button is pressed on the page and is what starts the JavaScript code that starts the meeting. The call to `InvokeViodAsync()` takes the name of the JavaScript function to be executed and all of the arguments to that function, as documented above. ### Preparing the menu Finally, we create the menu option that invokes the Razor page that we have created. Open `Layout/NavMenu.razor` and add the following - it probably easiest to copy one of the existing menu options and modify it: ```razor