On-device content moderation with Zoom Video SDK
Accessing real-time raw media data is now easy with Zoom Video SDK media processors. Media processors run inside web workers, receiving raw audio and video data frames directly from the SDK. Developers can modify the frame data before it's rendered and sent to other users in a session. We can use this feature with WebGL and an AI model in Tensorflow.js to build on device video moderation.
Let's implement a video processor using Tensorflow.js for object detection. We'll create a WebGL shader to blur out the selected objects in the video frame.
Prerequisites
- Node & NPM LTS
- Zoom Video SDK Account
We've explaining how video processors work in a previous blog by building a simpler processor for video watermarks. You can read through it learn more. Like in the previous blog we'll build on top of the Zoom Video SDK quickstart guide. If you're new to the SDK, we recommend checking out the quickstart guide first. You can clone that repo and follow the steps to get started:
git clone https://github.com/zoom/videosdk-web-helloworld
The completed code for this app can be found on GitHub.
Configuring the video processor
To start, we need to create a javascript file that will implement our VideoProcessor class. We'll call it od-quad.js and store it in the public folder. The processor will access and process the raw media data.
├── index.html
├── node_modules
├── package-lock.json
├── package.json
├── postcss.config.js
├── public
│   ├── coi-serviceworker.js
│   ├── favicon.svg
│   └── od-quad.js
├── src
│   ├── main.ts
│   ├── style.css
│   ├── utils.ts
│   └── vite-env.d.ts
├── tailwind.config.js
├── tsconfig.json
└── vite.config.ts
Next, we'll implement the skeleton for our Video Processor:
class BlurProcessor extends VideoProcessor {
    constructor(port, options) {}
    async onInit() {}
    onUninit() {}
    async processFrame(input, output) {}
}
registerProcessor("gl-processor", BlurProcessor);
The BlurProcessor class extends the VideoProcessor class. The class comes equipped with onInit and onUninit methods that are lifecycle functions triggered when the processor initializes or shuts down. The processFrame function defines how to process each video frame. The SDK calls this method for every video frame, taking a VideoFrame as input and modifying the OffscreenCanvas output. The method's return value determines whether the SDK applies the effect to the frame sent remotely. We then register this processor by calling registerProcessor function.
In main.ts we can instantiate this processor with the following:
const processor = await mediaStream.createProcessor({
    name: "gl-processor",
    type: "video",
    url: window.location.origin + "/od-quad.js",
});
// Add the processor
await mediaStream.addProcessor(processor);
Now that our processor has been added, we can implement the object detection and blurring logic in the processor.
Tensorflow for object detection
Tensorflow.js is an open-source JavaScript library developed by Google for machine learning. It allows developers to define, train, and run machine learning models directly in the web browser. We'll use this as the driver for our AI model. We'll use a pre-trained version of the MobileNetV2 COCO-SSD model since it's a lightweight, efficient, and fast objection detection model.
In od-quad.js import Tensorflow.js and the coco-ssd model using the importScripts function
importScripts("https://cdn.jsdelivr.net/npm/@tensorflow/tfjs@latest");
importScripts("https://cdn.jsdelivr.net/npm/@tensorflow-models/coco-ssd");
Now we'll implement the model within the body of the class:
class BlurProcessor extends VideoProcessor {
    model = null;
    ctx = null;
    constructor(port, options) {
        super(port, options);
    }
    async onInit() {
        const output = this.getOutput();
        this.model = await cocoSsd.load();
        if (!output) return;
        this.ctx = output.getContext("2d");
    }
    onUninit() {}
    async processFrame(input, output) {
        const bitmap = await createImageBitmap(input);
        const prediction = await this.model.detect(
            tf.browser.fromPixels(bitmap),
        );
        this.ctx.drawImage(input, 0, 0, output.width, output.height);
        this.ctx.strokeStyle = "blue";
        this.ctx.lineWidth = 2;
        prediction.forEach((obj) => {
            const [x, y, width, height, label, score] = [
                obj.bbox[0],
                obj.bbox[1],
                obj.bbox[2],
                obj.bbox[3],
                obj.class,
                obj.score,
            ];
            this.ctx.fillText(
                `${label} - ${Math.round(score * 100)}%`,
                x + 5,
                y - 3,
            );
            this.ctx.strokeRect(x, y, width, height);
        });
        input.close();
        bitmap.close();
        return true;
    }
}
registerProcessor("gl-processor", BlurProcessor);
In the onInit function, we initialize the model attribute with the COCO SSD pre-trained model and retrieve the CanvasRenderingContext2D value. We'll use this to draw to the video canvas. In processFrame, each video frame sent to the processor is accessible through the input parameter. This function is called for every video frame. Our model takes in a ImageBitmap object and returns a tf.Tensor object that is given to model as a parameter to run predictions on.
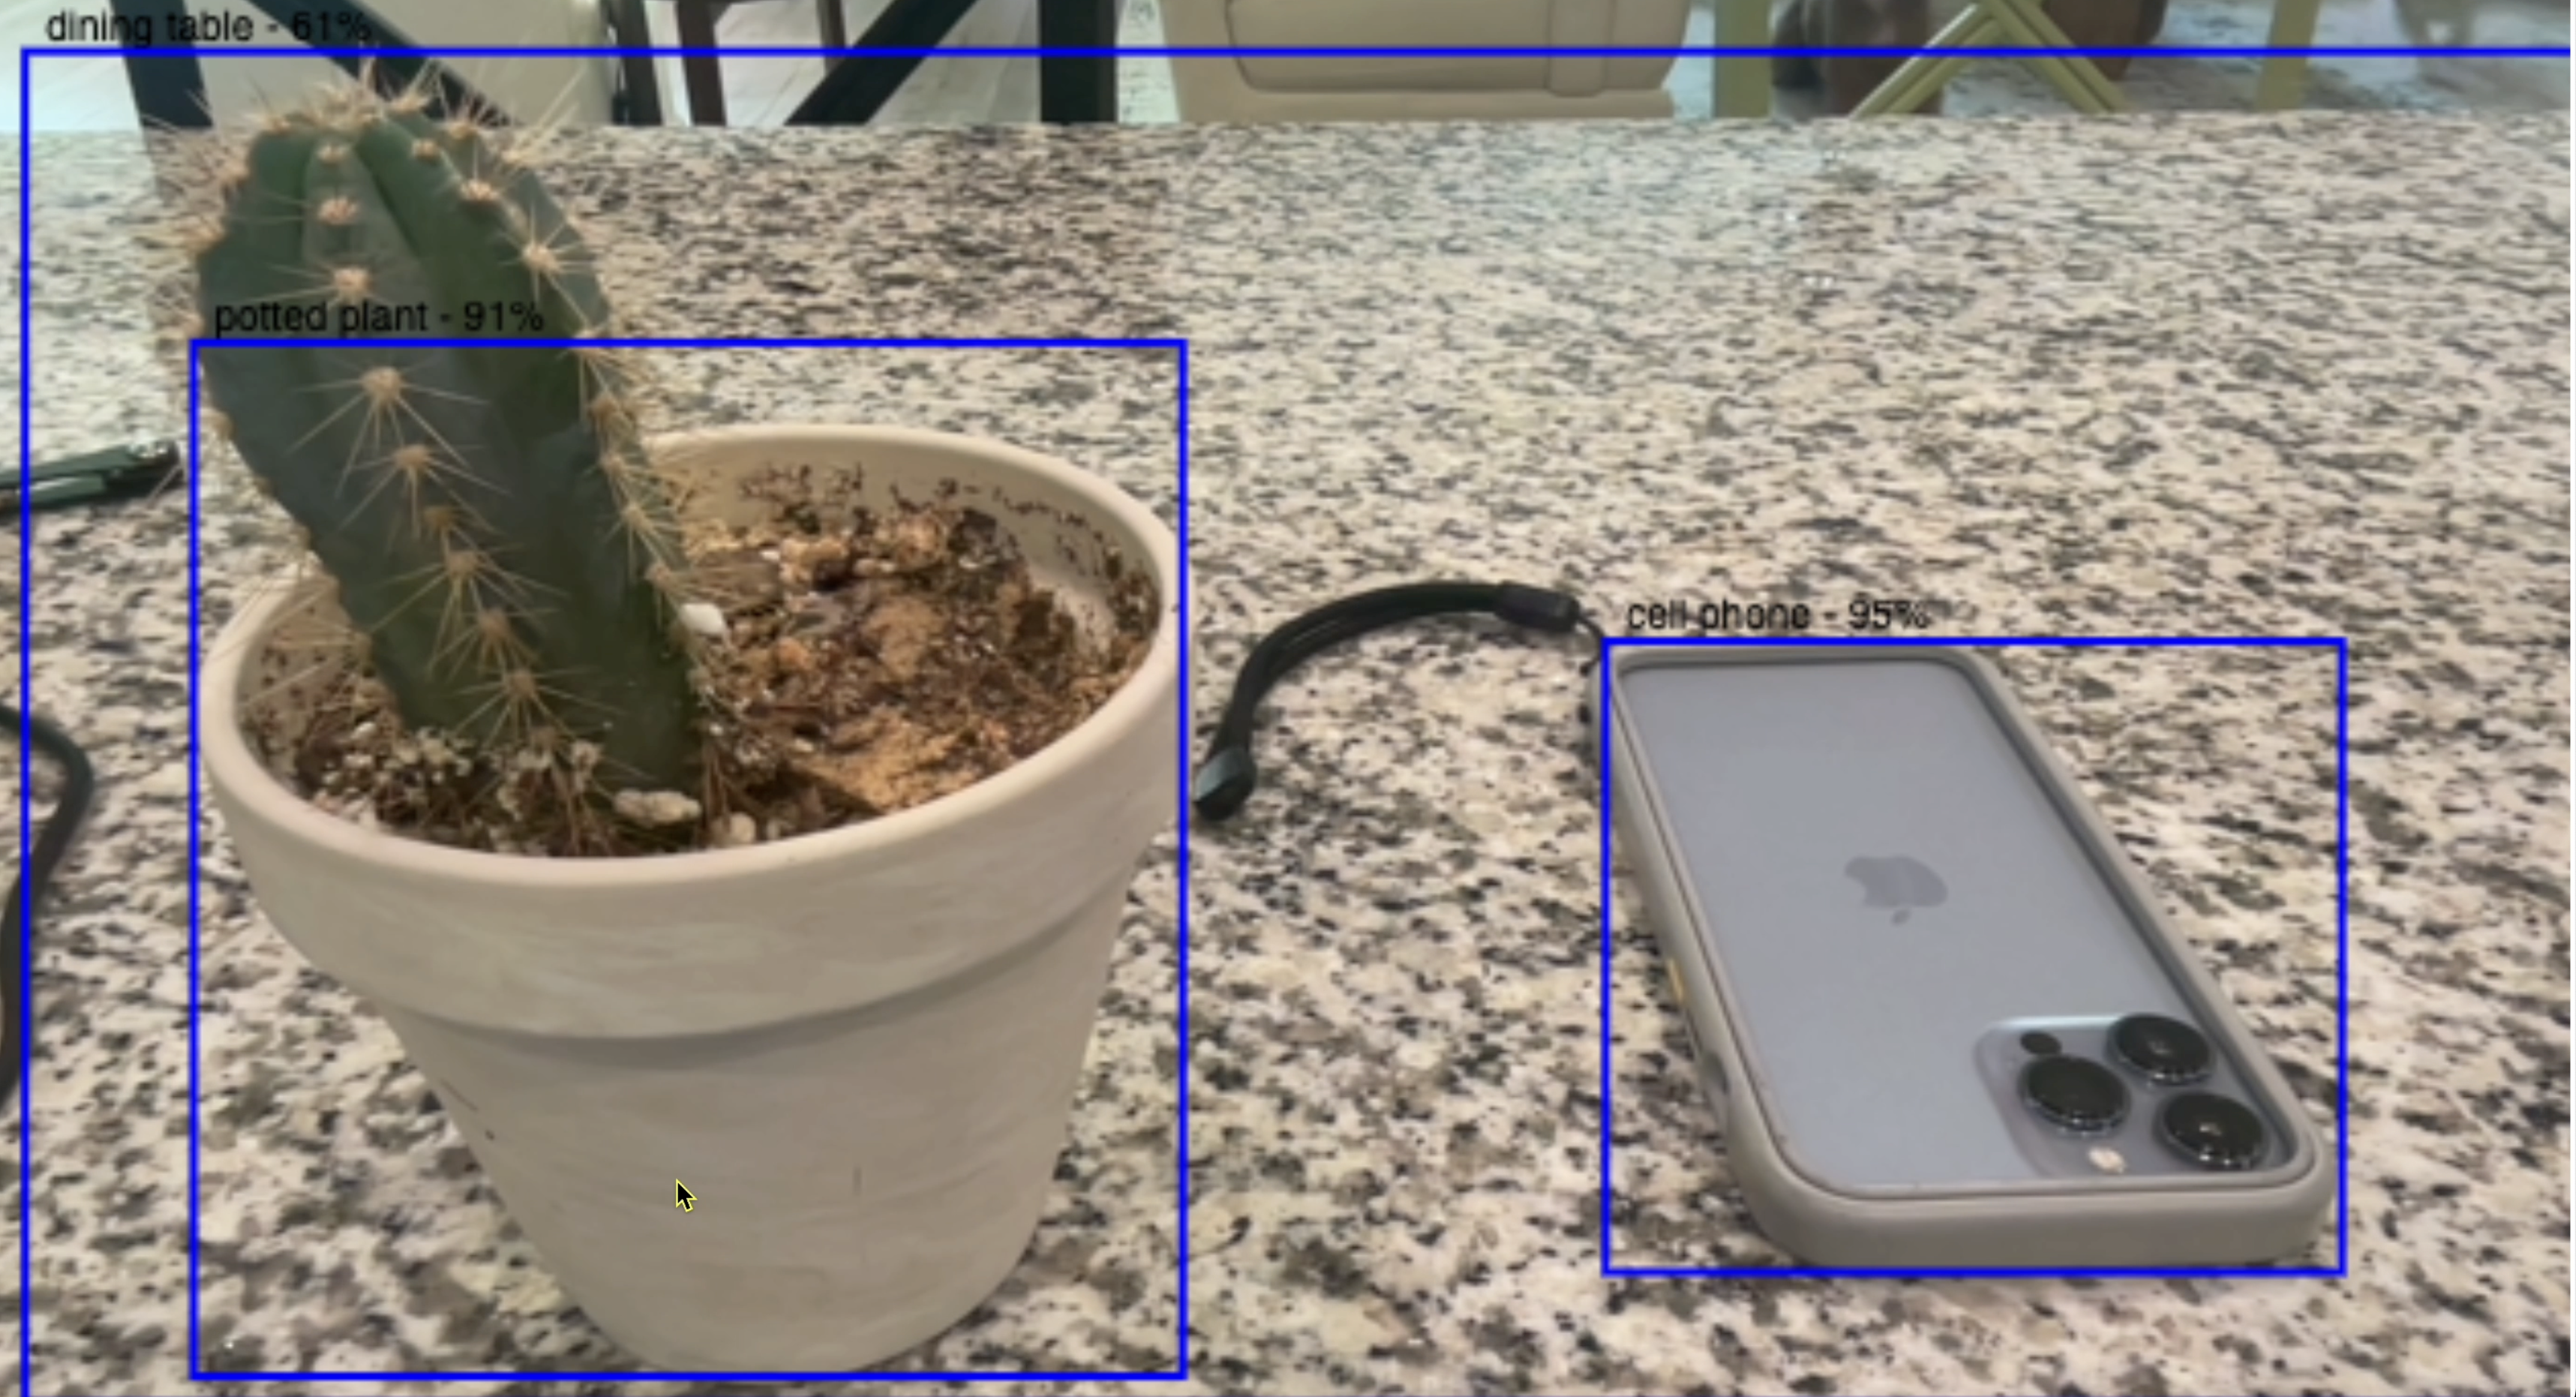
We use the createImageBitmap function to create a bitmap of our video frame and pass it to the tf.browser.fromPixels function to create the Tensor. The Tensor is then sent to the detect method that makes a prediction, returning an array of all detected objects with their x & y coordinates, a label for classification, and a confidence score. With this information we can use the ctx object to draw a box around the detected objects in the canvas along with a tag name and score.
Testing this processor yields the below result:
WebGL shaders for Gaussian blur
Now that we have bject detection implemented, we can modify our processor to use WebGL. WebGL allows for graphics processing in the browser by using the GPU for hardware acceleration.
We'll keep the explanation of Gaussian blur concise as the implementation for this is beyond the scope of this blog. The Gaussian blur implementation will take in the video frame and makes two mathematical passes, horizontal and then vertical, modifying the pixel values of the image. This achieves the blur effect.
We take that modified blurred image and the original pre-blurred image as inputs to create a final image where each of the pixels is either from the blurred image or the original image based on the detected objects x and y coordinates.
To achieve this, we implement a vertex shader that will use three fragment shaders. The vertex shader sets the coordinates of the video canvas we provide in a buffer and the coordinates of a texture we obtain from the video frame image. It then passes the texture coordinates to the fragment shaders. The 3 fragment shaders handle the horizontal region blur, the vertical region blur, and the creation of the composite image with the region blurs included. They each use the coordinates from the video frame texture to modify each pixel in that given area. Here are the shaders implementation:
// Vertex shader: fullscreen quad
const vertSrc = `#version 300 es
in vec2 a_position;
in vec2 a_texCoord;
out vec2 v_uv;
void main() {
  v_uv = a_texCoord;
  gl_Position = vec4(a_position, 0.0, 1.0);
}`;
// Fragment shader: horizontal Gaussian blur
const blurFragSrcH = `#version 300 es
    precision mediump float;
    in vec2 v_uv;
    uniform sampler2D u_texture;
    uniform float u_texelOffset;
    uniform float u_weights[9];
    out vec4 outColor;
    void main() {
      vec2 off = vec2(u_texelOffset, 0.0);
      vec4 sum = texture(u_texture, v_uv) * u_weights[0];
      for (int i = 1; i < 9; ++i) {
        sum += texture(u_texture, v_uv + off * float(i)) * u_weights[i];
        sum += texture(u_texture, v_uv - off * float(i)) * u_weights[i];
      }
      outColor = sum;
    }`;
// Fragment shader: vertical Gaussian blur
const blurFragSrcV = `#version 300 es
    precision mediump float;
    in vec2 v_uv;
    uniform sampler2D u_texture;
    uniform float u_texelOffset;
    uniform float u_weights[9];
    out vec4 outColor;
    void main() {
      vec2 off = vec2(0.0, u_texelOffset);
      vec4 sum = texture(u_texture, v_uv) * u_weights[0];
      for (int i = 1; i < 9; ++i) {
        sum += texture(u_texture, v_uv + off * float(i)) * u_weights[i];
        sum += texture(u_texture, v_uv - off * float(i)) * u_weights[i];
      }
      outColor = sum;
    }`;
// Fragment shader: composite original and blurred based on multiple regions
const compositeFragSrc = `#version 300 es
    precision mediump float;
    in vec2 v_uv;
    uniform sampler2D u_orig;
    uniform sampler2D u_blur;
    uniform vec4 u_regions[10]; // Support up to 10 regions
    uniform int u_regionCount;
    out vec4 outColor;

    void main() {
        bool shouldBlur = false;

        // Check if current pixel is in any of the blur regions
        for (int i = 0; i < u_regionCount; i++) {
            if (v_uv.x >= u_regions[i].x && v_uv.x <= u_regions[i].x + u_regions[i].z &&
                v_uv.y >= u_regions[i].y && v_uv.y <= u_regions[i].y + u_regions[i].w) {
                shouldBlur = true;
                break;
            }
        }

        if (shouldBlur) {
            outColor = texture(u_blur, v_uv);
        } else {
            outColor = texture(u_orig, v_uv);
        }
    }`;
We've omitted the initialization of WebGL2 and execution of the shaders but that can be referenced here.
We combine this with our Tensorflow.js model by collecting the x and y coordinates of the detected objects and providing this data to the vertex shader. The composite shader runs a conditional that will either use a texture obtained from the vertical and horizontal shaders to apply a blur effect to the pixel or use the original image texture to apply a unblurred effect to the pixel.
try {
    tensor = tf.browser.fromPixels(bitmap);
    prediction = await this.model.detect(tensor);
    // Vertical Blur Logic
    // Horizontal Blur Logic
    // Composite
    gl.bindFramebuffer(gl.FRAMEBUFFER, null);
    gl.useProgram(this.progC);
    this.regions = [];
    prediction.forEach((obj) => {
        const [x, y, width, height, label, score] = [
            obj.bbox[0],
            obj.bbox[1],
            obj.bbox[2],
            obj.bbox[3],
            obj.class,
            obj.score,
        ];
        if (moderationLabels.includes(label)) {
            this.regions.push([
                x / this.width,
                y / this.height,
                width / this.width,
                height / this.height,
            ]);
        }
    });
    // console.log(`Total regions to blur: ${this.regions.length}`);
    const maxRegions = Math.min(this.regions.length, 10);
    if (maxRegions > 0) {
        const regionData = new Float32Array(maxRegions * 4);
        for (let i = 0; i < maxRegions; i++) {
            regionData[i * 4] = this.regions[i][0]; // x
            regionData[i * 4 + 1] = this.regions[i][1]; // y
            regionData[i * 4 + 2] = this.regions[i][2]; // width
            regionData[i * 4 + 3] = this.regions[i][3]; // height
        }
        try {
            gl.uniform4fv(this.uRegions, regionData);
            gl.uniform1i(this.uRegionCount, maxRegions);
        } catch (error) {
            console.error("Error setting WebGL uniforms:", error);
        }
    } else {
        // console.log("No regions to blur");
        gl.uniform1i(this.uRegionCount, 0);
    }
    gl.uniform1i(this.uOrig, 0);
    gl.uniform1i(this.uBlur, 1);
    gl.activeTexture(gl.TEXTURE0);
    gl.bindTexture(gl.TEXTURE_2D, this.texOrig);
    gl.activeTexture(gl.TEXTURE1);
    gl.bindTexture(gl.TEXTURE_2D, this.tex2);
    gl.drawArrays(gl.TRIANGLE_STRIP, 0, 4);
    gl.bindVertexArray(null);
    // console.log("Prediction", prediction)
} finally {
    if (tensor) {
        tensor.dispose();
        tensor = null;
    }
    if (bitmap) {
        bitmap.close();
    }
    if (input) {
        input.close();
    }
    prediction = null;
}
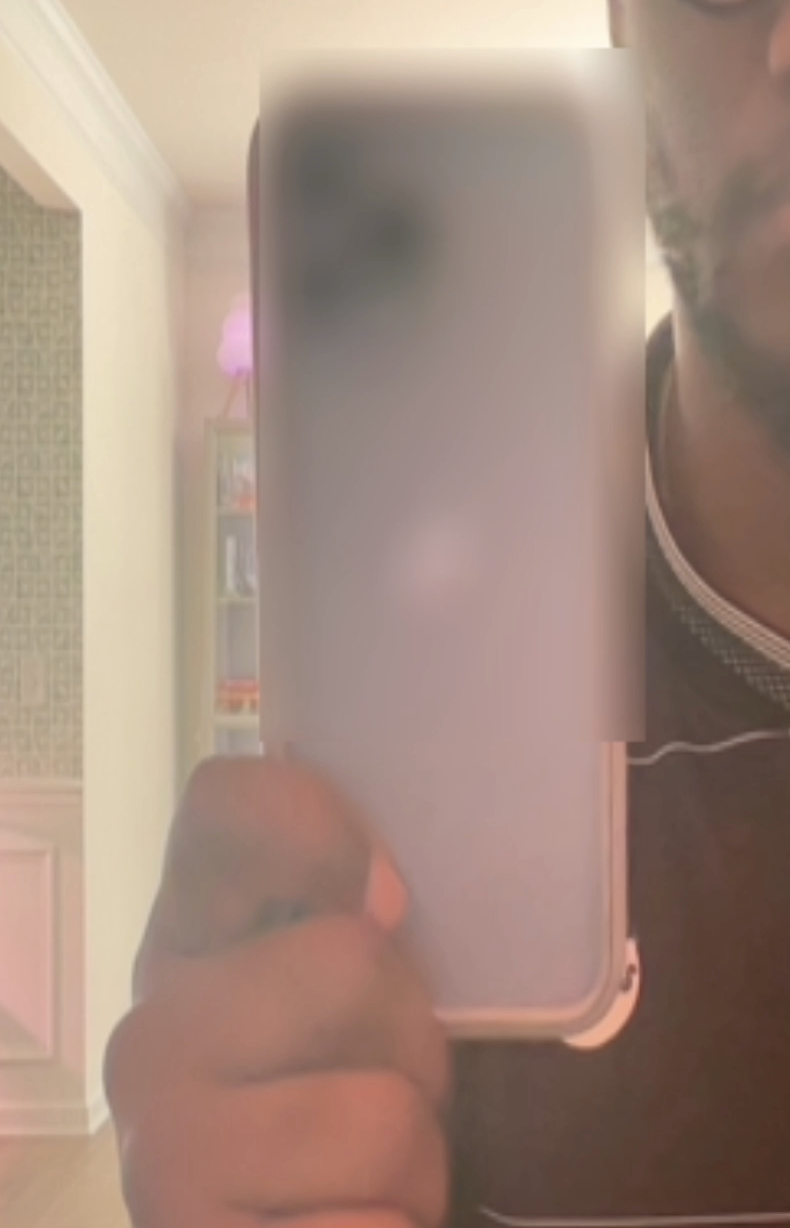
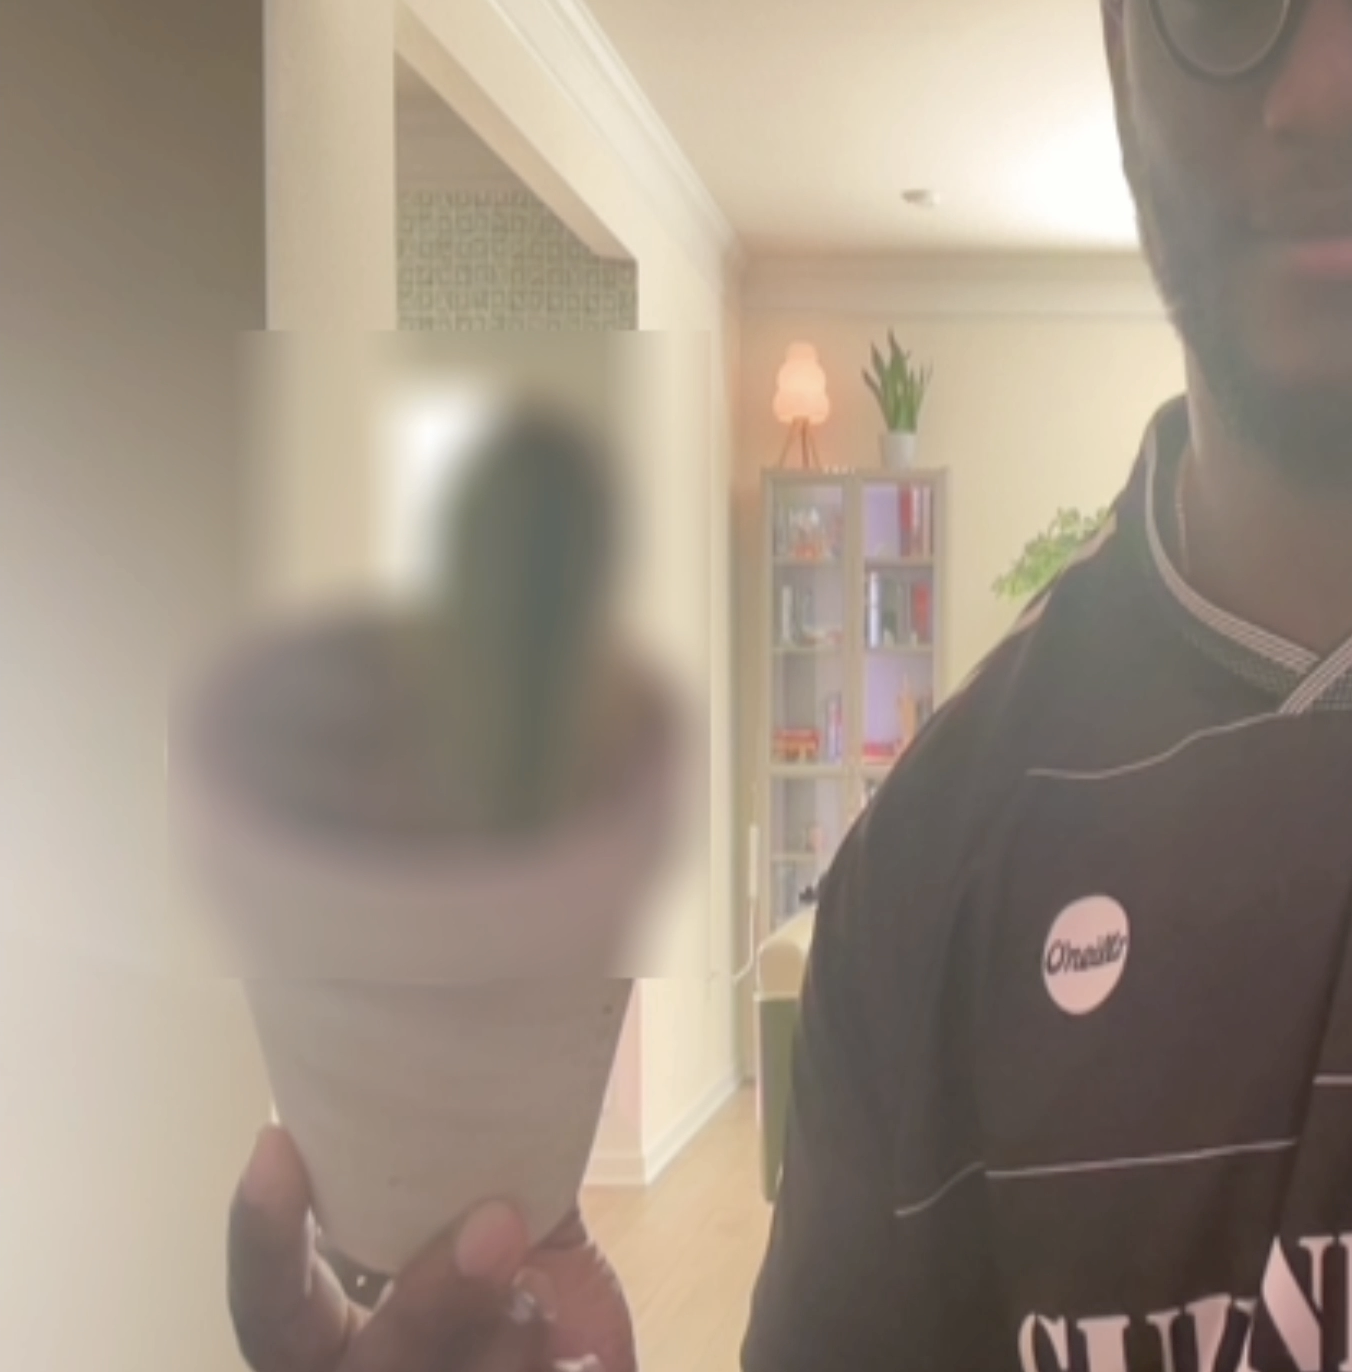
Testing our content moderation video processor
With the Gaussian blur and Tensorflow model implemented, we can expect that certain detected objects, specified in our content filter array, should be blurred out in real-time. Other objects will be ignored and displayed as normal. Here's how that looks:
As you can see, Zoom Video SDK video processors combined with the right tools can take your meeting experience to the next level. This feature offers fully unique and customizable use cases only limited to the creativity of the developer. To dive deeper, check out our raw-data documentation and explore the sample processor repo for more inspiration.